- Category
- What's New?
- FightSticks/Pads
- Joysticks
- Pushbuttons
- Spare Parts & Tools
- Hardware & PCB
- Electrical
- Customize
- Merchandise
- Sales & Clearance
- Brand
Blank Plexi Replacement Panel for Agetec HKT-7300
-
Product Description
Please Read Before You Order
Below is important information to know before placing a custom order with us:
- Project L Official Artwork: Do not submit the PNG samples. Instead, please download the zipped Photoshop PSD version, unzip the file and integrate them into our artwork templates
 for your desired fightstick model
 - Hori Official Street Fighter 6 Artwork: Please do not submit this artwork for the Fightstick Alpha. It is not compatible with our print and cut, as it contains registration marks that cannot be removed. If you wish to have the artwork printed only, you can use our Non-Commercial Fightstick Panel Artwork Print service.
- Hori Official Tekken 8 Artwork. We can print and cut most of Hori's official Tekken 8 artwork, as they revised the artwork files to allow removing the registration marks. Exception is artwork for Jun Kazama which has registration marks that cannot be removed.
- Custom Orders do Not Ship Separately: If you place an order for a personalized product along with non-custom products, such as arcade part or merchandise, please note that all items will ship together.
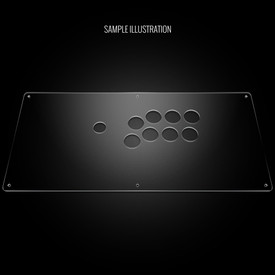
 Please note that this plexi will fully replace this Fightstick's metal panel. It is not designed to sit atop the metal panel. If you are purchasing artwork, you will also need to purchase the replacement panel to protect it.
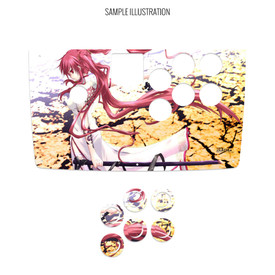
The art cover replacement top panel offers one of the best ways to customize your joystick. The plexiglass sits atop specially cut artwork, allowing you to add or replace new custom artwork to match your joystick theme.
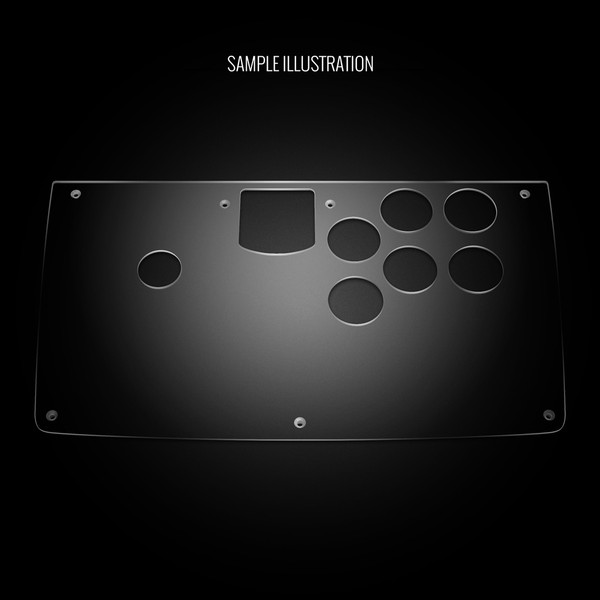
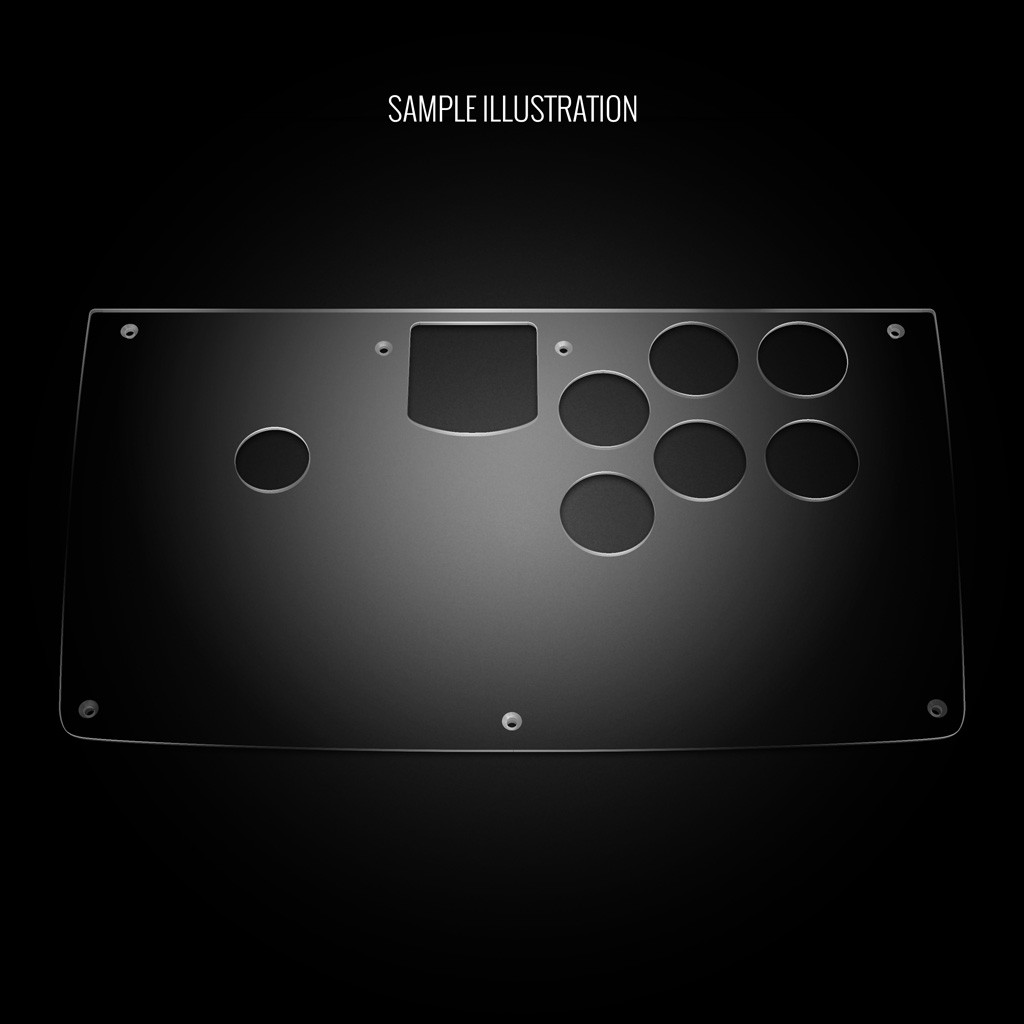
Sized for Agetec HKT-7300 for Sega Dreamcast
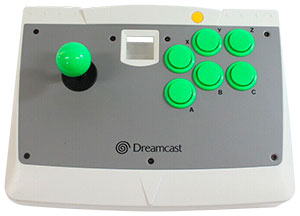
Agetec Dreamcast HKT-7300 Replacement Panel Template
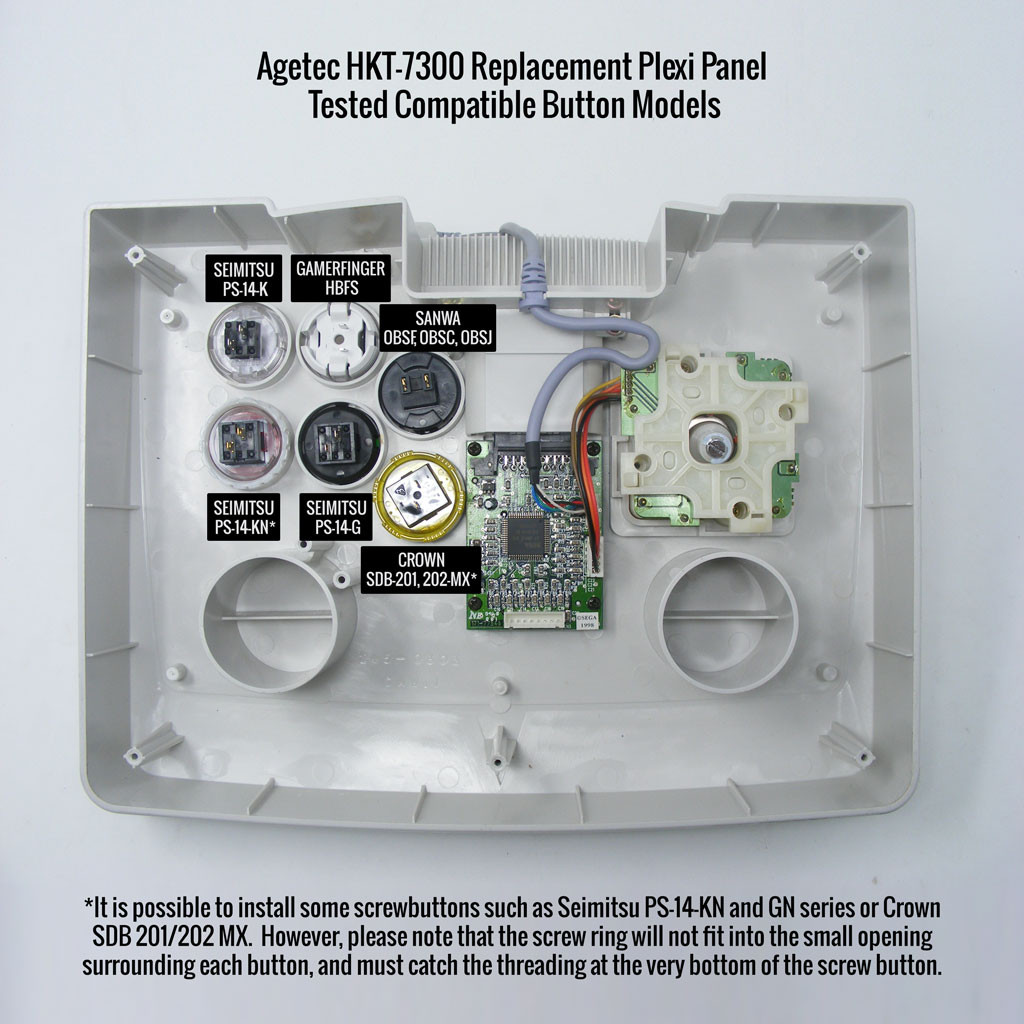
(Replaces metal panel 1.9Mb zip)The original metal panel found on the HKT-7300 only fits the slightly smaller pushbuttons provided with the original hardware, and does not accomodate 30mm buttons unless widened with a Dremel or similar tool. The 1/30" (1.5mm) thick acrylic replacement panel is designed to fit 30mm snap buttons across Sanwa, Seimitsu, and GamerFinger. It is possible to install some screwbuttons such as Seimitsu PS-14-KN and GN series or Samducksa/Crown. However, please note that the screw ring will not fit into the small opening surrounding each button, and must catch the threading at the very bottom of the screw button. Please see our photo gallery for an explanation.
Durable Configuration. Laser Cut Layout
The top panel is constructed using resilient clear acrylic, and layout is cut to precision with a laser etching device. Each screw hole is countersunk to accomodate the original Agetec screw or similar.
Installation
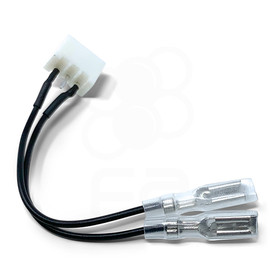
Note that this install will replace the original metal panel. Also note that the original button harness and connectors are not compatible with standard buttons with a .110" terminal. You must either replace the wiring entirely, or remove the connectors by cutting them, stripping the wire and attaching a quick disconnect. Alternatively, you can purchase the .110" Button to Agetec HKT-7300 Harness Adapter (6-Pack). Save 25% when you select this option.
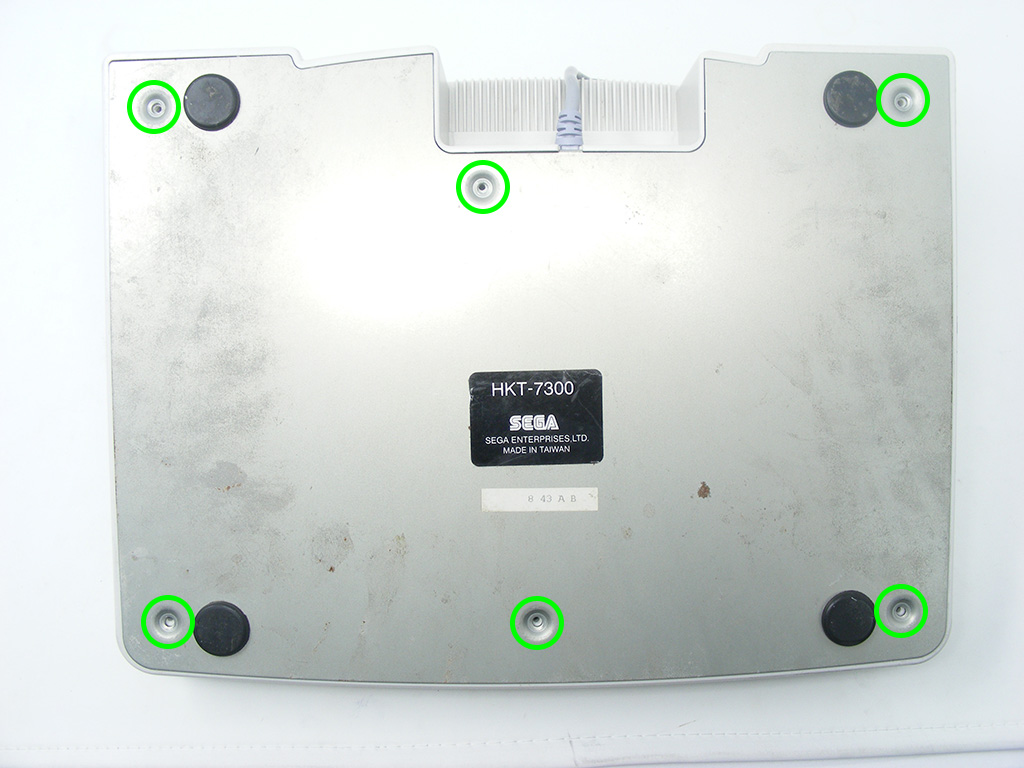
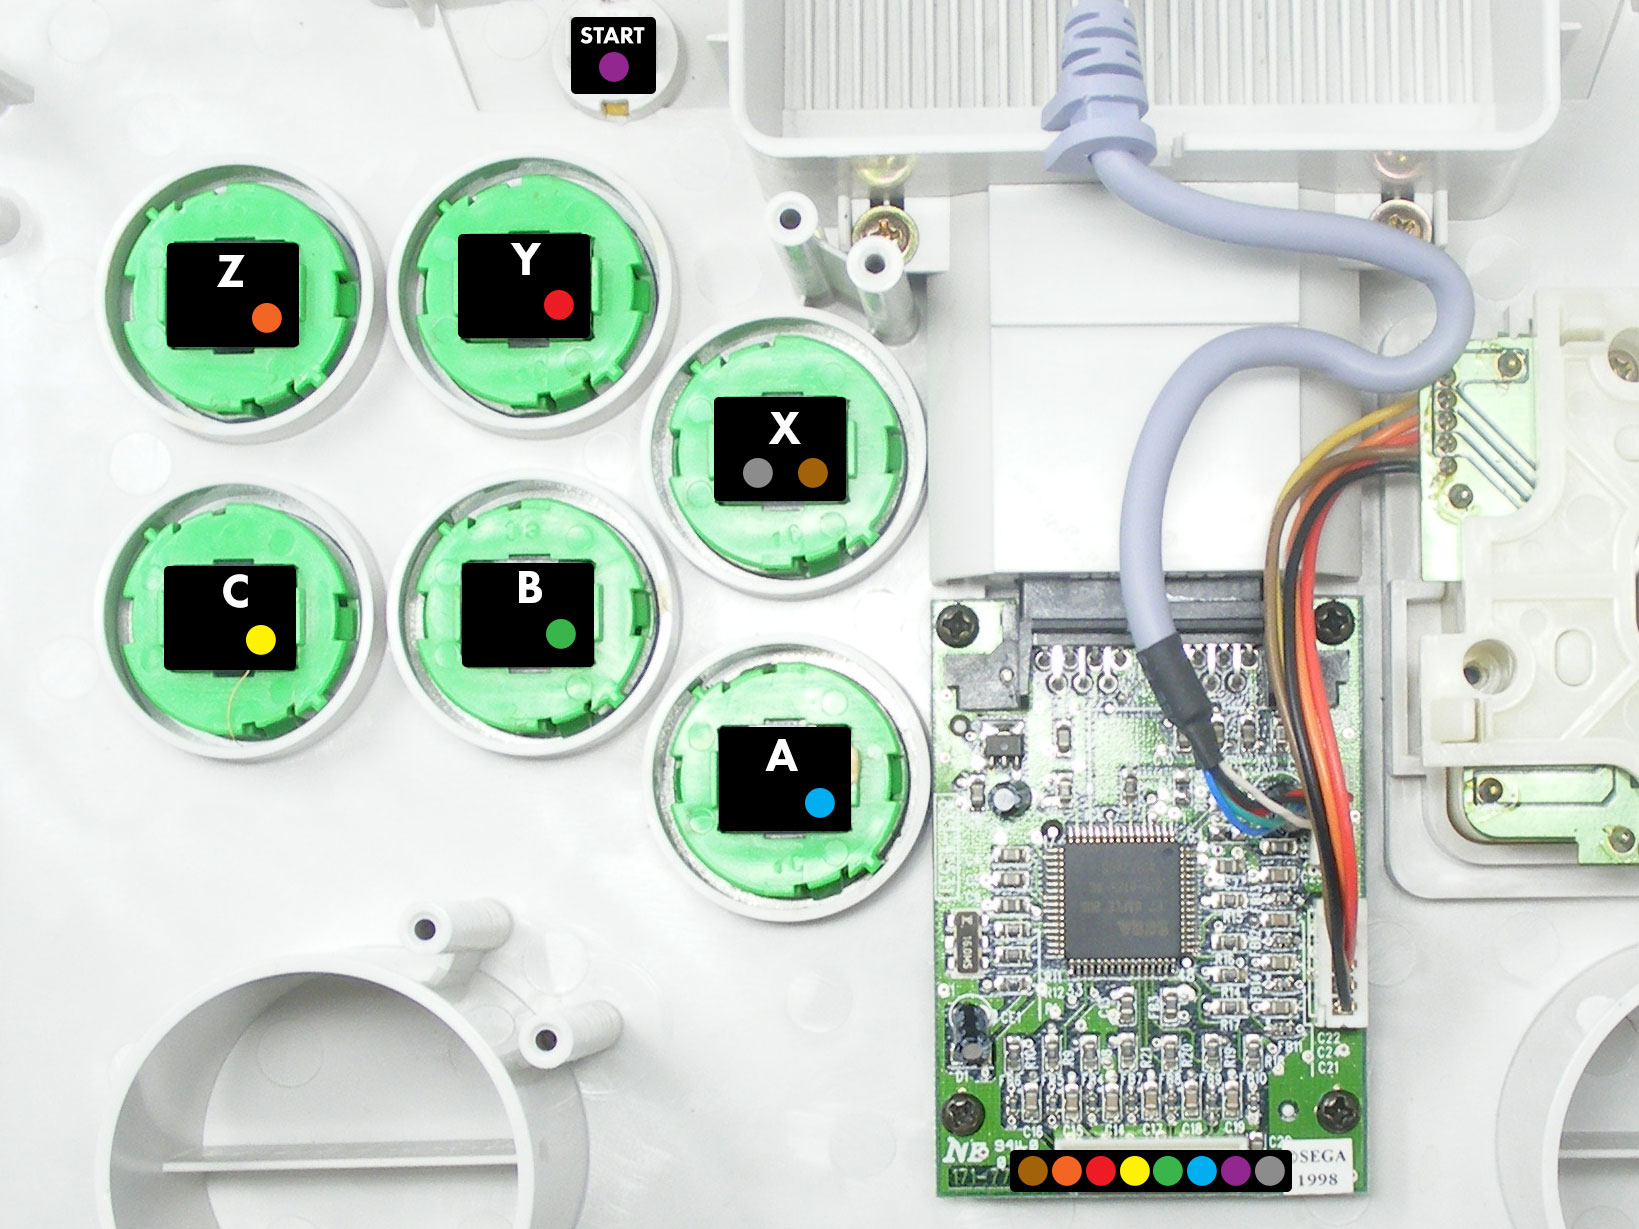
We start with the bottom panel; you will remove six screws to access the original buttons and wiring inside. Please excuse the condition of the presented model as it was purchased specifically for teardown. With the bottom removed, take note of the original button wiring. Each action button (X, Y, Z, A, B, C) is attached to a plastic connector that contains wiring and a daisy chain ground, and held into place with a resin glue. To install standard buttons such as Sanwa which uses a .110" terminal, you must either replace the wiring, or remove the connectors by cutting them, stripping the wire and attaching a quick disconnect. Alternatively, you can purchase the .110" Button to Agetec HKT-7300 Harness Adapter (6-Pack). 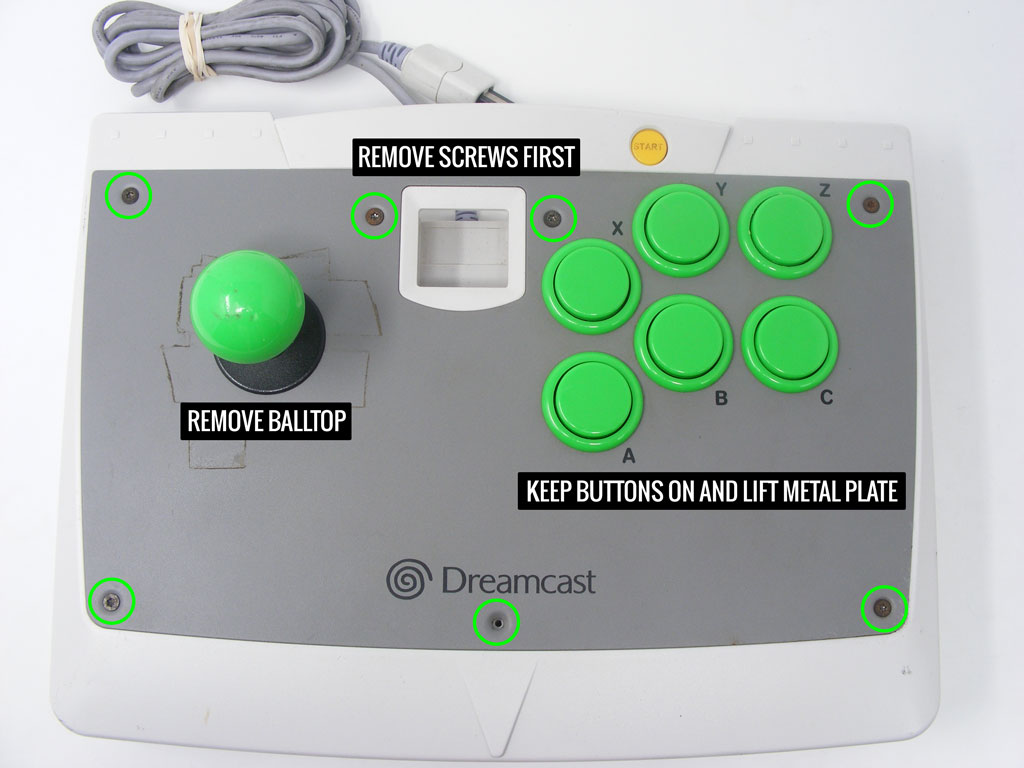
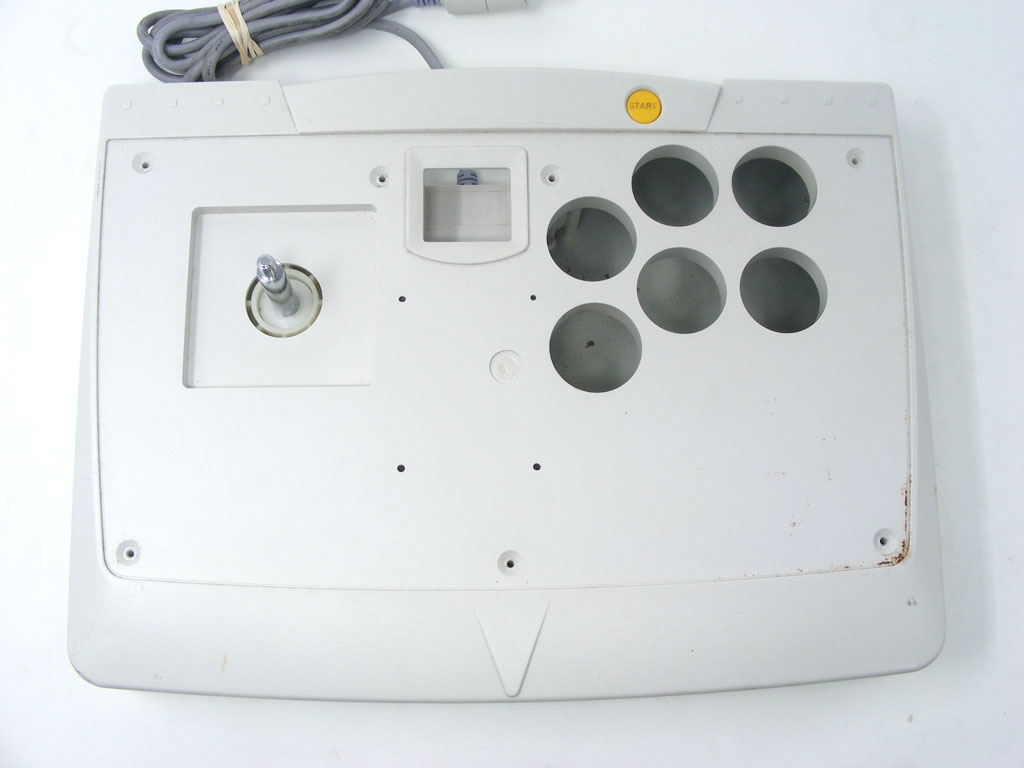
With the original Agetec wiring disconnected from each button, we now move to the top metal panel. You will need a T-10 Torx screwdriver to unscrew the seven screws across the top and bottom of the plate. You will remove the joystick ball top and dustwasher, and then proceed to lift the metal plate from the plastic housing. It is easier to keep the original buttons on, as they are initially difficult to access until the panel is lifted. With the panel removed, the plastic housing of the HKT-7300 is exposed. The existing holes present in the housing are able to accommodate 30mm pushbuttons. It is here that you will first install new custom artwork, followed by the replacement panel. 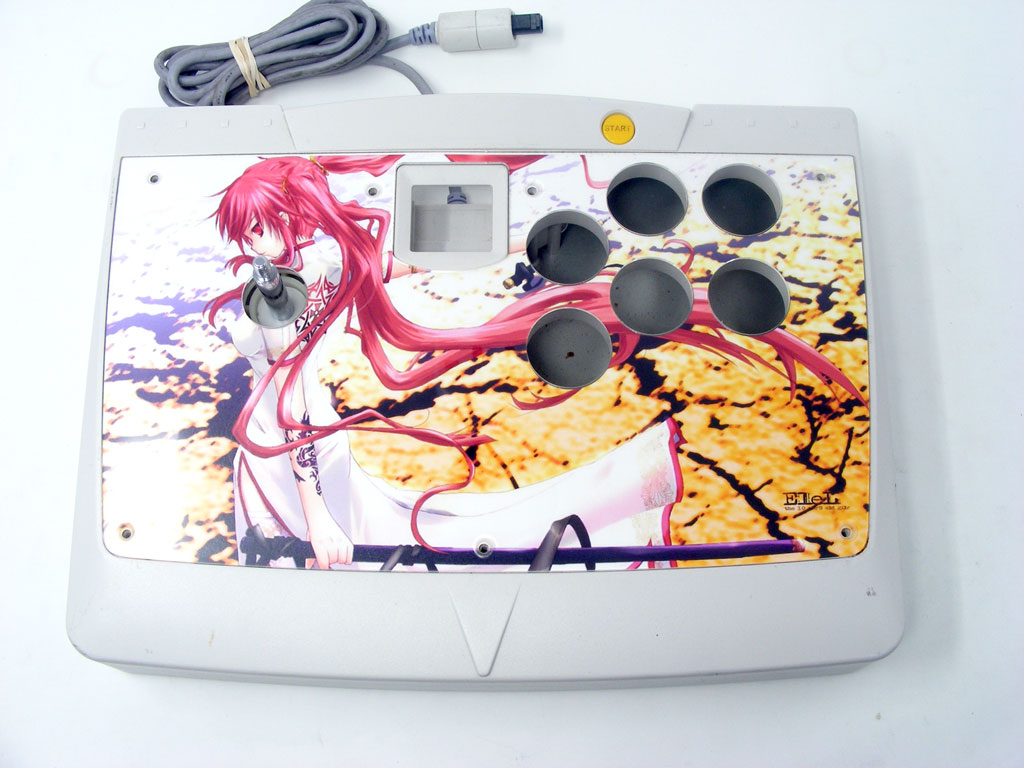
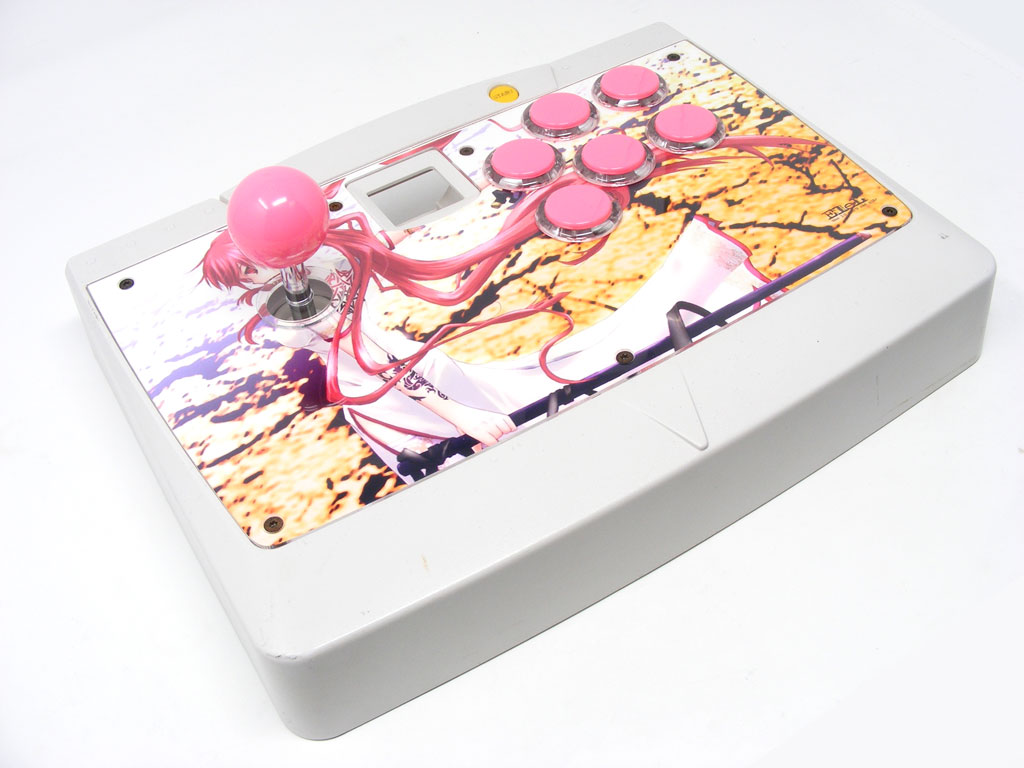
Here, the custom artwork and replacement plexi panel are in place. You can now return the original screws, plus install your snap buttons, plus desired dustwasher, balltop or battop. The panel is designed with a slight indentation over each button hole of the original housing, allowing you to snap most 30mm buttons into place. Here, the replacement buttons are installed, along with dustwasher and balltop. If you had purchased our upcoming button adapters (not yet available at the time of writing this tutorial), you can install each one onto the .110" button terminals, with the other end attaching to the Agetec wiring harness connector. We will also offer a Sanwa JLF to PCB adapter that allows you to install a Sanwa JLF-TP-8TY joystick lever components (TPMA PCB, shaft, etc.) into the existing lever mounting bracket. 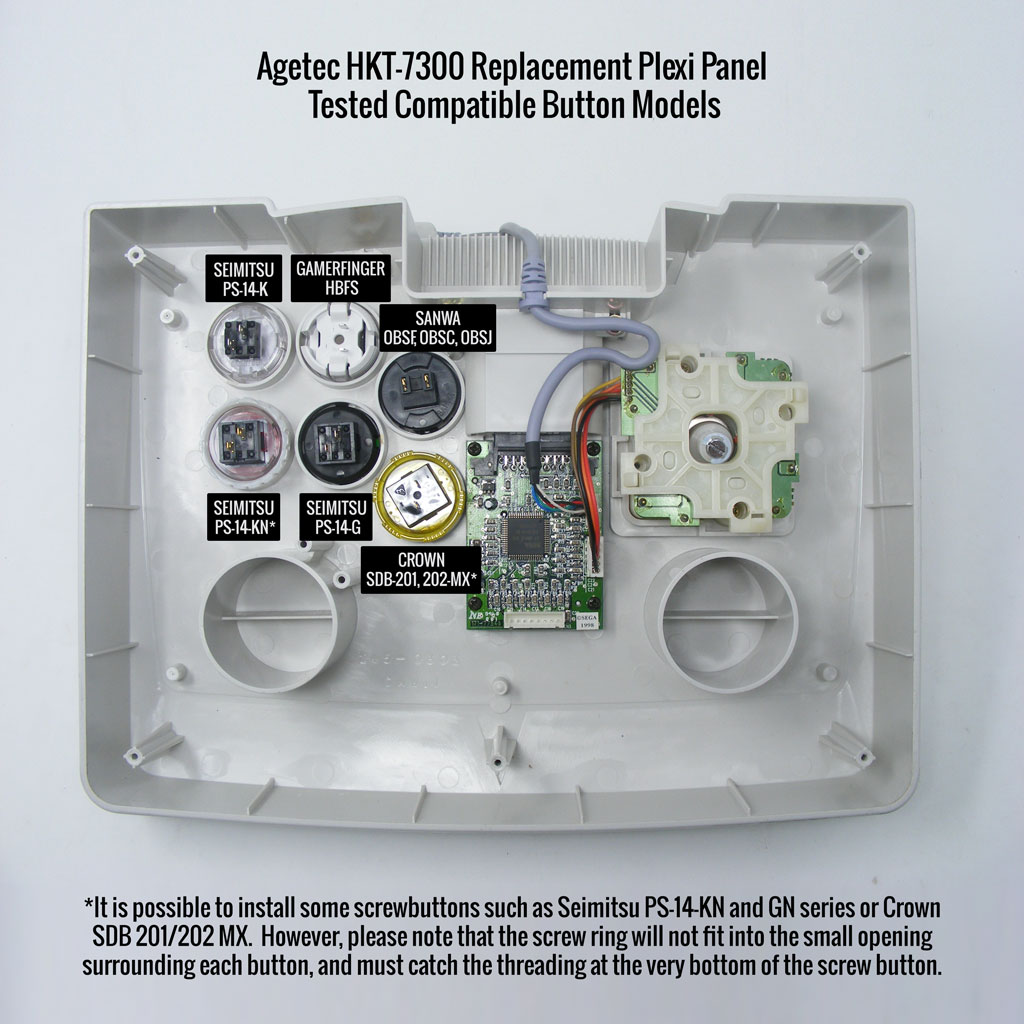
In this photograph, you can see which buttons were tested to fit into the replacement panel. Note that some screwbuttons may not work with the panel due to the HKT-7300's internal housing and button spacing. The screw button ring must manage to thread onto the very bottom of the screw button in order to stay in place, as they will not fit into the limited space that surrounds each button. Options Help You have several options to personalize your control panel, such as button layout, removal of control panel or screws in some models
Jump to: LAYOUT | REMOVING DEFAULT ELEMENTS
Plexi Color, Thickness
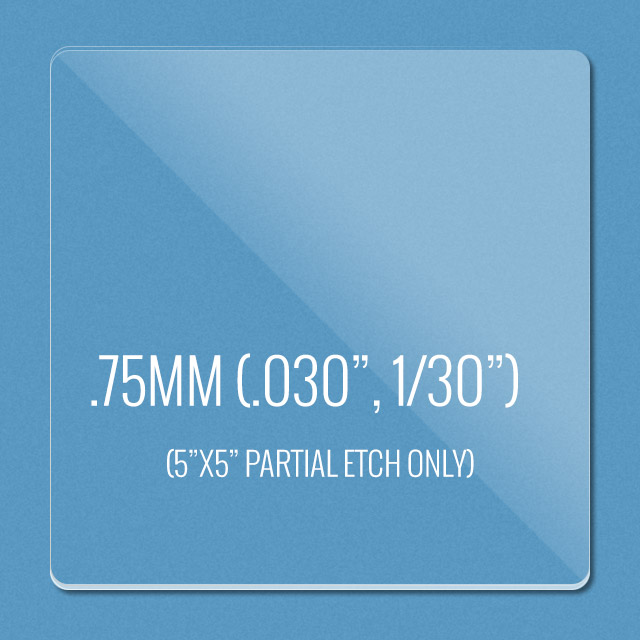
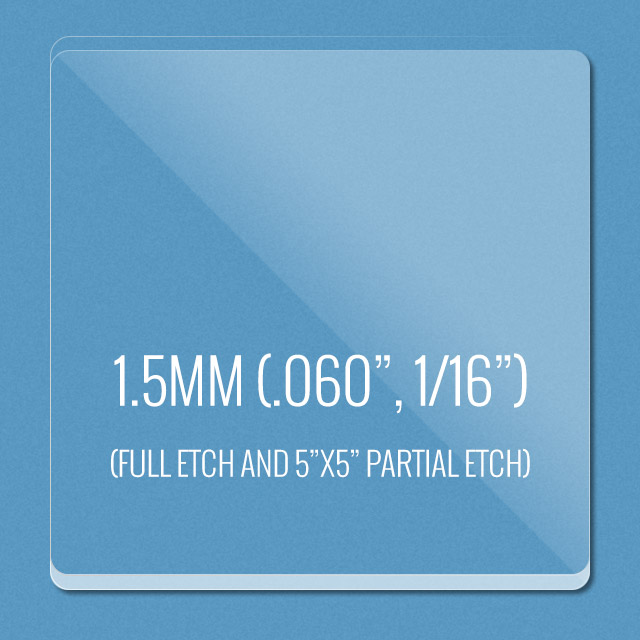
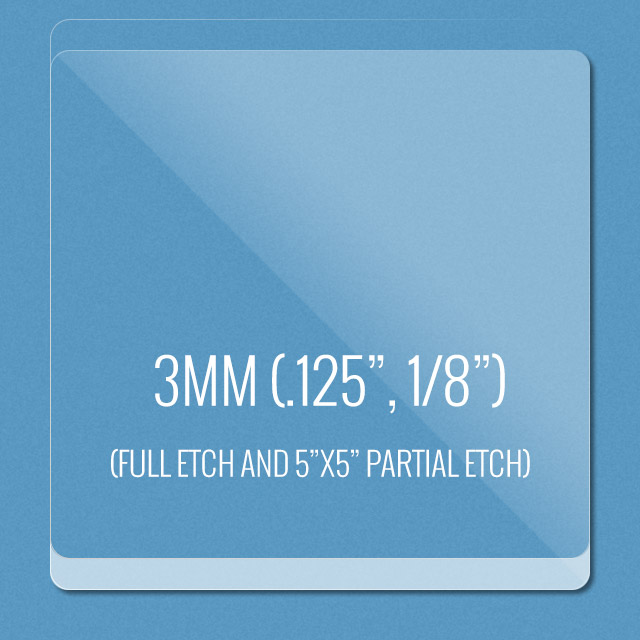
Below are visual examples of available acrylic colors and thicknesses. Not all colors are available for each thickness, nor are the materials and thicknesses accessible for each Fightstick model. Some colors come in a specific thickness, and are too thin or thick to install properly on the Fightstick. Additionally, some material thicknesses do not allow for full etch, as the material can warp from the laser.
When multiple colors and thicknesses are available for your Fightstick model, you will find them within the options list.
Plexi Thickness
Plexi Color and Texture

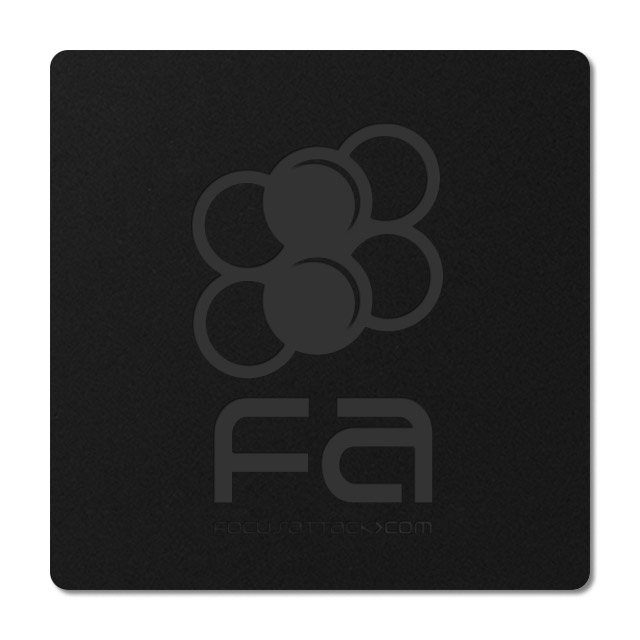
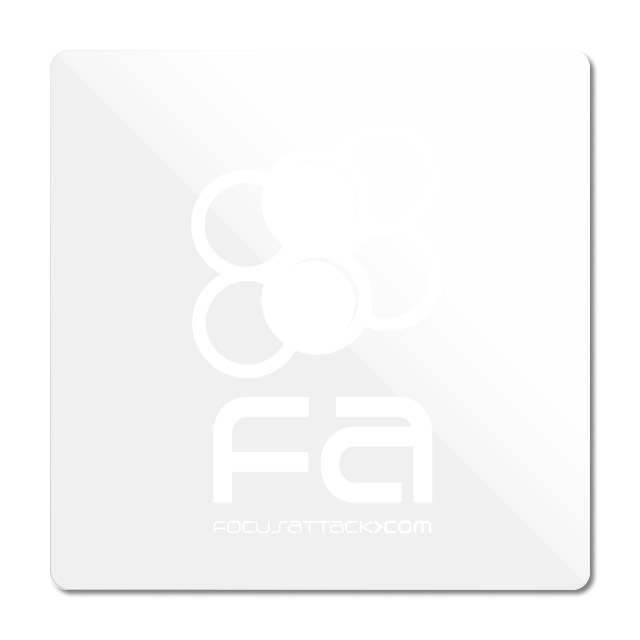
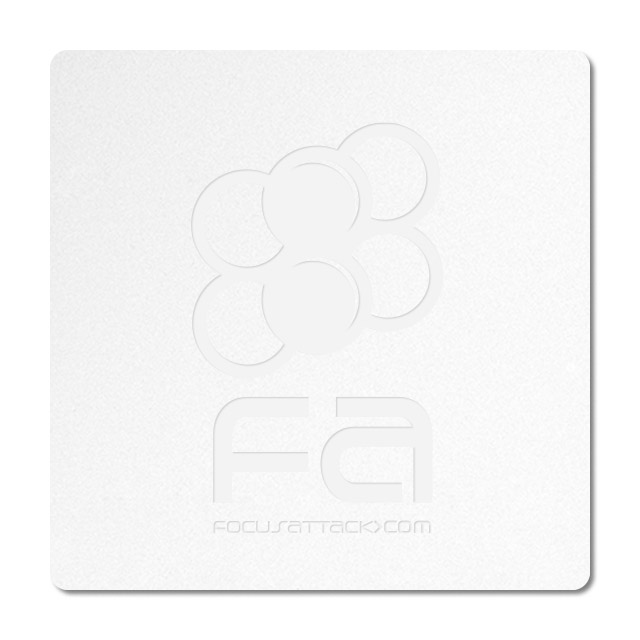 Clear (.75mm, 1.5mm, 3mm)Black Gloss (1.5mm, 3mm)Black Matte (3mm only)White Gloss (3mm only)White Matte (3mm only)
Notes about Black Matte, White Matte & White Gloss
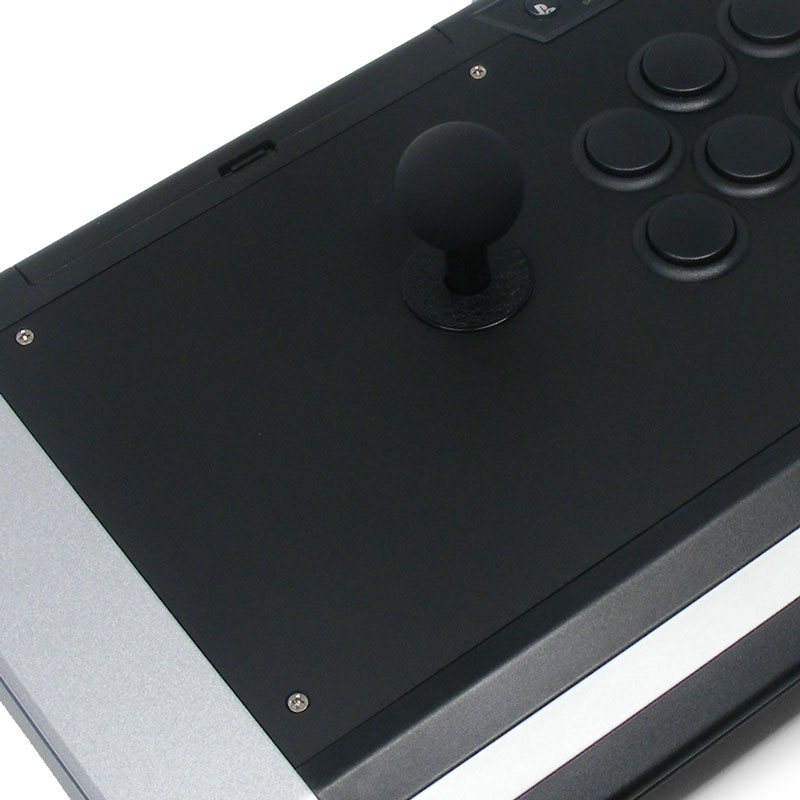 Black Matte is available in .125" (3mm) thickness only. This color and material texture can be purchased without etching. For AllFightsticks models, you can use the black matte plexi panel as a full replacement for the metal panel.
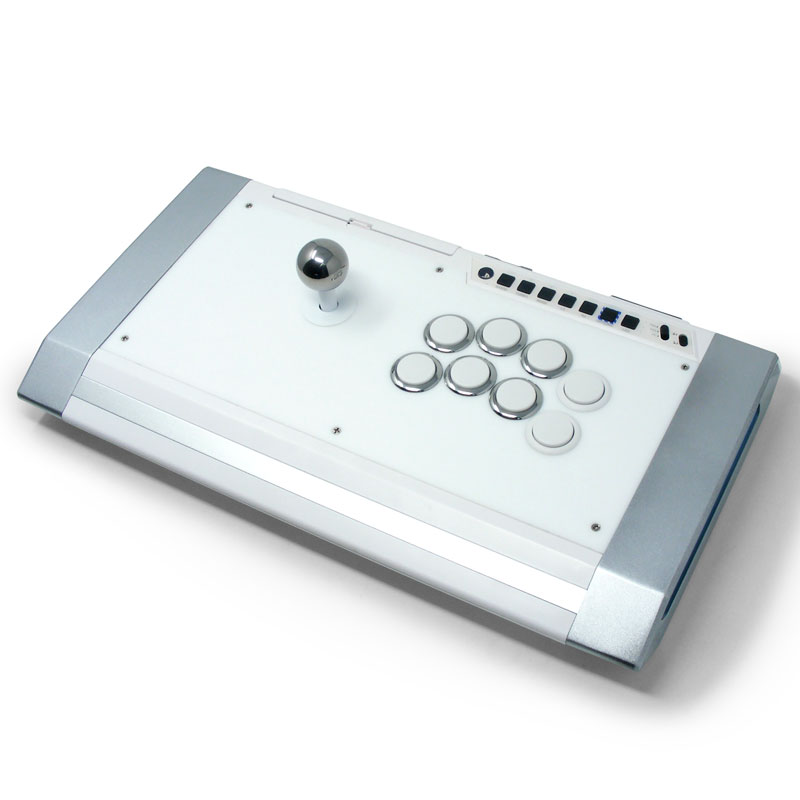
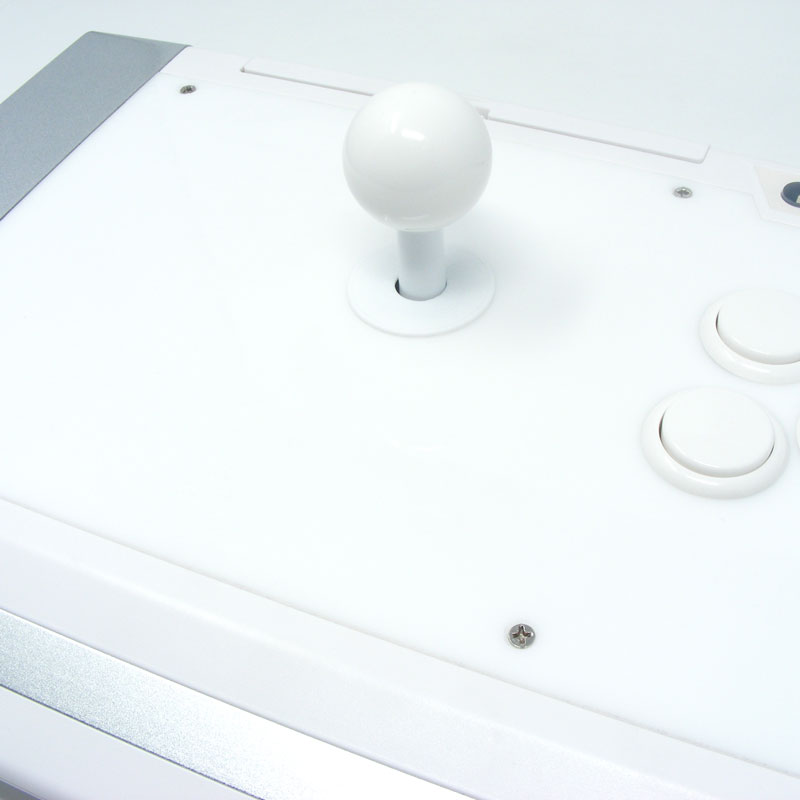 White Gloss and White Matte is available in .125" (3mm) thickness only. For AllFightsticks models, you can use the white matte plexi panel as a full replacement for the metal panel.
White acrylic is also semi translucent - about 80% opacity. You could place a brightly colored artwork underneath for a cool effect.
Layout Configuration
Each Fightstick has its own characteristics, with some sharing similar elements, such as the popular Vewlix button layout. We will specify what options are available for each Fightstick. Below are the most common button layout configurations:
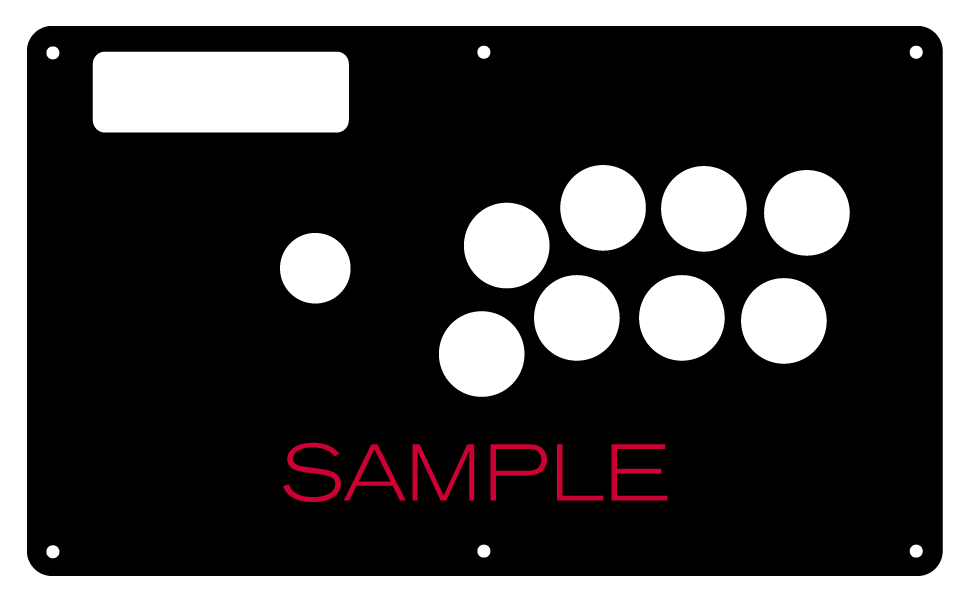
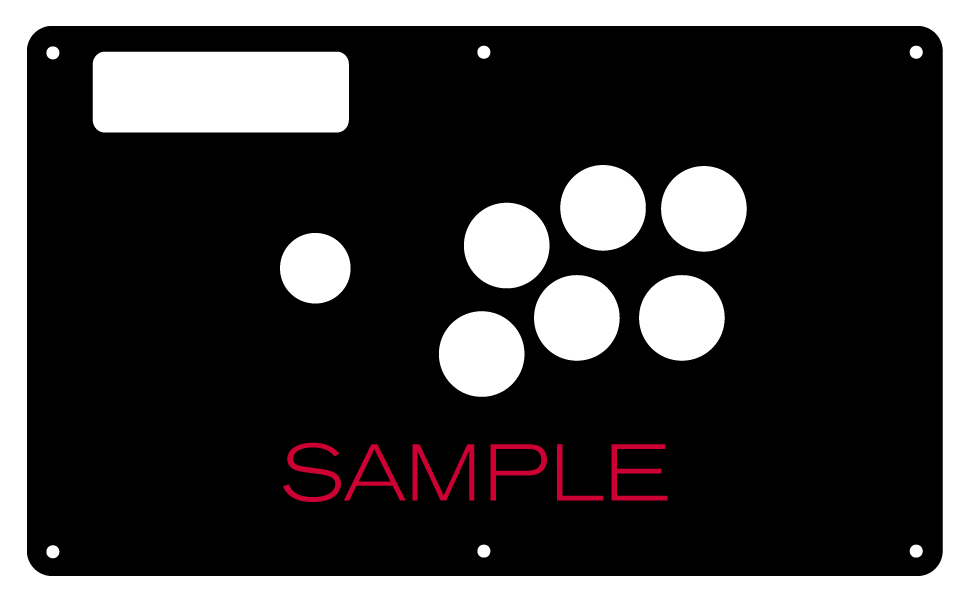
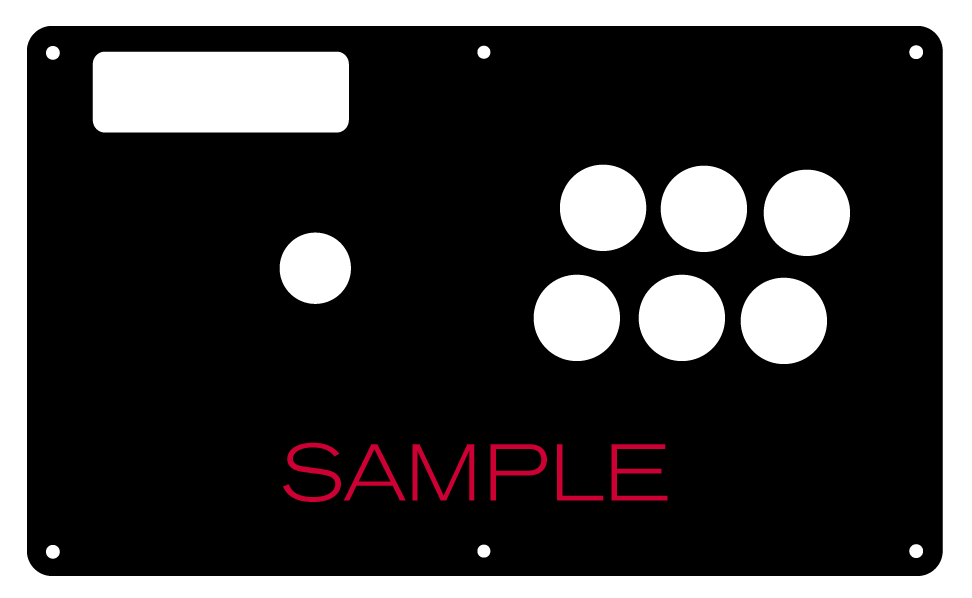
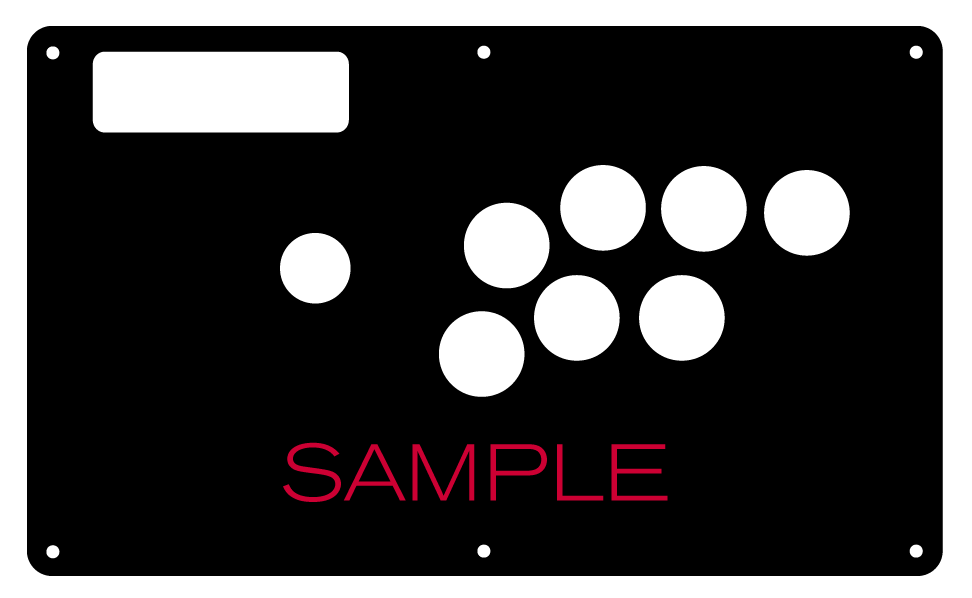 8 Button VewlixFirst 6 ButtonsLast 6 Buttons7 Button Vewlix
Removing Default Elements
Some Fightsticks, such as the popular MadCatz TE, offer additional personalization options by removing default elements such as control panel, start button, or screws. Cut options are defaulted to their authentic counterpart, displayed as [YES (default)] in the options list. For example, a MadCatz TE, the default configuration is to have the turbo/guide portion of the control panel cut, so that the control panel can fit properly. You have the option to select [NO] to prevent cutting these areas.
![Cut Control Panel? [NO]](http://support.focusattack.com/attachments/token/ioB7e1jzIXfxKdM8KJPKKzvKD/?name=sample-8button-noturbo.png)
![Cut Start Buttons [NO]](http://support.focusattack.com/attachments/token/SWbsx5sVHYupnBQ5iuZH1S2HK/?name=sample-nostart.png)
![Cut Middle and/or Bottom Screws? [NO]](http://support.focusattack.com/attachments/token/QzFj5pc5cNNHkOKrzlEMcc0I4/?name=sample-8button-nomiddlescrew.png) Cut Control Panel? [NO]Cut Start Button? [NO]Cut Middle and/or Bottom Screws? [NO]
Cut Control Panel? [NO]Cut Start Button? [NO]Cut Middle and/or Bottom Screws? [NO]
Cut Control Panel? [NO] - If you own a MadCatz TE, and installed a PS360+, you may no longer need the Turbo/Guide area of the control panel, located at top left. This option allows you to remove the Turbo/Guide portion. Please note that you MUST remove the actual control panel on the TE by unscrewing it before applying the plexi, or you risk damaging the plexi. Also, please make certain to select this option if you are also choosing to have artwork printed, or the plexi and artwork won't match.
Cut Start Button? [NO] - On some joysticks - such as the Qanba Q4 - the start button is directly on the panel. You can select to have this removed. You can also select this should you desire a panel similar to the Eightarc Fusion or Synthesis series Fightstick, as the start button is moved elsewhere. Again, this option is available on specific joysticks.
Cut Middle and/or Bottom Screws? [NO] - Selecting "no" on this option allows you to remove the middle top and bottom screw holes on specific joysticks, either for a cleaner appearance or to avoid rubbing your wrist against the screw. Please reconsider this option if you intend to have a full panel etch on your plexi, as etching physically changes portions of the plexi due to heat. In this case, it is best to leave the screw holes in place in order to keep the panel securely positioned.
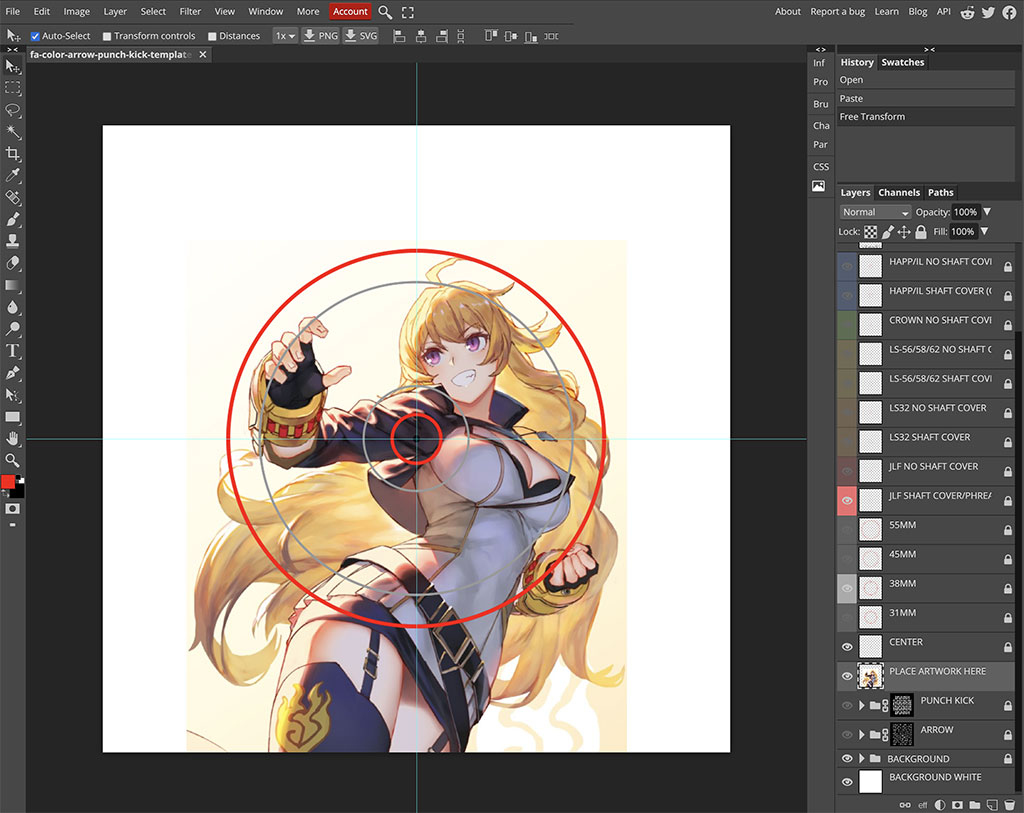
Image Edit If you would like to use a free, online Photoshop-like app to check out whether your artwork will work with a layout we offer, I highly recommend Photopea
 This amazing app works with our PSD templates and is a great way to preview your artwork or create new art files. It also exports to PSD, which is the format we recommend for submitting artwork.
Support New to FA Plexworks?
Click the "Options" tab for a detailed explanation of each customization option available to you. Using a mobile device? Click here to scroll to the descriptions.
Artwork templates
We offer a photoshop template for each custom artwork or custom plexi etch. Click the "Description" tab (or scroll up if on mobile device) to display the template and download. You can also click here to access our repository and download artwork and etch templates (in Photoshop PSD format) for your desired model and others.
Important: Using templates outside of the ones we provide may produce unwanted output. We are not responsible for output generated from unsupported templates. More information here.
Warranty and Support for FA Plexworks Custom Order
Custom orders cannot be returned for refund, or exchanged for another custom order. Orders damaged upon arrival are subject to special terms within our return policy. Please see our FA Plexworks FAQ for more information about our Plexworks return policy and related Q&A.
If you have not used our Plexworks custom services before, we recommend that you visit our support section for updated information, helpful tips, and resources to get the best output.
Some useful sections to review before making your purchase (will open in new browser window or tab):
- Learn about our Custom Job Tracker to keep tabs on your custom order while staff processes it from start to finish.
- Save time getting answers by visiting our FAQ.
- Learn more about the personalization options available to you.
- Hire a skilled artist from the Fightstick Artists Network to visualize your idea.
- Handling the artwork yourself? Review our requirements and get tips to optimize your laser etch or artwork submission.
- Learn about additional products and services we offer under FA Plexworks.
- Project L Official Artwork: Do not submit the PNG samples. Instead, please download the zipped Photoshop PSD version, unzip the file and integrate them into our artwork templates
-
Product Reviews
-
Product Videos
-
 FA Plexworks Custom Fightstick Artwork ServicesThis video explains the many options available to you when cho...
FA Plexworks Custom Fightstick Artwork Services
This video explains the many options available to you when choosing custom FA Plexworks services at focusattack.com. We also cover important tips and references for properly uploading artwork when placing an order. Visit https://www.focusattack.com/customize/ to place an order for custom Fightstick artwork, a replacement acrylic top, or even laser etched design on acrylic. For additional information about FA Plexworks, download templates, and additional tips on how to submit artwork, visit our support portal http://bit.ly/fa-plexworks-support Big thanks to Naota for his pro-tier production! ** Artwork pictures are sample illustrations. All printed artwork is submitted by the user, and not sold directly on the website. -
-
Find Similar Products by Category


