- Category
- What's New?
- FightSticks/Pads
- Joysticks
- Pushbuttons
- Spare Parts & Tools
- Hardware & PCB
- Electrical
- Customize
- Merchandise
- Sales & Clearance
- Brand
Artwork Print and Cut for Hit Box (PS3/PS4 Version)
Choose Your Options
-
Product Description
Please Read Before You Order
Below is important information to know before placing a custom order with us:
- Project L Official Artwork: Do not submit the PNG samples. Instead, please download the zipped Photoshop PSD version, unzip the file and integrate them into our artwork templates
 for your desired fightstick model
 - Custom Orders do Not Ship Separately: If you place an order for a personalized product along with non-custom products, such as arcade part or merchandise, please note that all items will ship together.
 Artwork for this Fightstick requires a plexiglass replacement. The original Fightstick panel contains artwork that is permanently attached to it, the panel was not originally designed to accomodate custom artwork, or did not come with a plexi panel. After adding custom artwork to your cart, look for the Fightstick Plexi that matches your Fighstick model.
Control panel artwork represents one of the most convenient means to personalize your fightstick, giving it a new look almost immediately.
Designed for Official HitBox (PS3/PS4 Version)
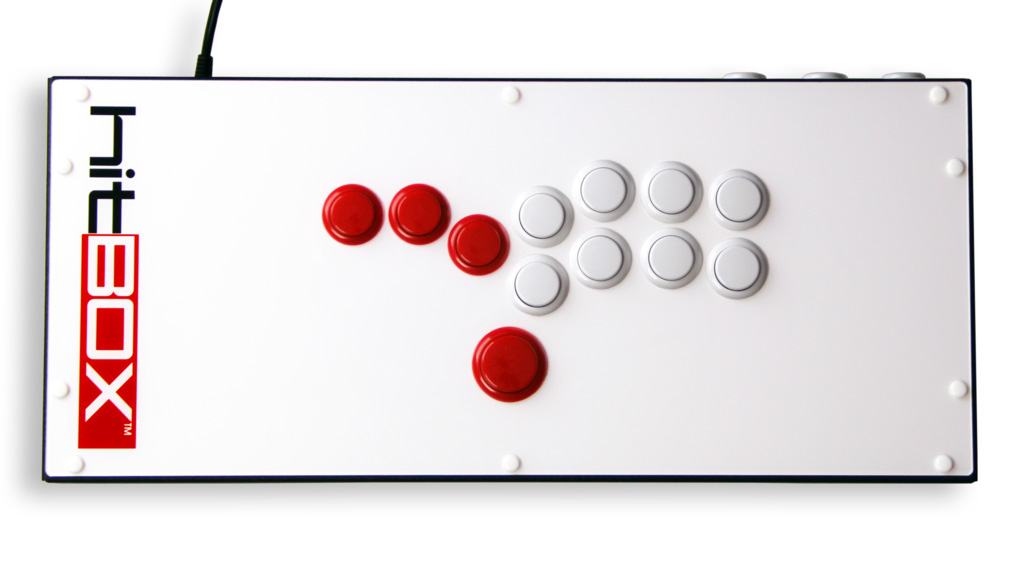
HitBox Panel Template (PS3/PS4 Model, not compatible with PS360+ model, 3.3Mb zip) The latest model of HitBox has slightly different button positioning than the original model that housed the Akishop PS360+ multi-console PCB, and features rounded corners.
High Resolution, Color Fidelity
Artwork prints are developed using a top-of-the-line commercial printer, offering vivid, professional-quality artwork replication. The printer is capable of resolution of 1200dpi (dots per inch), and 8 color ink system (Cyan, Magenta, Yellow, K(Black) + Light Cyan, Light Magenta and White) reproduces artwork over a wide color range.
Artwork is printed on 10 mil cardstock sheet. It carries 95% brightness and tensile strength of 100 pounds per inch.
Each print is laser cut to your specifications, as presented by available options. You will receive the print with perforated button inserts designed to fit your chosen button brand. In some cases, such as the Mayflash series, the control panel elements may also have perforated cuts. Gently press downward to remove the cutouts.
Important Notes about Color Fidelity, Brightness
- Please do not change the RGB color space of our templates to CYMK when submitting your artwork. Our templates are intentionally designed in the RGB color space to best match most customer's screen expectations, and will typically convert CYMK to RGB when printing. We will not honor demands to reprint artwork whose template is changed to CYMK color space.
- Unless properly calibrated to your printer and viewing environment, your monitor does not accurately represent the brightness of paper. Artwork submissions may need adjustment to ensure prints are not too dark. Please read this helpful support article for more information
New: Holographic Paper

Example animated photo displayed for illustrative purposes only. Pattern "Space Dots" shown.
In addition to white cardstock sheets, we now offer holographic paper sheets in several captivating patterns. Holographic sheets are created from paper that is imprinted or embossed with a design or image and then covered in a thin, transparent film of metal. The finished sheet has a characteristic luster — a kind of rainbow iridescence — when the imprinted pattern is viewed from particular perspectives.
Holographic cardstock has a similar tensile strength to our existing cardstock, about 110-115 pounds per inch
How does an artwork's colors change the holographic effect in a print?
If you are choosing to print your artwork using our holographic paper instead of white paper, it's worthwhile to know how how elements of color in your illustration will affect the appearance of the holo effect.
The ink used in our printing is transparent. This means that the holographic effect will indeed reflect its pattern differently under that transparent ink color. Typically it will reflect the holo pattern under that color, as opposed to displaying its own color-changing effect.
Solid black and darker colors typically have more ink laid onto the holographic material and thus is the least transparent. Areas of white within an illustration will use no ink, and thus reflect the full color changing spectrum of the holographic paper. Here is one example of both transparent ink, areas of white, and solid black ink on a holographic print:
https://x.com/Narath_FGC/status/1828365042095415660
Another example shows how the effect appears when the material is shifted from side to side (click the link to see the video example):
https://x.com/Patches23X/status/1829260992532164834
Differences between White Cardstock and Holographic Print
Both materials have their strengths. White cardstock is our tried and true paper material, producing vibrant colors with a textured semigloss. It's 95% brightness brings out the best color fidelity because it has a white backing.
Holographic paper has a striking metallic finish. By itself, its color changing properties are quite eye-catching. This is even more evident when a pattern is used. However, because the material does not have a white backing, the illustration's areas of white will instead show the metallic sheen. This can lead to a slightly duller appearance compared to cardstock. These comparison photos may help to illustrate. Please note that while the colors can appear more muted on holograph paper, the reflective nature of the material as well as its color properties will vary depending on the angle the illustration is seen and the material's pattern. Not every print will exactly resemble the below example.
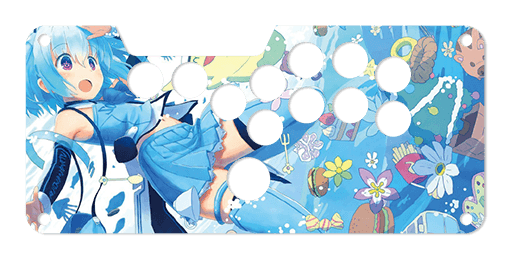
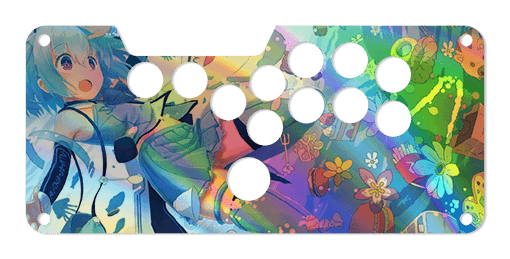 White cardstockHolographic paper
Not Every Artwork is Suitable for Holographic Paper
Artwork with low contrast - meaning an image or appearance where there's a small difference in brightness or color intensity between different areas - may not output well on holographic paper. As mentioned, colors can appear more muted than on white paper. This is partly due to the reflective nature of the material and its metallic sheen. Holographic paper is not white.
No refunds, reprints for artwork whose holographic pattern isn't desired.
We attempt to provide as much information about the holographic material as we can. We do not know how your artwork will turn out on thsi material until it is printed. We do not provide consultation on those prints - we simply print on the material that you chose. No refunds or reprints are offered under these circumstances. Chargeback threats will result in a blacklist from our store under your current account.
White or Holographic Paper: Not sure Which to Choose?
If you are unsure or unconfortable choosing holographic paper for your artwork, we recommend that you consider this suggestion:
Since launching this new material, we found that many requested their artwork printed on both white and holographic paper. It provides an opportunity to compare the two materials, while ensuring that should holographic material not suit the artwork well, the artwork on white paper is a good backup.
Holograph Patterns
The following patterns are available. Artwork is printed atop the pattern and its color changing effects will appear underneath. Please note that the animated patterns are simulated, meaning that the color movement displayed here may appear different when viewing an actual print from different angles. It's important to know that your illustration's colors will affect the reflectivity of some patterns. Darker colors or black will display the least color-changing effects, as black ink is mostly opaque. Lighter colors will reflect the most of the color-changing effects. Areas of white receive no ink when printing, and therefore will show the reflective pattern most of all.
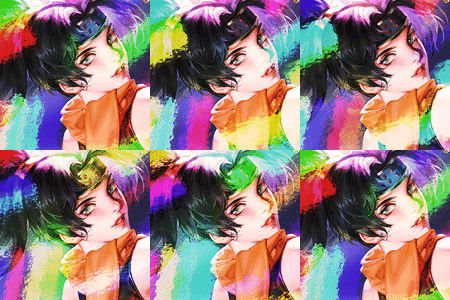
No Pattern (Rainbow)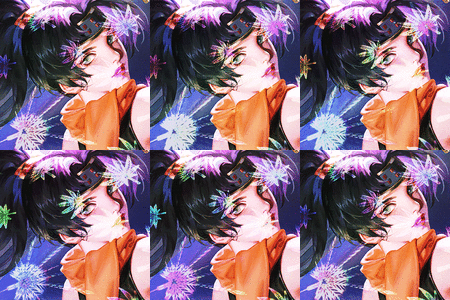
Cannabis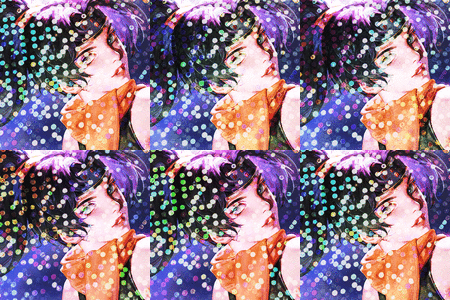
Donuts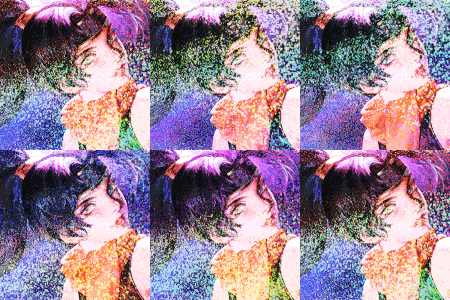
Dots Lite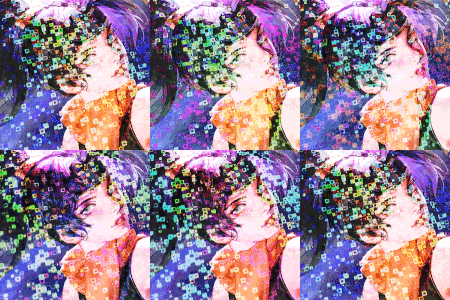
Little Boxes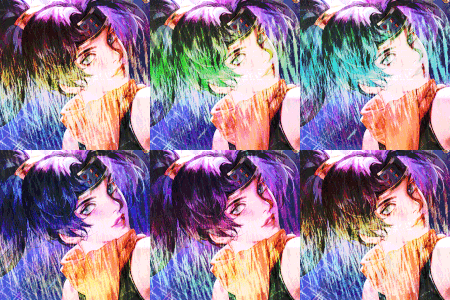
Magnetic Fur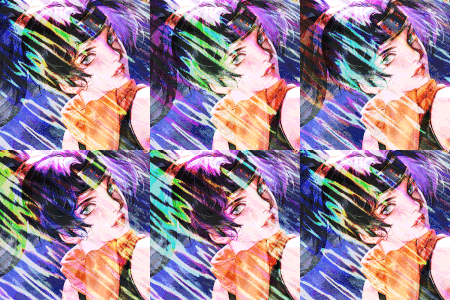
Moon Lava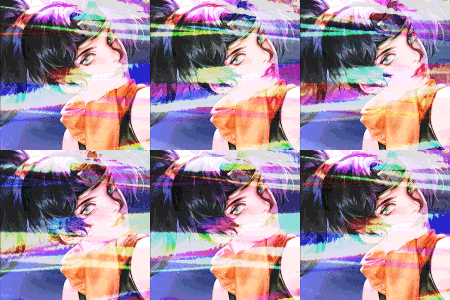
Pillars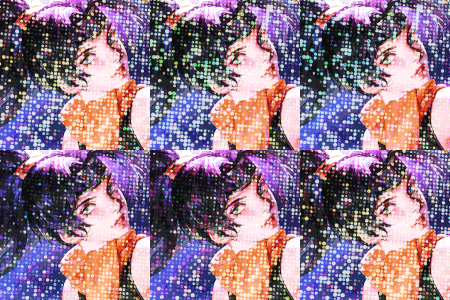
Space Dots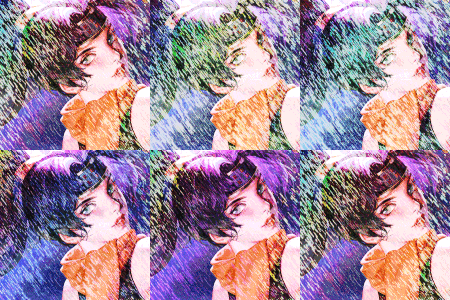
Static Storm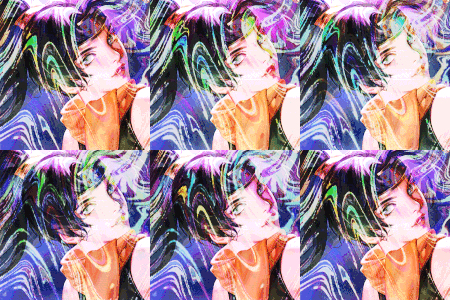
Swirl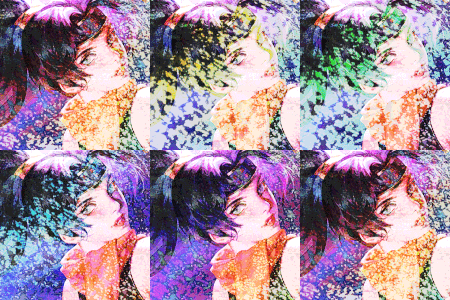
Texture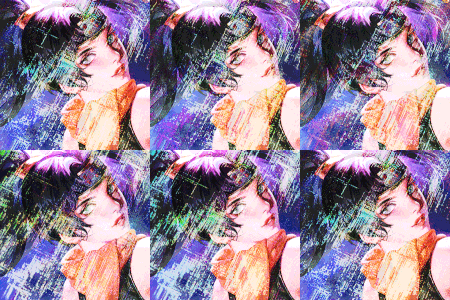
Thatched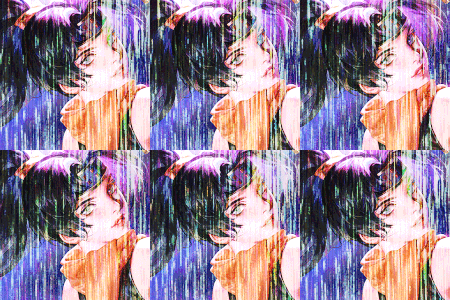
Tinsel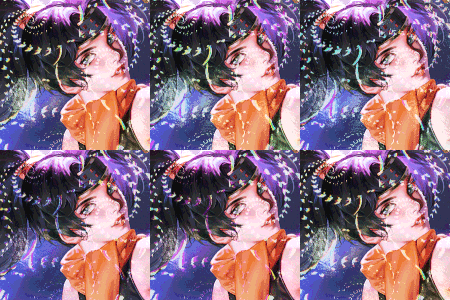
VortexInstallation
The latest version of HitBox uses a combination of screws in the bottom plate, and plastic rivets on top panel.

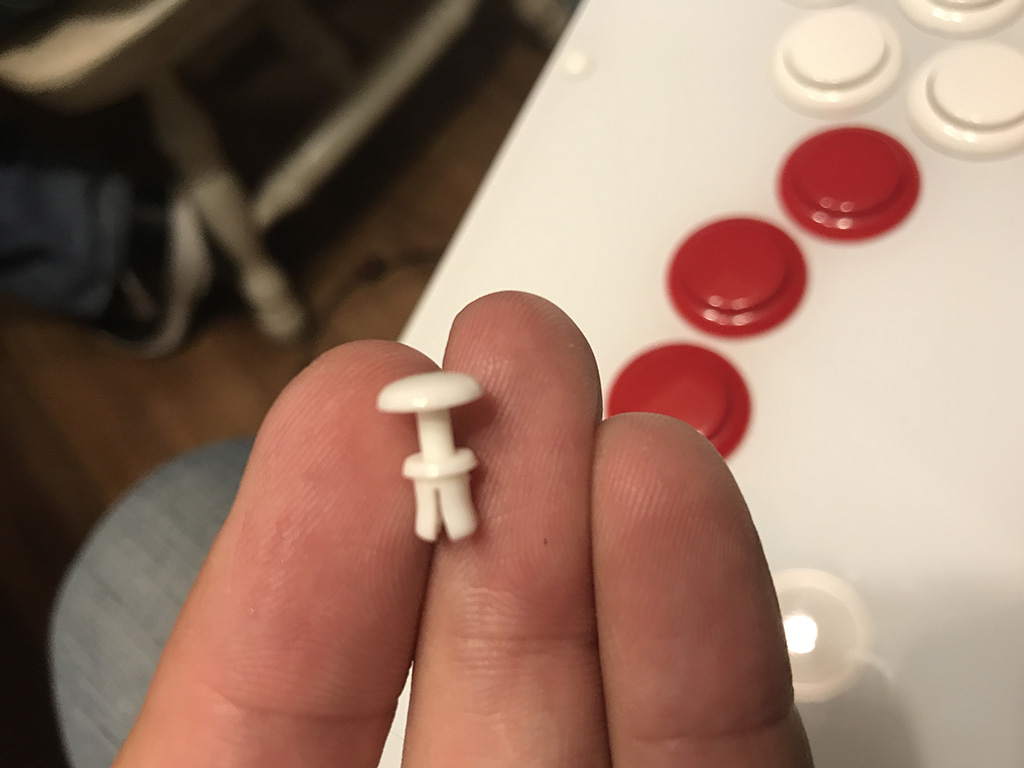
First, you will flip the HitBox upside down to access the bottom plate.
Next open the bottom panel of the hitbox by squeezing the rubber portions of the bottom of the corner screws and gently turning. Use a screwdriver carefully to remove the center buttons.Much thanks to 801 Mods' Joey Wainwright for the helpful tutorial.

Once the bottom panel is removed, use a needle-nose pliers to carefully remove the quick disconnects attached to each button. Carefully remove each button by gently pushing the tabs on each side of the button inwards, and then downwards to push the button out.
The ten plastic rivets can be removed without damaging the rivets themselves. Using a small punch with a flat head (octagonal shaped) gently push in the middle of the rivet. This will allow the rivet to unlock and be pushed through.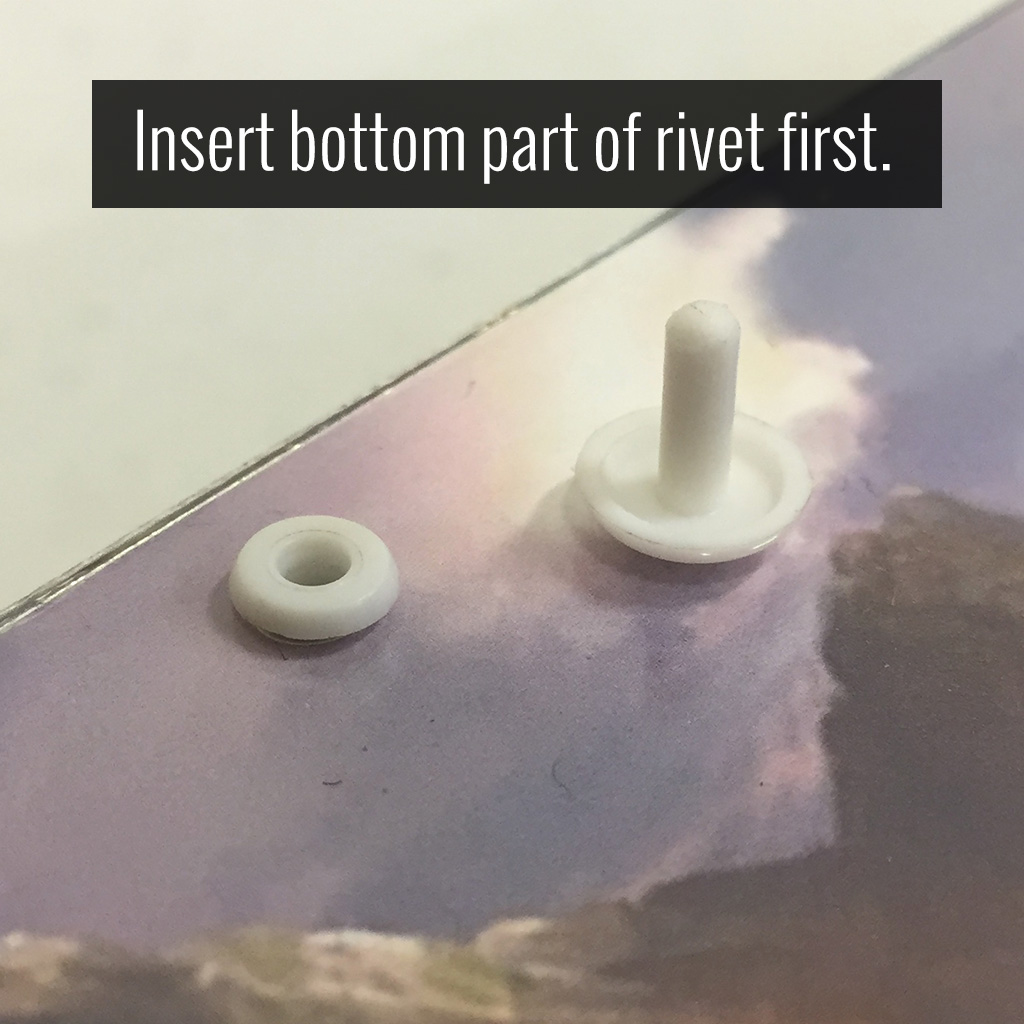
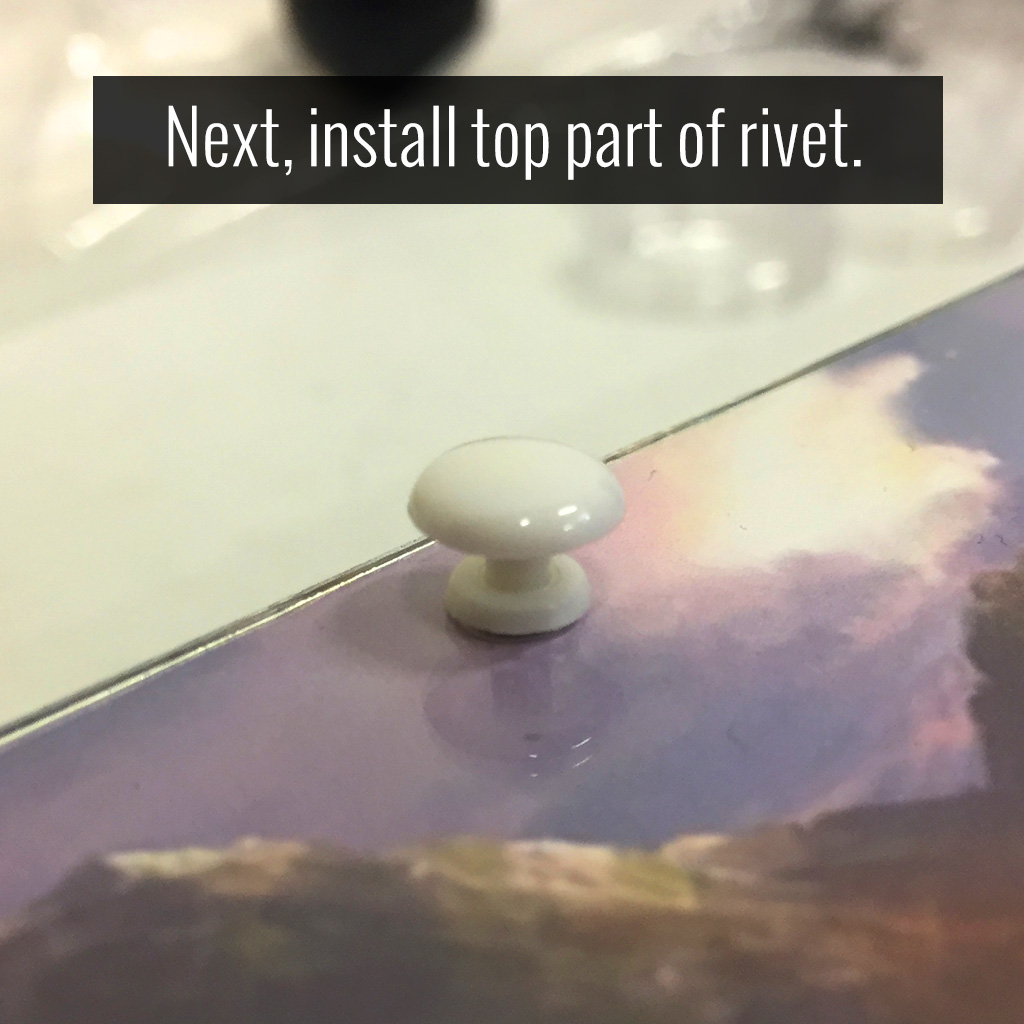
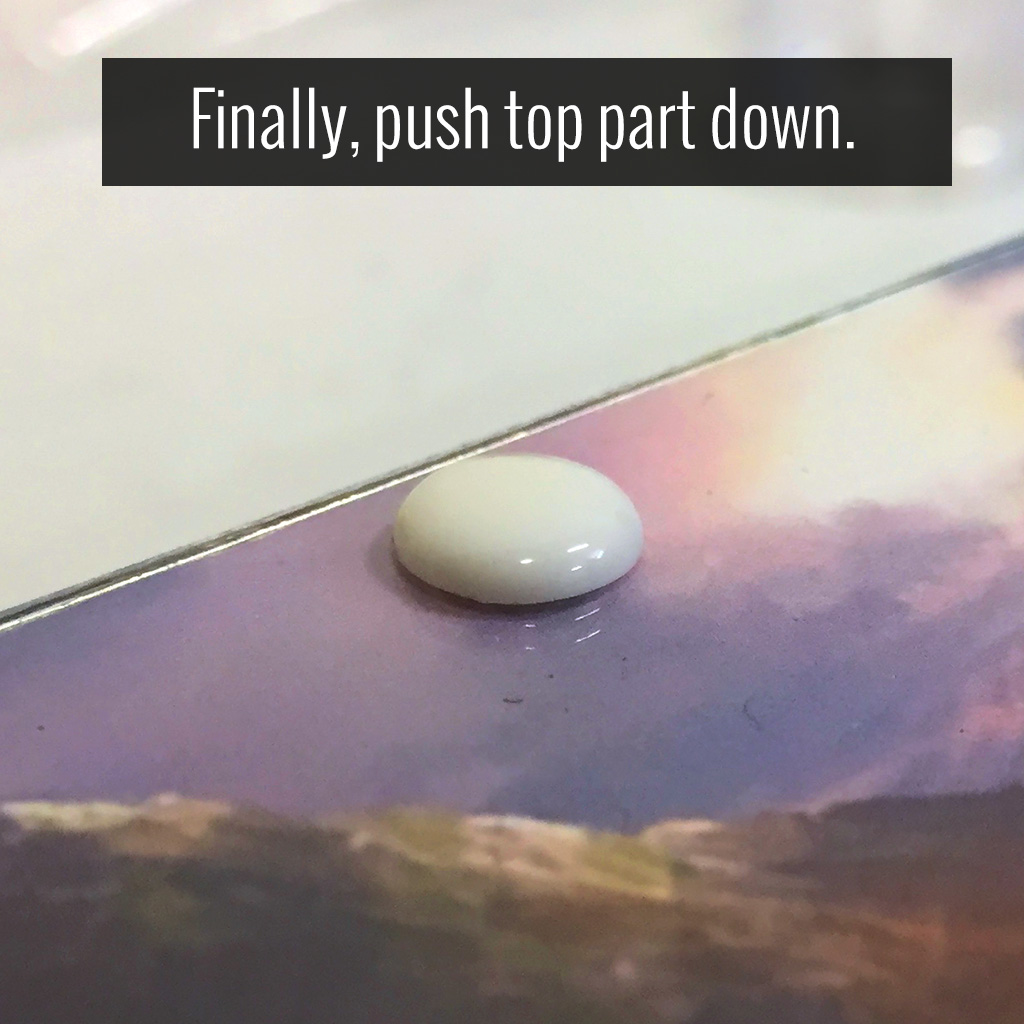
Once artork and plexi are in place, you can reinstall the plastic rivets. Start with the bottom rivet, threading it into each top hole. You may find that after removing the first time the rivet's bottom is stretched outward a bit and may not easily fit into the hole. Gently squeezing the bottom with needle-nose pliers will help Next, insert the rivet top into the bottom rivet's hole. Finally, push the top rivet down until you hear a snap. The rivet works by securing the top half to bottom, expanding the bottom rivet's plastic legs to keep everything in place. Should you need to remove the rivet again, you can follow the process above to release them without damage. Option Guide Often, you will have several options to personalize your control panel. Note: Not every option will apply to your Fightstick model.
Layout Configuration
Each Fightstick has its own characteristics, with some sharing similar elements, such as the popular Vewlix button layout. We will specify what options are available for each Fightstick. Below are the most common button layout configurations:
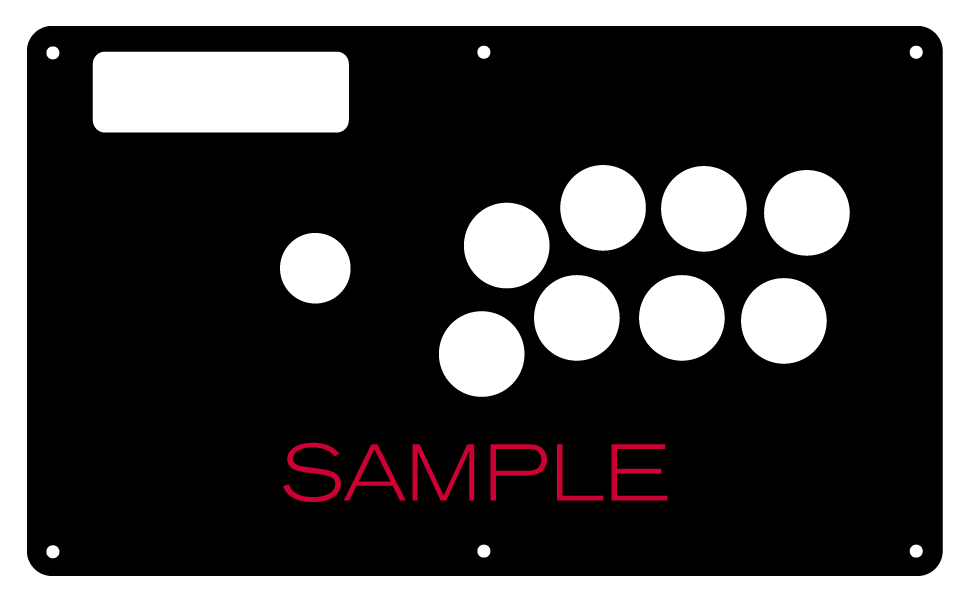
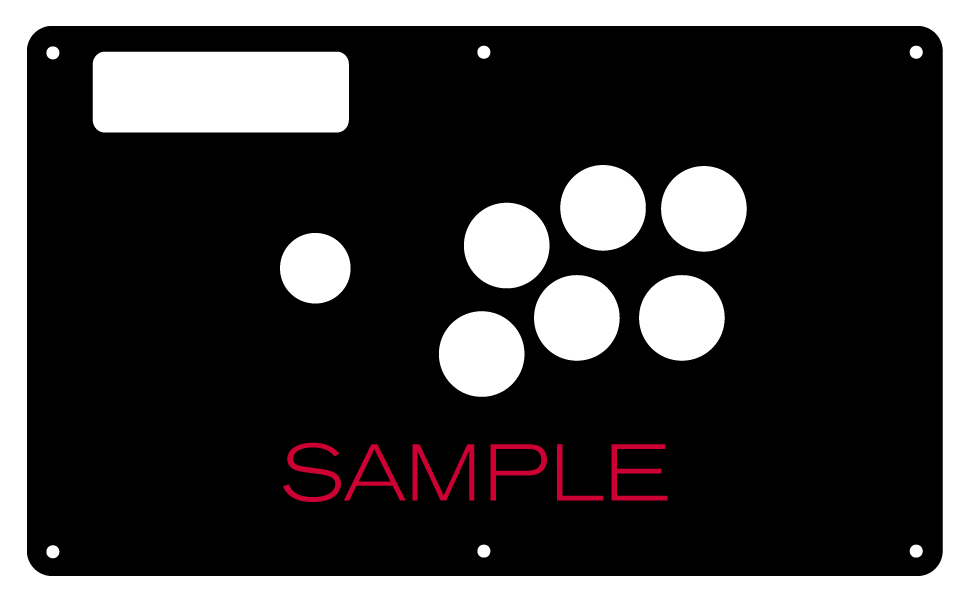
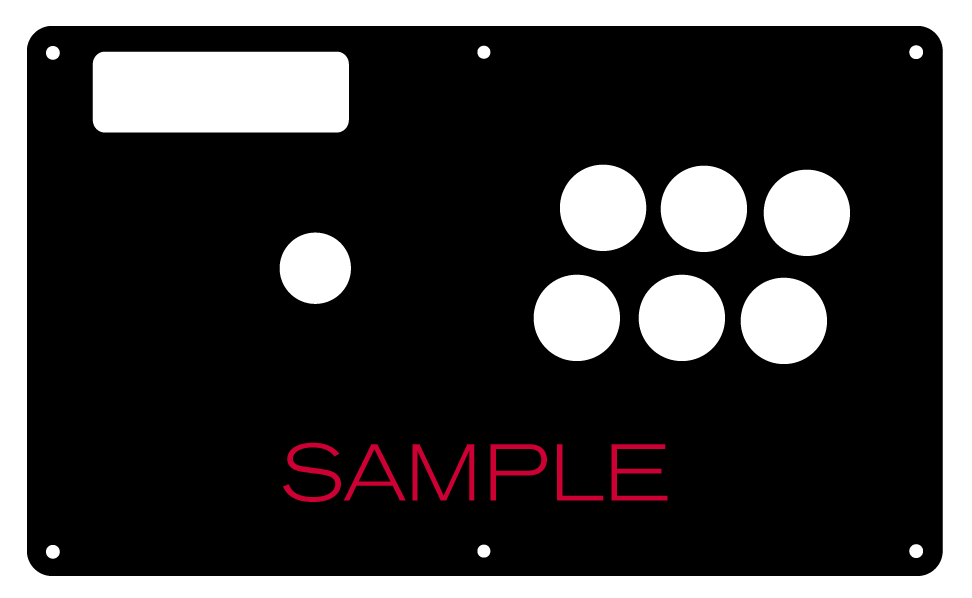
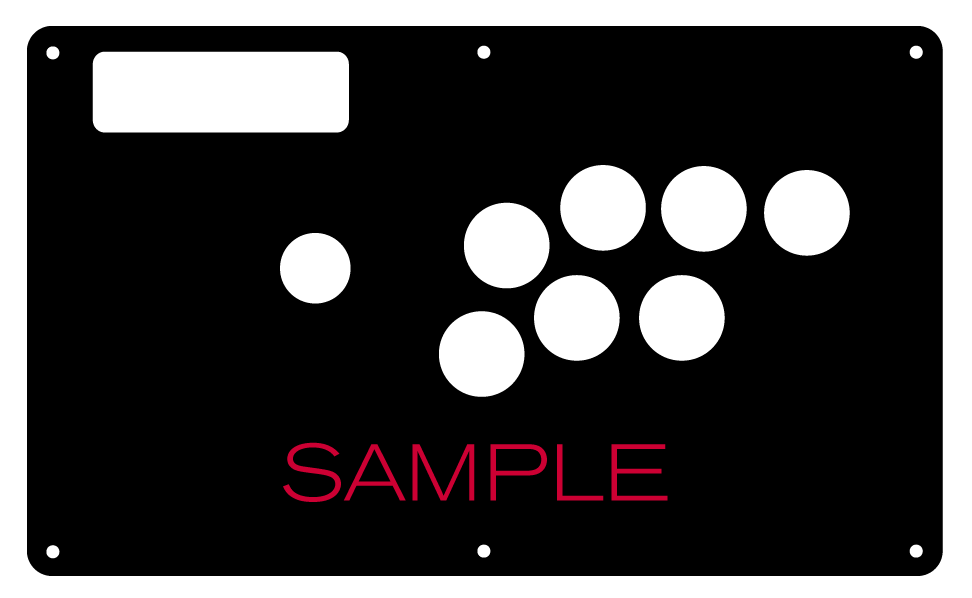 8 Button VewlixFirst 6 ButtonsLast 6 Buttons7 Button Vewlix
Removing Default Elements
Some Fightsticks, such as the popular MadCatz TE, offer additional personalization options by removing default elements such as control panel, start button, or screws. Cut options are defaulted to their authentic counterpart, displayed as [YES (default)] in the options list. For example, a MadCatz TE, the default configuration is to have the turbo/guide portion of the control panel cut, so that the control panel can fit properly. You have the option to select [NO] to prevent cutting these areas.
![Cut Control Panel? [NO]](http://support.focusattack.com/attachments/token/ioB7e1jzIXfxKdM8KJPKKzvKD/?name=sample-8button-noturbo.png)
![Cut Start Buttons [NO]](http://support.focusattack.com/attachments/token/SWbsx5sVHYupnBQ5iuZH1S2HK/?name=sample-nostart.png)
![Cut Middle and/or Bottom Screws? [NO]](http://support.focusattack.com/attachments/token/QzFj5pc5cNNHkOKrzlEMcc0I4/?name=sample-8button-nomiddlescrew.png) Cut Control Panel? [NO]Cut Start Button? [NO]Cut Middle and/or Bottom Screws? [NO]
Cut Control Panel? [NO]Cut Start Button? [NO]Cut Middle and/or Bottom Screws? [NO]
Cut Control Panel? [NO] - If you own a MadCatz TE, and installed a PS360+, you may no longer need the Turbo/Guide area of the control panel, located at top left. This option allows you to remove the Turbo/Guide portion. Please note that you MUST remove the actual control panel on the TE by unscrewing it before applying the plexi, or you risk damaging the plexi. Also, please make certain to select this option if you are also choosing to have artwork printed, or the plexi and artwork won't match.
Cut Start Button? [NO] - On some joysticks - such as the Qanba Q4 - the start button is directly on the panel. You can select to have this removed. You can also select this should you desire a panel similar to the Eightarc Fusion or Synthesis series Fightstick, as the start button is moved elsewhere. Again, this option is available on specific joysticks.
Cut Middle and/or Bottom Screws? [NO] - Selecting "no" on this option allows you to remove the middle top and bottom screw holes on specific joysticks, either for a cleaner appearance or to avoid rubbing your wrist against the screw. Please reconsider this option if you intend to have a full panel etch on your plexi, as etching physically changes portions of the plexi due to heat. In this case, it is best to leave the screw holes in place in order to keep the panel securely positioned.
Cut Button Inserts

Pushbutton manufacturers such as Sanwa, Seimitsu, Crown and GamerFinger have each produced specific models with a clear or translucent plastic cap and flat plunger. These are often used to display a graphical insert, allowing you to enhance the button's appearance. That said, each button manufacturer has designed the artwork cap with a different diameter than their competitors. For example, GamerFinger's artwork cap has a diameter that is slightly larger than Seimitsu or Sanwa. An insert cut for a Sanwa artwork cap will fit loosely when inserted into the GamerFinger artwork cap. This is an undesirable result that can produce a white or colored ring around the insert.
Now, you can choose the button insert cut to match the pushbutton you intend to use. This allows the insert to fit snugly within the cap.
Brands and Model with Artwork Caps
- Sanwa - OBSC (30mm) | OBSC (24mm)
- Seimitsu - PS-14-GN-C (30mm) | PS-14-DN-C (24mm) | PS-14-K (30mm) | PS-14-KN (30mm) | PS-14-DN-K (24mm)
- Seimitsu - ALUTIMO SSPS MX 24mm and 30mm
- Crown - SDB-201-C, SDB-202 MX (30mm) | SDB-202-MX (24mm)
- Qanba - GRAVITY 24 and 30mm
- GamerFinger - HBFS30 (30mm) |HBFS24 (24mm)
In some instances, a button brand or model does not have a 24mm equivalent with art cap. In this case, we will cut to the default size of Sanwa 24mm insert.Please note that if you later intend to purchase a different button, you may need to get new button inserts or new artwork. If you are uncertain which button you may choose, Sanwa is chosen by default.
Button Cut for Qanba Q2 Glow
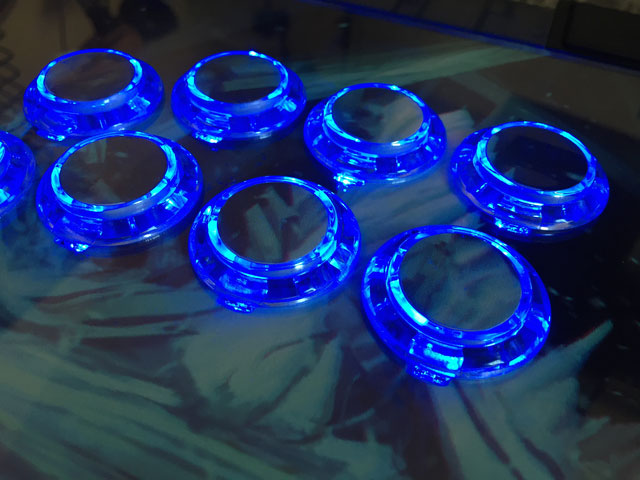 Qanba Crystal and Q2 Glow feature buttons manufactured by Qanba. These buttons have a smaller cap diameter, and thus require a smaller artwork insert. If you plan to keep the Qanba Crystal or Q2 Glow buttons installed when updating your artwork, please choose the option "Crystal/Q2 Glow".
24 vs 30mm
When processing orders, a frequent mistake we found among new players is choosing the wrong size for action buttons, such as punch and kick.
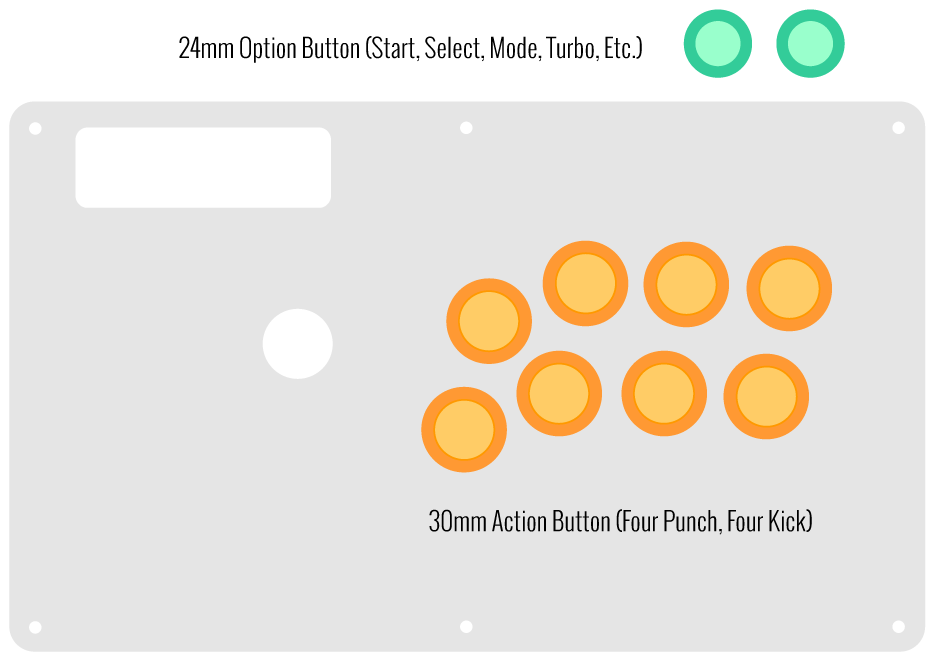
Within the fighting game genre, Japanese arcade buttons commonly consist of two diameter sizes: 24 millimeter and 30 milllimeter (mm). In most configurations, 30mm represents your action button. These are front facing, appearing most prominent on your Fightstick control panel. Option button, such as "Start", "Select", or more recently "Option", "Touch", or "Share" are usually 24mm.
UPDATE: Owners of Neo Geo AES Joysticks will need 24mm pushbuttons instead of 30mm (Thanks SRK's DEZALB)
Below is a visual representation of a common Fightstick control panel. Throughout this article, we will mark 24mm in green, and 30mm in Orange.
Checking the Proper Size
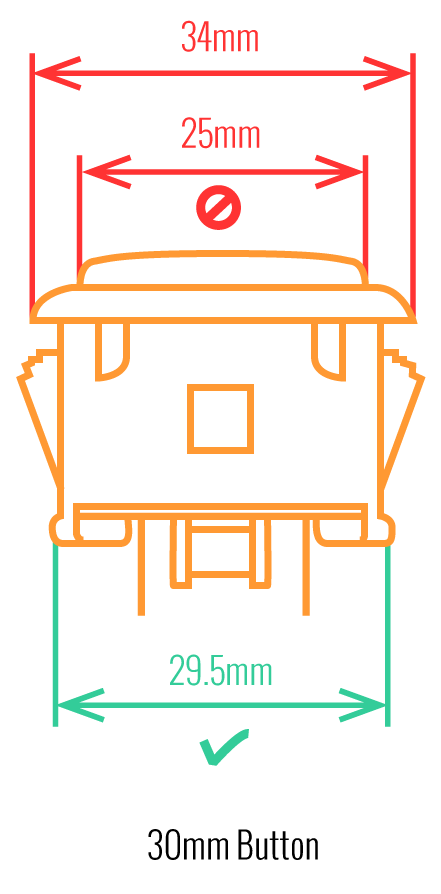 Another way that players can misinterpret the pushbutton size is by measuring the pushbutton plunger. Have a look at the diagram at right.
The plunger - the part that you press down to represent an input - is 25mm or a bit smaller in most 30mm pushbuttons. Often this leads to the conclusion that one needs a 24mm button and not 30mm.
Similarly measuring the button rim can lead to confusion, as it is intentionally larger than the button hole it is placed in. You don't want to use these measurements. Instead, review the button housing diameter, or the hole the button will be placed in. You can do this with a caliper - a digital caliper is often quite helpful for this and other arcade-related projects.
Control Panel Configuration
Most Fightsticks from MadCatz, Hori, Qanba, and similar will use these two sizes. How the buttons are used will depend on the model joystick that you own. Over time, we'll provide example configurations for specific popular Fightstick models and arcade cabinets using the color key for 24mm (green) and 30mm (orange). We'll also expand the key for future models if another size is introduced, and we offer for sale.
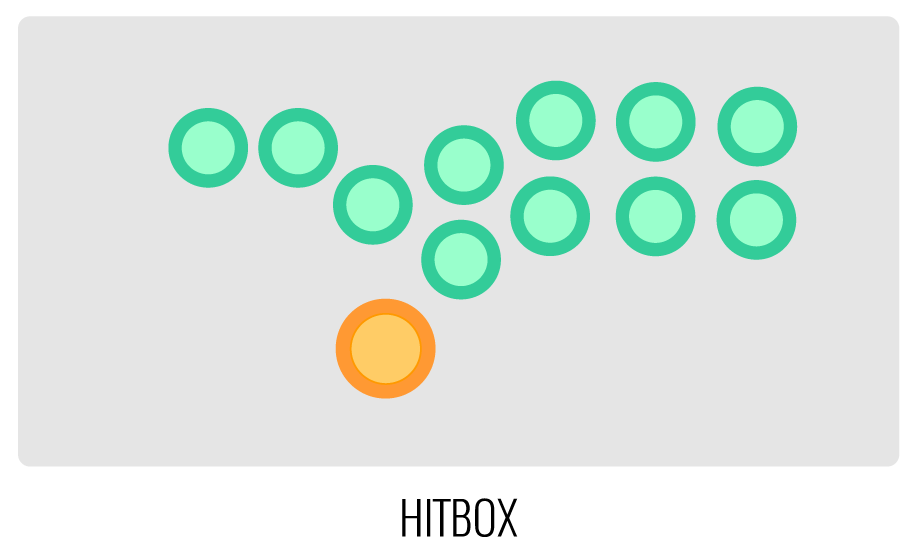
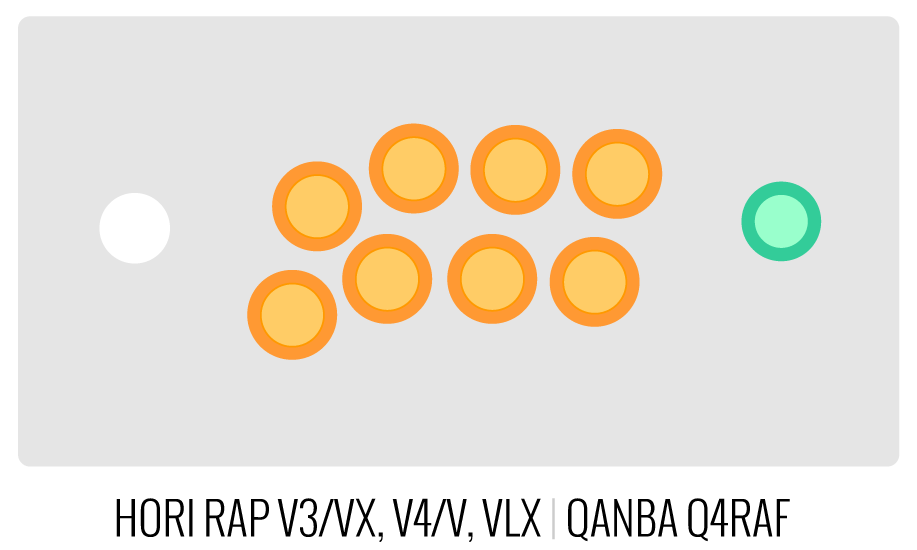
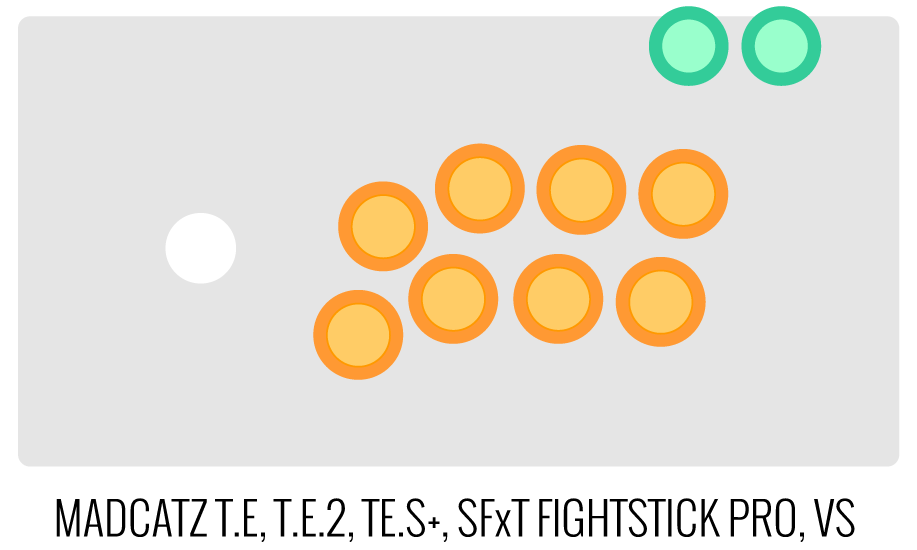
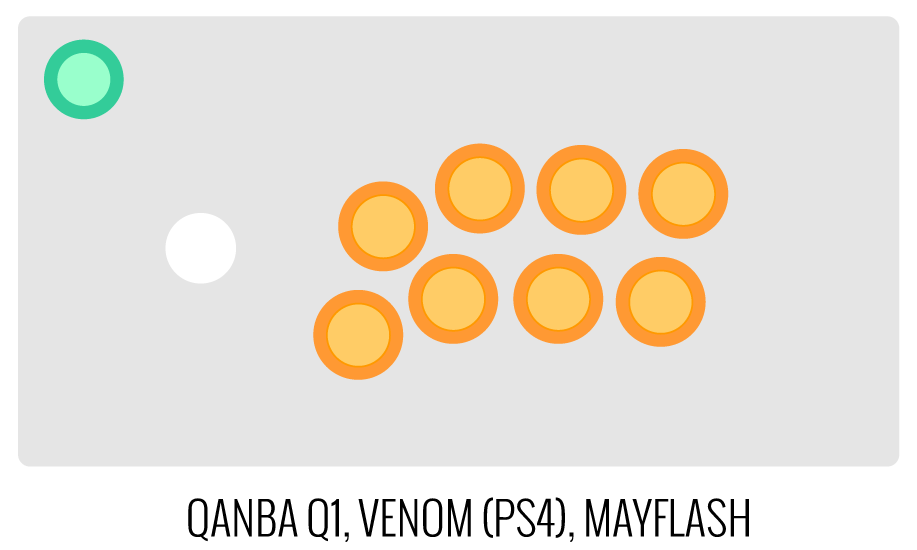
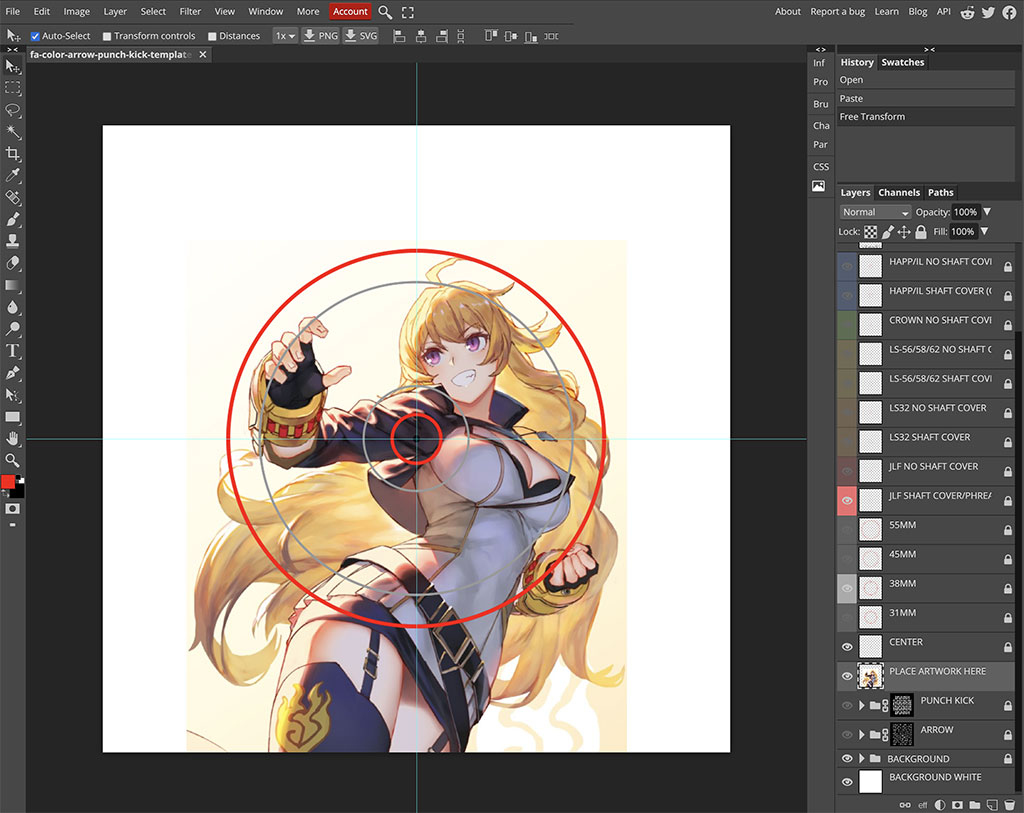
Image Edit If you would like to use a free, online Photoshop-like app to check out whether your artwork will work with a layout we offer, I highly recommend Photopea
 This amazing app works with our PSD templates and is a great way to preview your artwork or create new art files. It also exports to PSD, which is the format we recommend for submitting artwork.
Support New to FA Plexworks?
Click the "Options" tab for a detailed explanation of each customization option available to you. Using a mobile device? Click here to scroll to the descriptions.
Artwork templates
We offer a photoshop template for each custom artwork or custom plexi etch. Click the "Description" tab (or scroll up if on mobile device) to display the template and download. You can also click here to access our repository and download artwork and etch templates (in Photoshop PSD format) for your desired model and others.
Important: Using templates outside of the ones we provide may produce unwanted output. We are not responsible for output generated from unsupported templates. More information here.
Warranty and Support for FA Plexworks Custom Order
Custom orders cannot be returned for refund, or exchanged for another custom order. Orders damaged upon arrival are subject to special terms within our return policy. Please see our FA Plexworks FAQ for more information about our Plexworks return policy and related Q&A.
If you have not used our Plexworks custom services before, we recommend that you visit our support section for updated information, helpful tips, and resources to get the best output.
Some useful sections to review before making your purchase (will open in new browser window or tab):
- Learn about our Custom Job Tracker to keep tabs on your custom order while staff processes it from start to finish.
- Save time getting answers by visiting our FAQ.
- Learn more about the personalization options available to you.
- Hire a skilled artist from the Fightstick Artists Network to visualize your idea.
- Handling the artwork yourself? Review our requirements and get tips to optimize your laser etch or artwork submission.
- Learn about additional products and services we offer under FA Plexworks.
Product Reviews
- Showing reviews 1-10 of 13
- Next Page
-
Perfect
Exactly what I wanted, perfect fit, safe packaging, and awesome colors. Thx so much, Sending Good Vibes! StoneBeard on Jul 12th 2025
-
Absolutely amazing work and fast shipping!
Quality, fast shipping and excellent service!! I will be coming back again to order another custom art panel for my next Hitbox very soon!! Dan Hibiki 's #1 Fan on Oct 24th 2023
-
Top Notch Quality
Print quality is superb! Worth the wait. WalaStika on Sep 23rd 2023
-
Amazing
Print quality is top notch and it fits perfectly, also shipped to the UK very quickly!
Highly recommend. Azami on Jul 18th 2022 -
Get this product if you value high quality art and modding.
The art is fantastic and cut extremely well. As other have stated art with high saturation and colors work v e r y well with this product. Extremely high value for how little it costs for the convenience and quality that the service provides. The laser cut also means the button holes are SO easy to pop out!! No more X-acto nightmares.. ConvictorFGC on Mar 14th 2022
-
Love it
Amazing print quality, perfect fit, saturated colors, love everything about it. Unknown on Jan 1st 2022
-
Exactly what I expected.
Perfect in every way. Great quality and great service! Unknown on Aug 20th 2021
-
Fantastic print job!
This is so worth the money. Get yourself a clear plexi for your hitbox, and order this custom art. The fact that you can create anything you want is perfect for customization. I love mine.
No other hitbox in the world looks like mine, and I love that. Levi Doney on May 17th 2020 -
Outstanding.
My custom artwork print arrived rather quickly. I was more than satisfied with the end product and can't say I saw any noticeable flaws or errors. I will definitely use Focus Attack for future purchased. Superb quality. Jared on May 26th 2019
-
Quality
Ordered from France (delivery a little long but it's ok).
Very good quality of the artwork if you also provide a quality image. Very satisfied @DouwaRN on Apr 26th 2019
- Showing reviews 1-10 of 13
- Next Page
Product Videos
-
 FA Plexworks Custom Fightstick Artwork ServicesThis video explains the many options available to you when cho...
 -
 HOW TO: Modding a Hitbox Arcade with Kazumi Custom Artwork⌚ Timestamp links below! ?? Today I'll be showing you how to...
FA Plexworks Custom Fightstick Artwork Services
This video explains the many options available to you when choosing custom FA Plexworks services at focusattack.com. We also cover important tips and references for properly uploading artwork when placing an order. Visit https://www.focusattack.com/customize/ to place an order for custom Fightstick artwork, a replacement acrylic top, or even laser etched design on acrylic. For additional information about FA Plexworks, download templates, and additional tips on how to submit artwork, visit our support portal http://bit.ly/fa-plexworks-support Big thanks to Naota for his pro-tier production! ** Artwork pictures are sample illustrations. All printed artwork is submitted by the user, and not sold directly on the website.Find Similar Products by Category
- Project L Official Artwork: Do not submit the PNG samples. Instead, please download the zipped Photoshop PSD version, unzip the file and integrate them into our artwork templates


