- Category
- What's New?
- FightSticks/Pads
- Joysticks
- Pushbuttons
- Spare Parts & Tools
- Hardware & PCB
- Electrical
- Customize
- Merchandise
- Sales & Clearance
- Brand
Buttercade Top Loader for Hori Real Arcade Pro
Sorry but this item is currently unavailable.
Please check back at a later stage.
-
Product Description
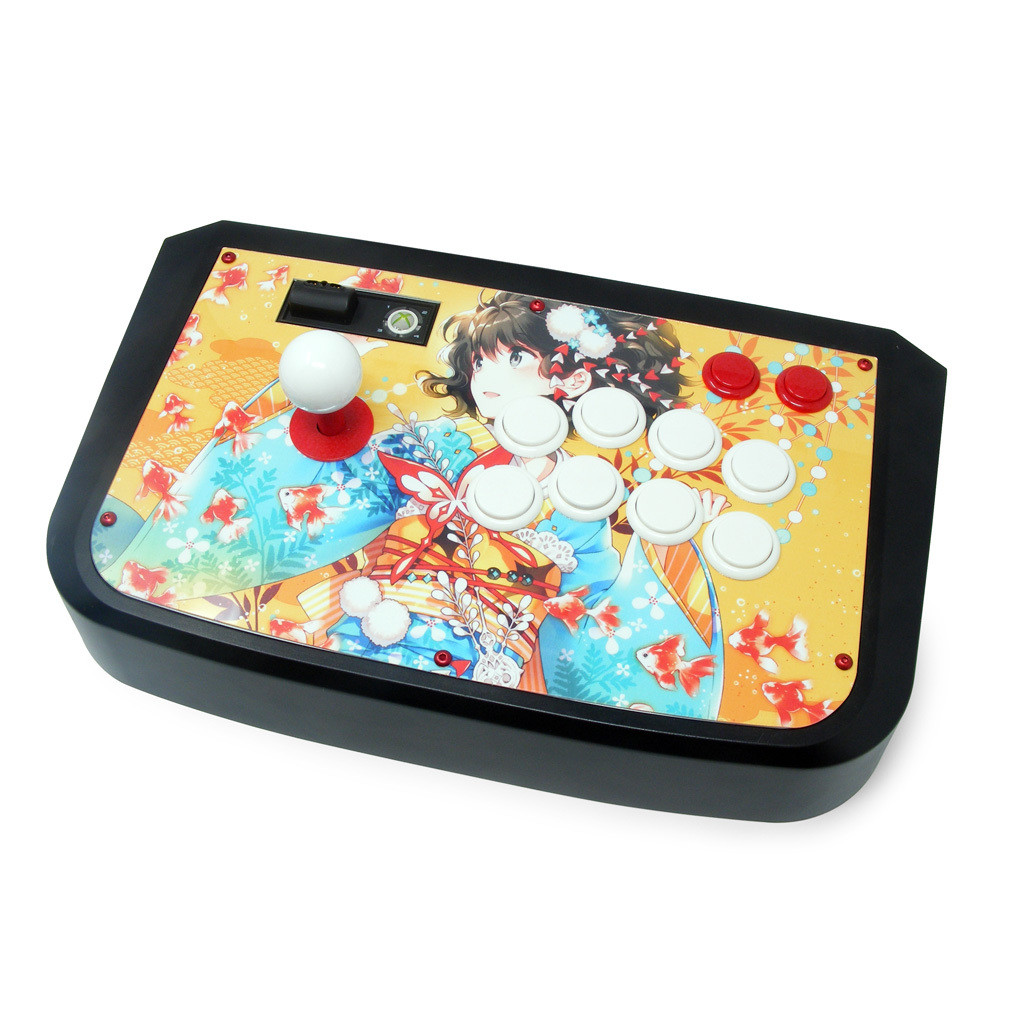
Hori's Real Arcade Pro series was one of the first arcade style joystick levers to hit the market, providing players with a portable control panel that felt close to the Japanese arcade. Over the years, the HRAP 2, 3 and EX family developed a cult following of sorts. That said, this particular model was not designed for customization, with its difficult to reach screws that required opening the case from the bottom.
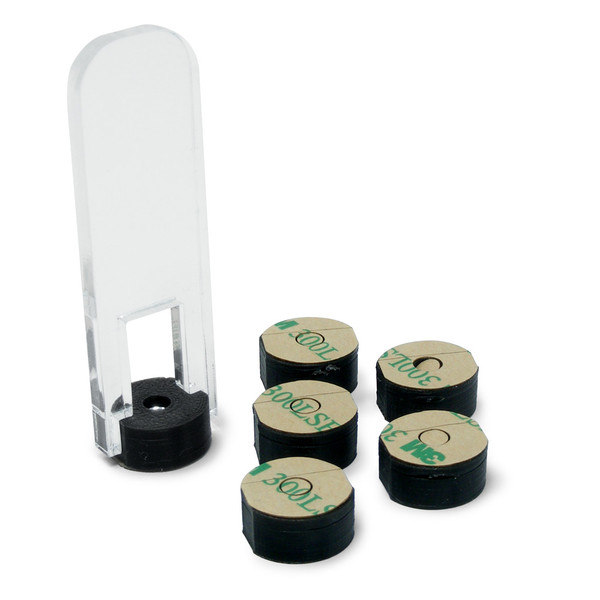
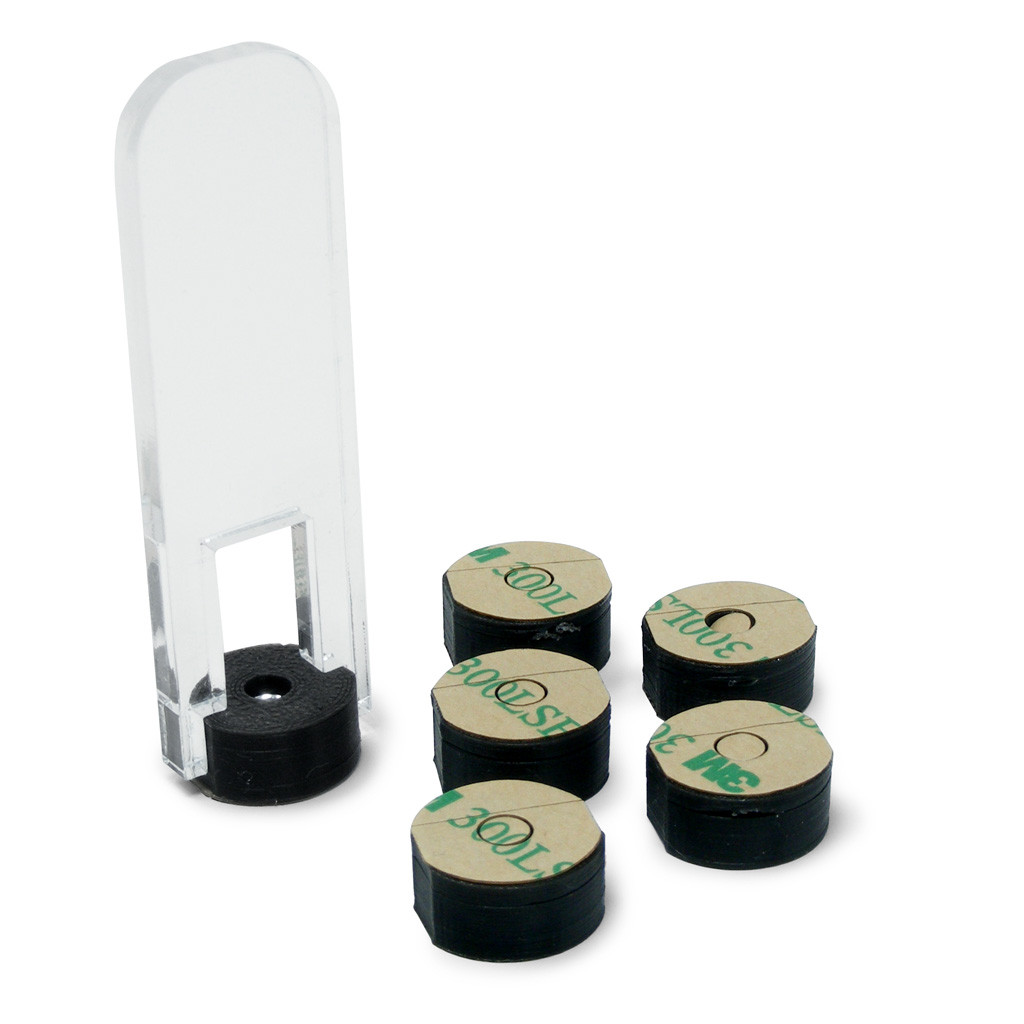
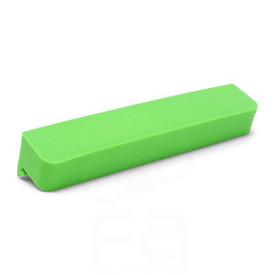
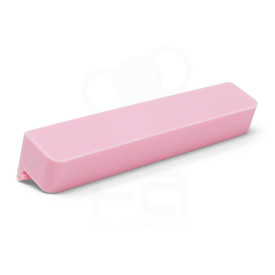
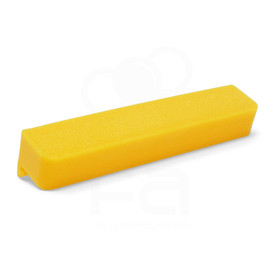
Now you can purchase a set of 6 "top loaders". which upon install, allow you to screw and unscrew your plexiglass panel from the top. This removes the need to access the screws from bottom, and simplifies swapping custom artwork and plexi.
Compatible with Hori Real Arcade Pro 2/3/EX Models
The Top Loader will install into the following models. Links to model artwork and plexi customization templates are listed below, but are not required for use with the top loader.
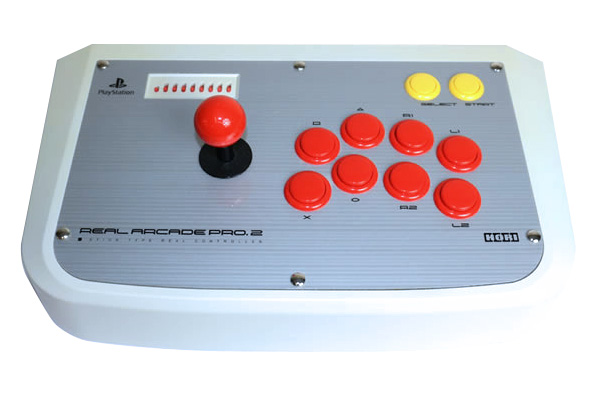
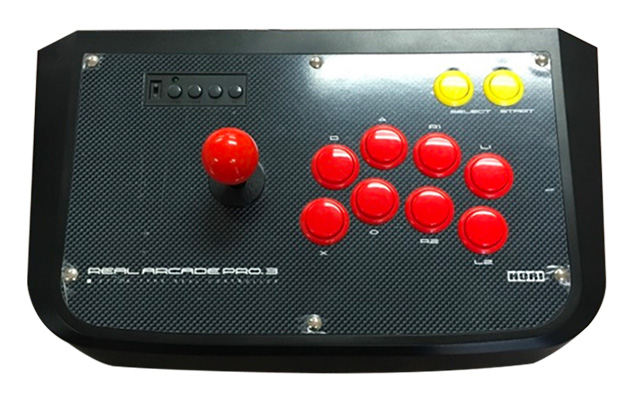
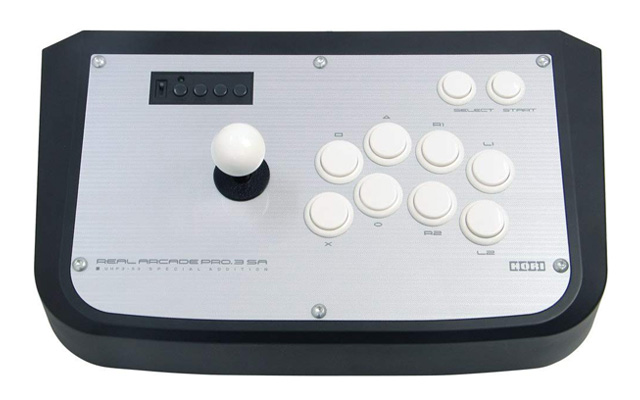
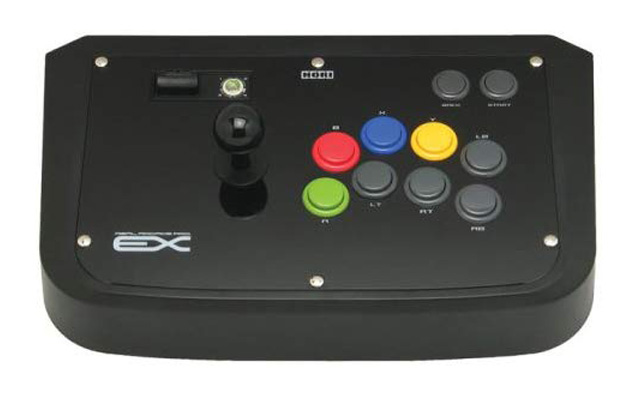
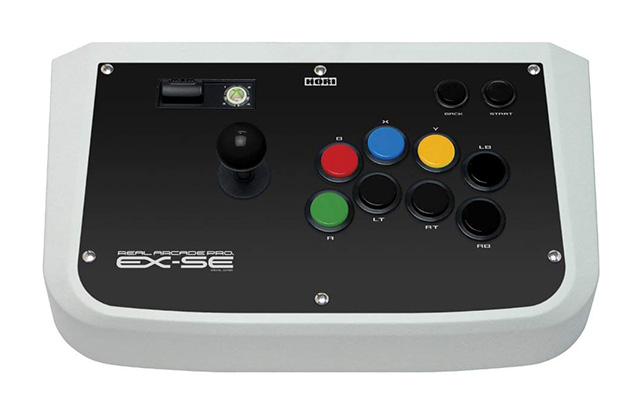
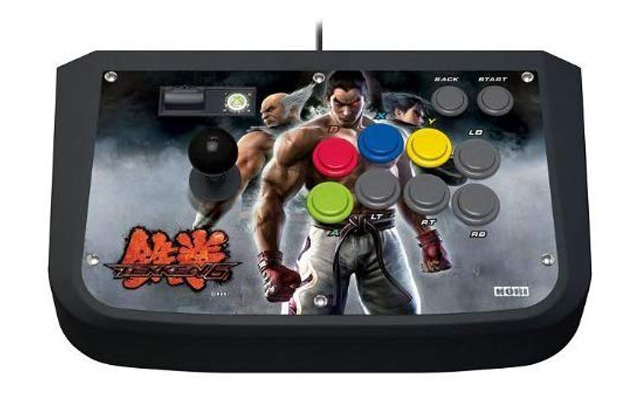
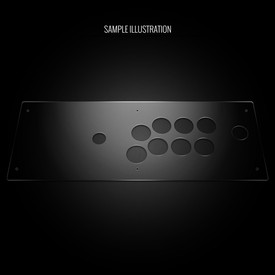
RAP 2/3/EX Series - SA, SE, SF4 (2Mb zip) RAP 3 Tekken Series Tekken 6 Pro 3/EX, TTT2 Prologue (Kai layout) (2Mb zip) 3M 300LSE Adhesive
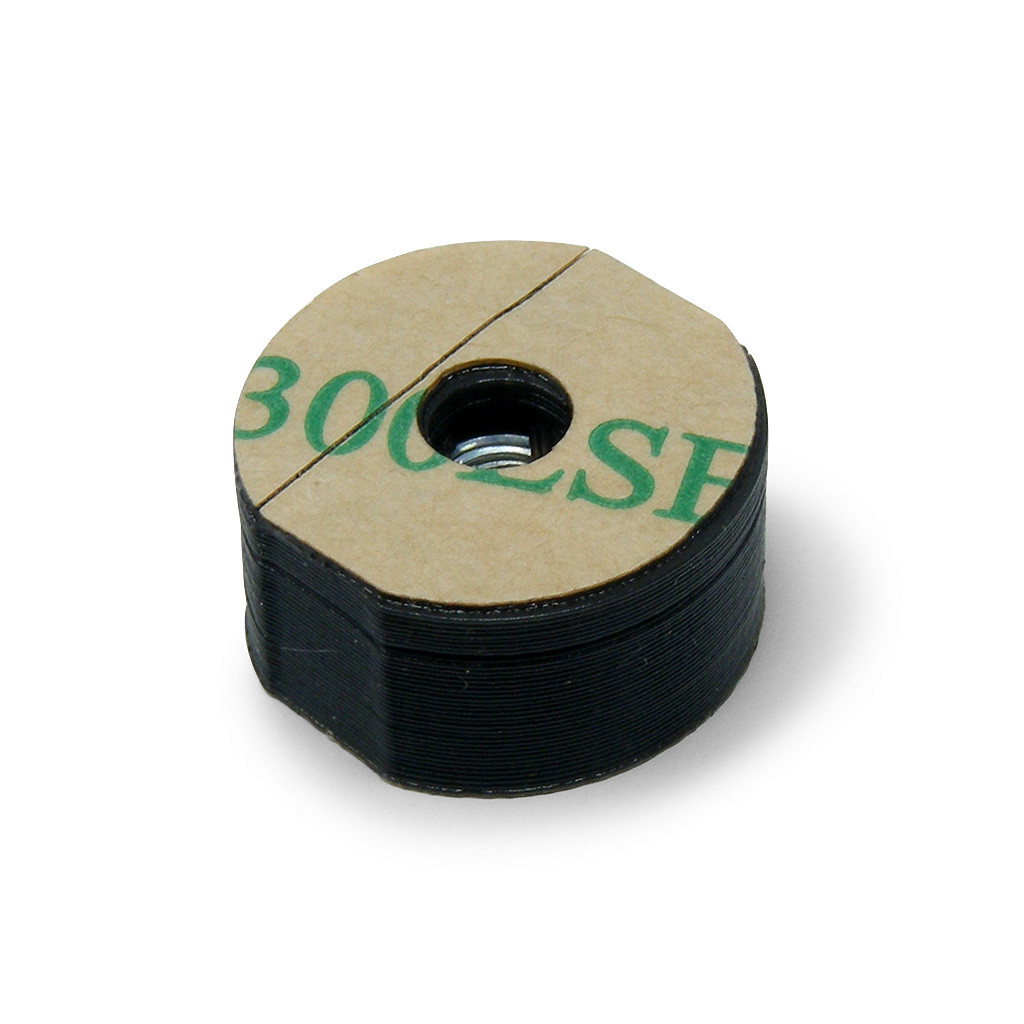
Atop each top loader is 3M 300LSE double-sided adhesive. Commonly used to adhere phone screens, 300LSE offers an incredibly strong bond once contact is made and pressure applied. The adhesive is installed in house by our staff.
Acrylic Top Loader Handle, Choice of Screws, Hex Key Included
You will receive two acrylic top loader handles. These are placed between the shallow grooves of the top loader, and are designed to grip the loader in place during installation. It can also assist in applying pressure onto the loader when its exposed adhesive makes contact with the plastic surface of your HRAP. Note: There will be a plastic or paper film on each handle, which you can remove before using.
Optionally, you can choose from a set of M4x12MM compatible 2.5mm hex screws in steel and anodized colors, plus 2.5mm Long Arm hex key. Each are free with your purchase of the top loader (Please note these items are free while supplies are available to fulfill the order).
Bundle with Hori RAP 2/3/EX Blank or Custom Plexi and Save
Save $1.00 on the Buttercade HRAP 3 Top Loader with a purchase of a blank or custom etch Hori RAP 2/3/EX or Tekken Kai plexi. Simply add the plexi to your shopping cart, then the HRAP 3 Top Loader.
Installation
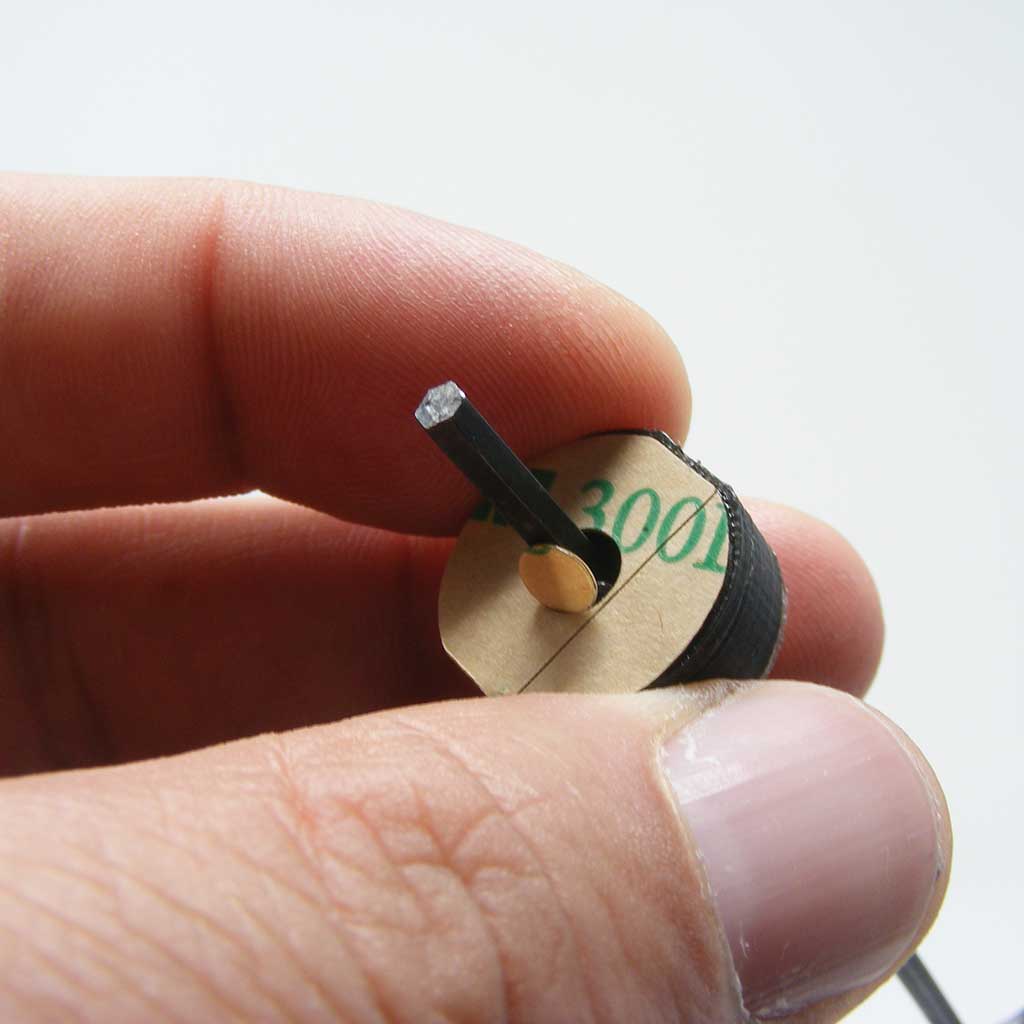
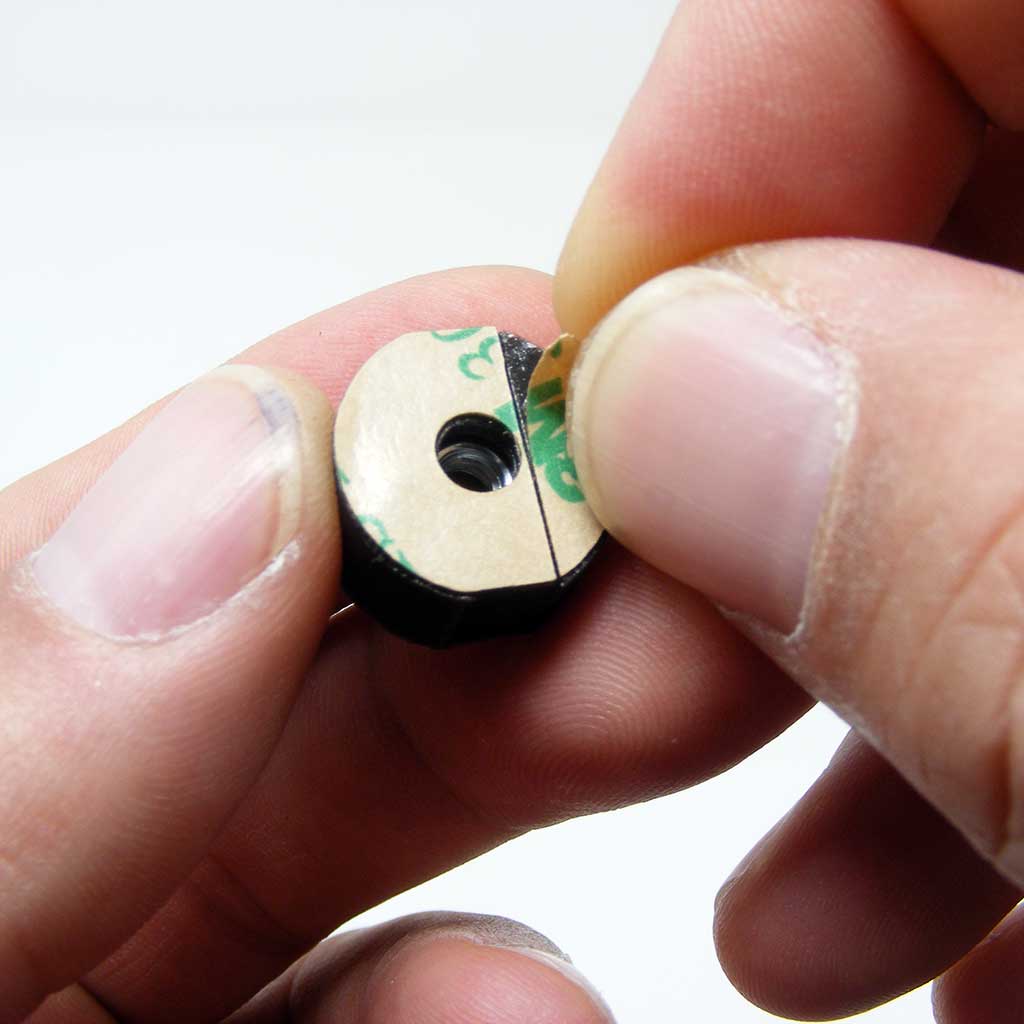
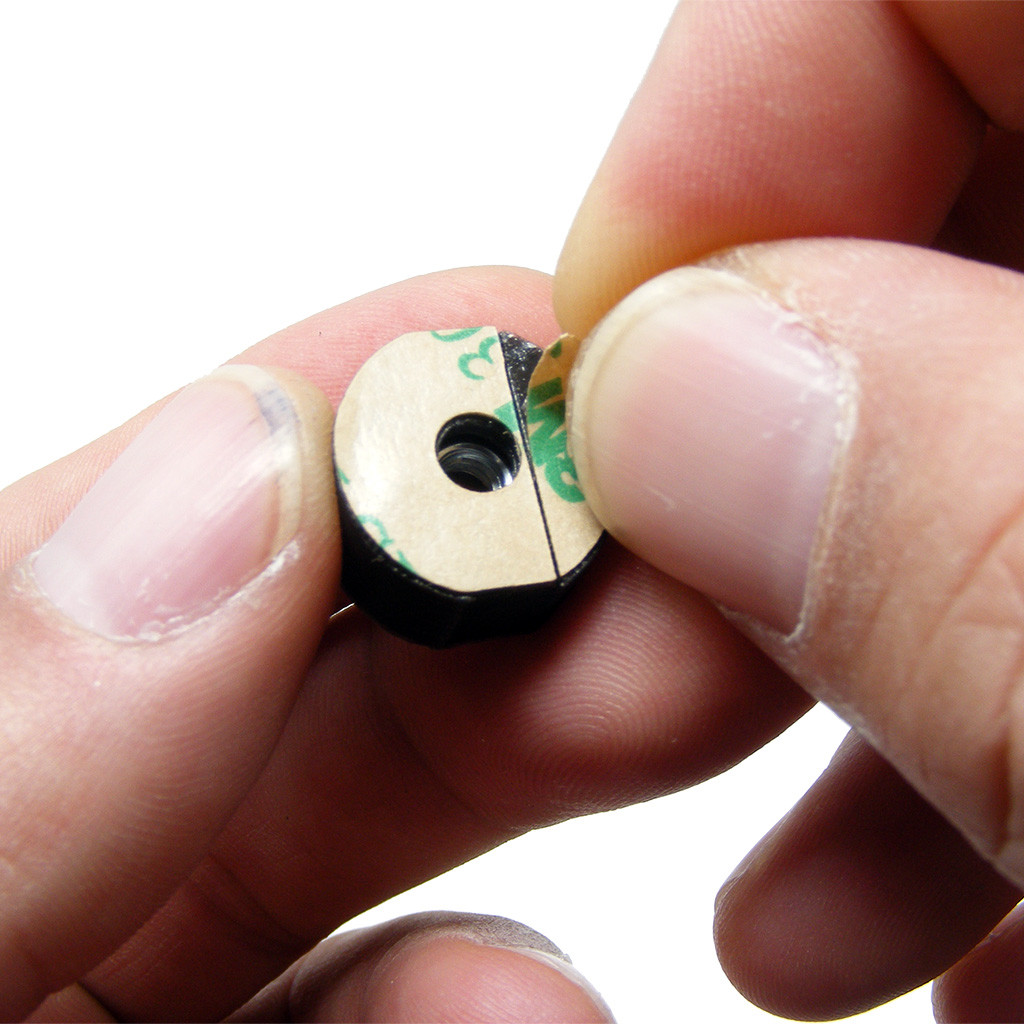
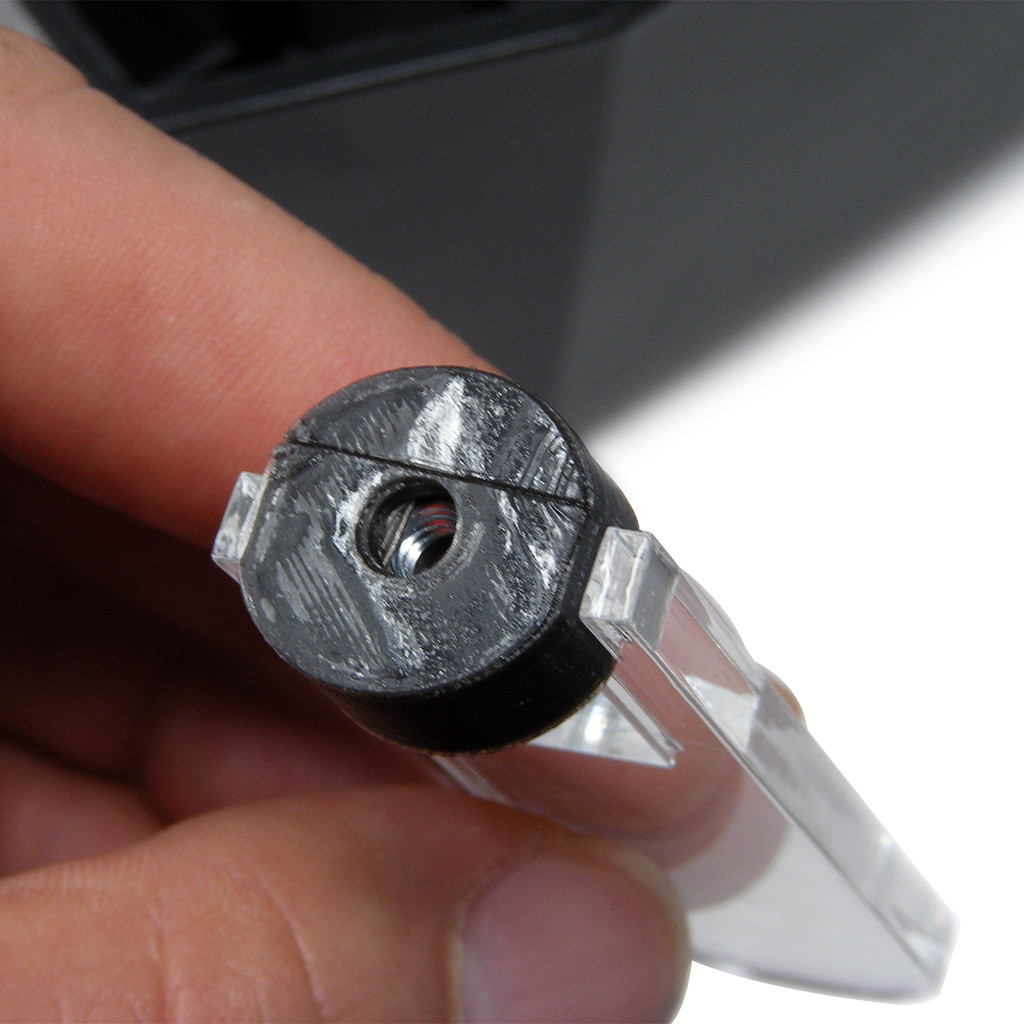
Each top loader has a double sided adhesive, which is covered by paper backing. A slit is cut onto the backing, which allows you to peel away the backing while the adhesive remains on the loader. Occasionally the process we use to cut the backing may have a piece of the adhesive remain over the loader's hole where the nut is positioned. You can take a small pointed tool to poke the adhesive from the backing and throw it away. The pointed tool may also clear any imperfections in the 3D printing that have occurred above the metal nut that is housed inside. Use your fingernail to catch one part of the backing and peel away. If you notice that some of the adhesive lifts from the loader and remains on the backing, push the backing down onto the loader, and then re-attempt to peel away, taking care not to grasp the adhesive along with the backing. 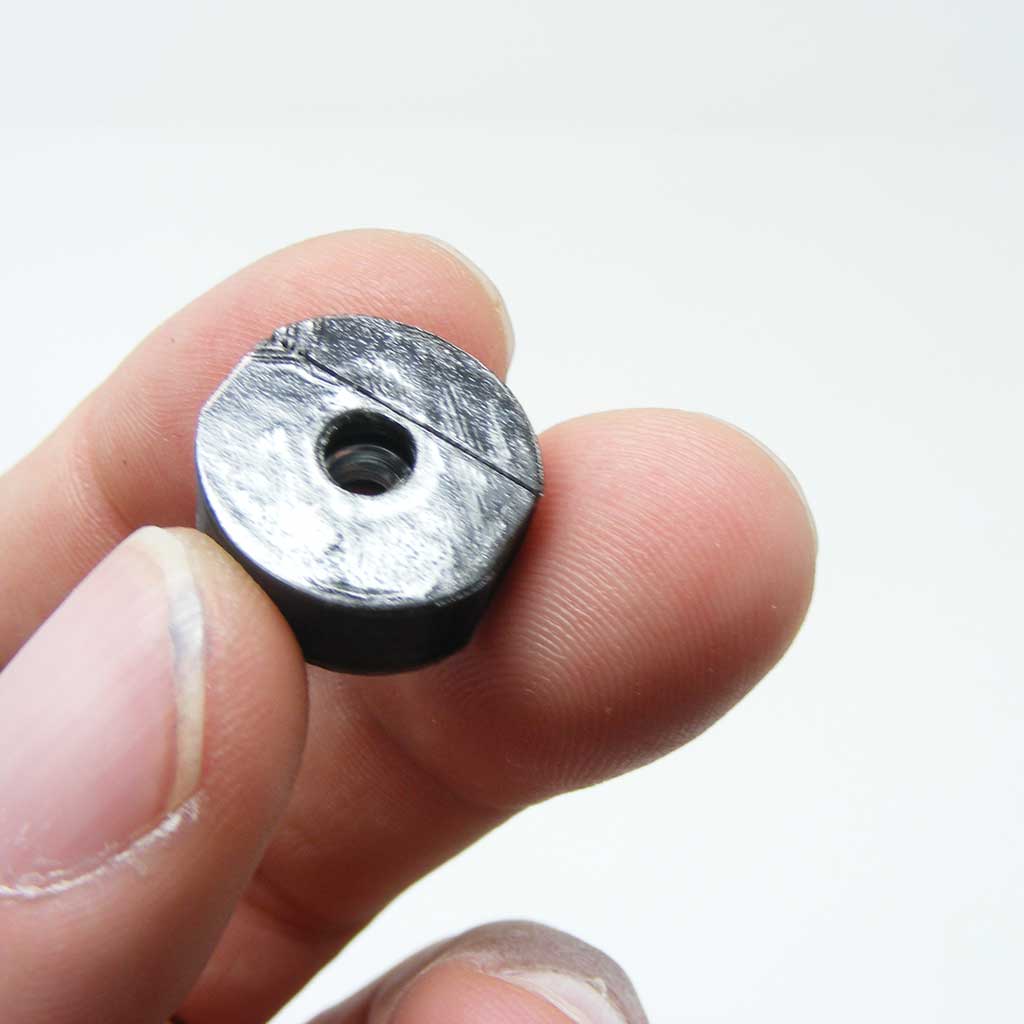
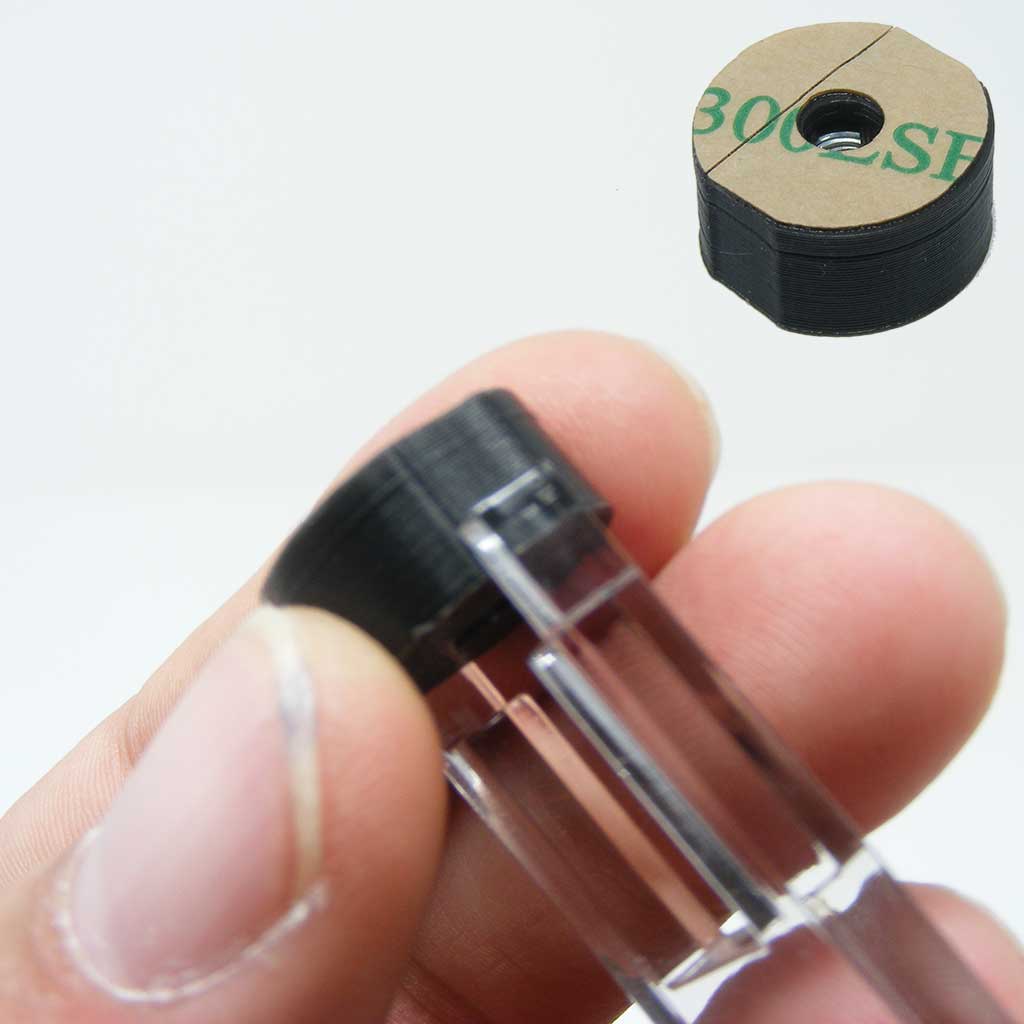
After peeling one side of the top loader adhesive backing, peel the next side to expose the entire surface. It should look like the above photo, with the adhesive displaying a glossy surface. Please note that very small portions of the adhesive's edge may stick to your fingers as you handle it. The top loader has a shallow groove on each side. Slide the top loader handle upwards from the bottom of the top loader until the handle's narrow opening sits on the bottom of the loader. 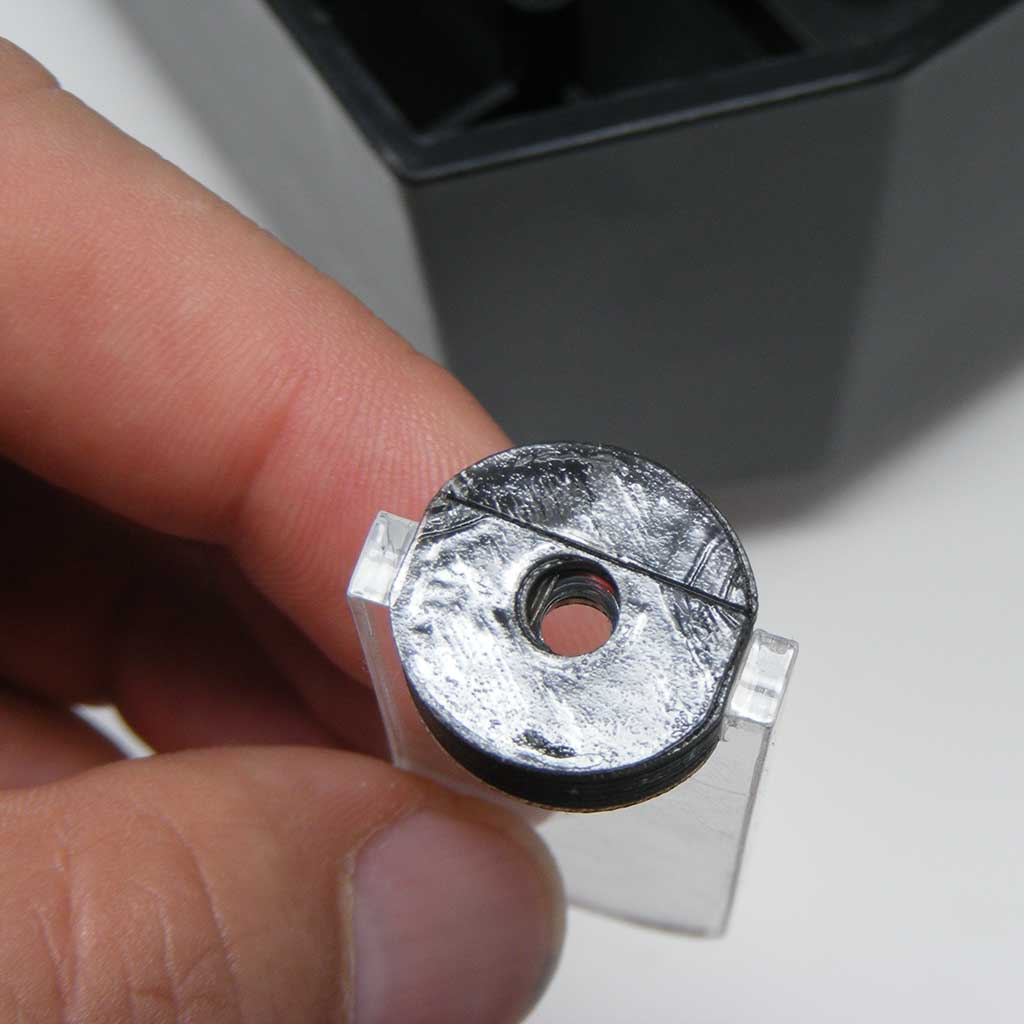
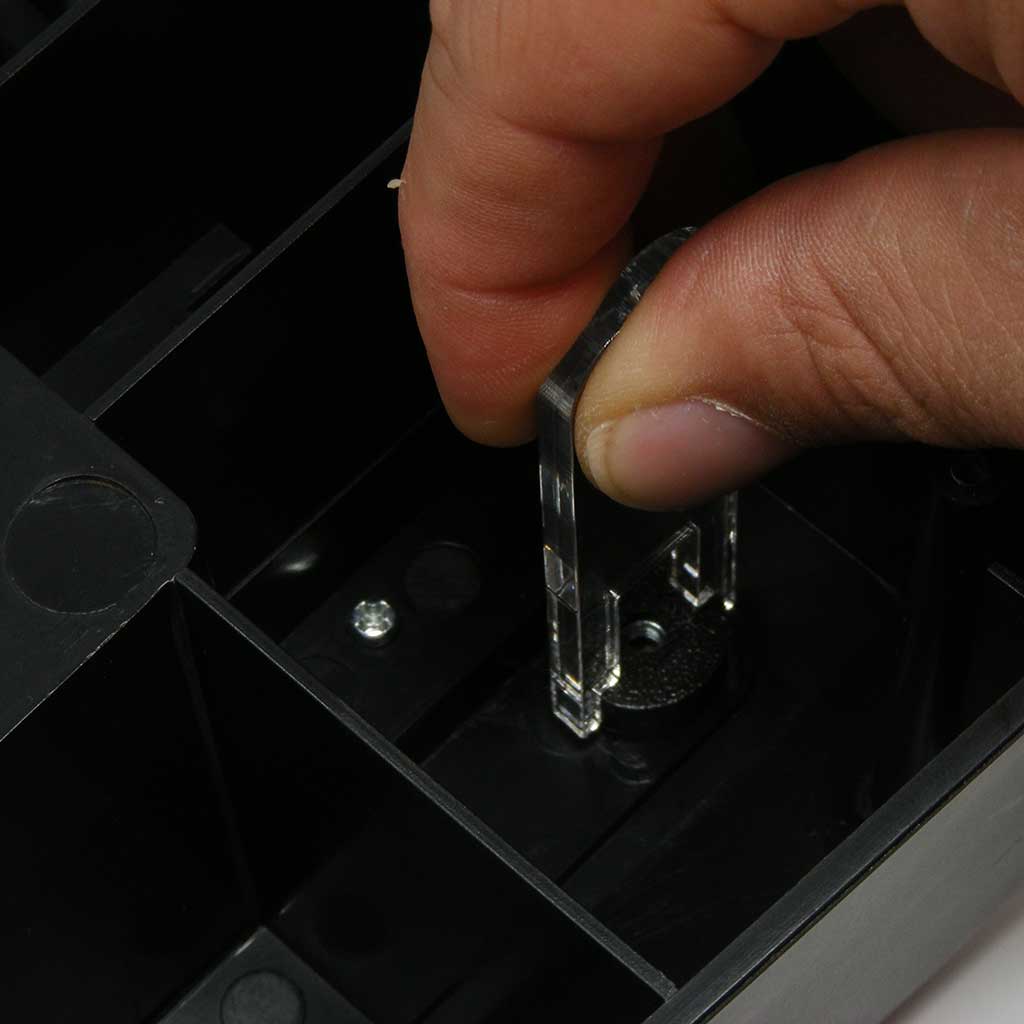
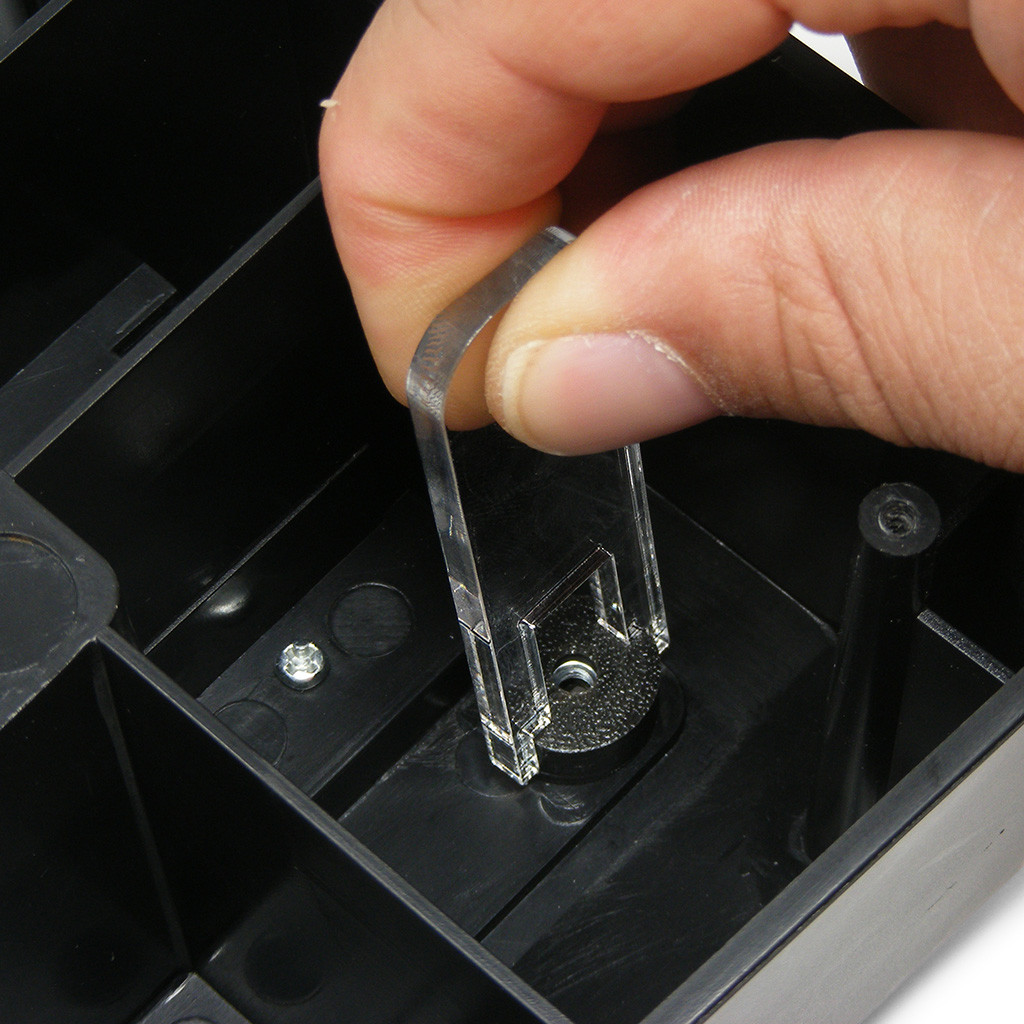
The handle should grip around the loader, allowing you to lower it into the HRAP's body. From the example above, the top loader should appear like this on the handle. Please note that due to the variability of a 3D print, the loader handle may grip tighter or looser around the shallow groove on each side of the top loader. With the top loader on the handle, position the loader to the open screw hole on the HRAP case's plastic underside. The goal here is to get a clear an opening as possible that should line up relatively close to the plexi and artwork's own screw holes, which you will install later. One way to accomplish this is to place the plastic case on an open surface where you can easily see the original screw hole through the loader. You can also place the case upright to see through the front of the case's square-shaped screw hole as you place the loader in the back.
Lightly apply pressure to the loader using the top of the handle between your thumb and forefinger, with the intent to check the spacing of the loader before committing to its final position. If you find that the loader is off position (the top loader's screw hole is clearly offset from the center of the case's square hole), you can attempt to pull the loader out, replace on the handle and try again.
Once you have the screw hole on the top loader relatively centered with the square hole of the case, apply as much downward pressure to the handle as you can to secure the top loader's adhesive to the plastic.
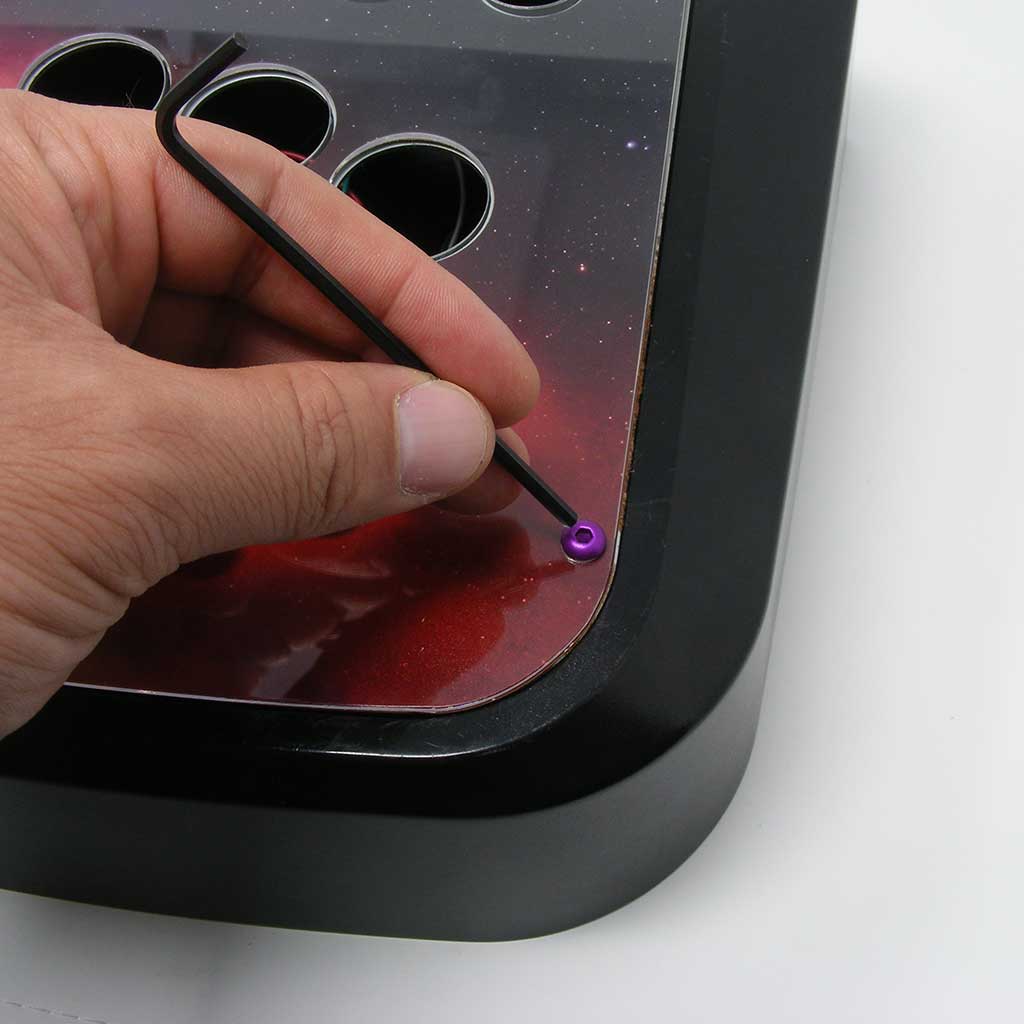
We offer M4 hex screws in several colors to customize your HRAP 3 artwork or plexi install. The screw uses a 2.5mm kex key. It is important to note that the original HRAP 3 screw was designed to fit into the square hole. Additionally, the HRAP 3 was not designed to accomodate custom plexi. This means that the artwork and plexi may shift around until you secure it with the screw. Position the artwork so that it lines up with the edges of the metal panel, and centered around the buttons. That may require you to grip your fingers between the plexi and artwork and move around until all positions look correct, then screw down.
When installing the screws, please screw down lightly at first so you can make any corrections to the artwork and plexi position. Do not force the screw in hard, as the this does not allow the screw to catch the top loader's threading and may dislodge it. Instead use the hex key to screw into the top loader's opening. It should tighten once the threading catches. Occasionally a small piece of the 3D printed plastic may obstruct the metal screw nut. You can use a small pointed tool to clear that debris from the opening.
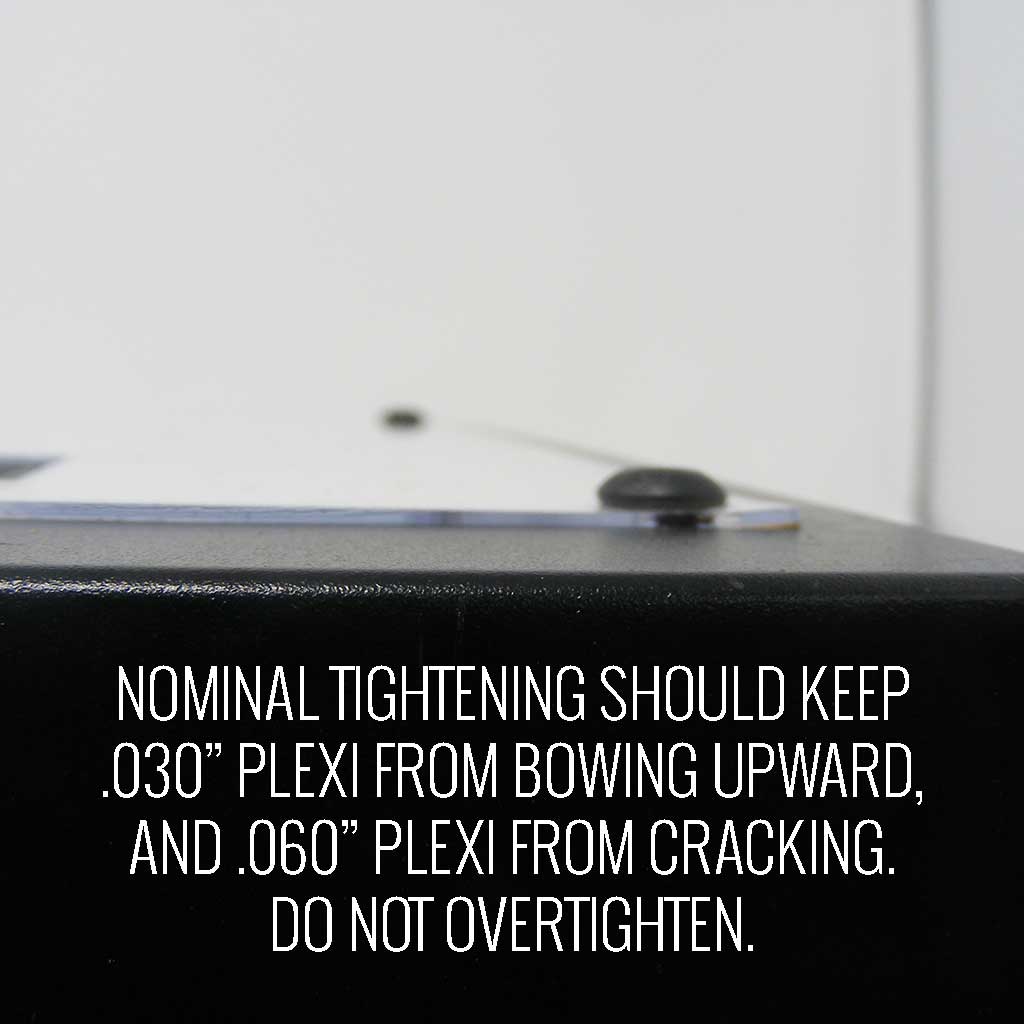
Finally, when screwing in to secure the artwork, you should feel the screw tightening around the top loader's metal nut. This will improve the adhesive bond. Do not tighten too much for risk of cracking the acrylic, especially should you choose the thicker and less flexible .060" plexi. Tightening too hard will also cause the thinner .030" to bow around the back and around the control panel, where the acrylic's surface area is narrower.
-
Product Reviews
-
Works great for The Sega Virtual Stick High Grade!
I heard about this from someone else, But yes you can use the 3D printed nuts to secure the top panel down. The 4 outer ones on the corner are easy. The middle bottom I had to break some the plastic out of the way to make it fit. And I used the original nut that came with the case and super glued it down on the top Middle screw. You could break some more plastic to make it fit but I wanted to see if this would work first. Definitely easier to open now.
I'm using the black anodized hex screws. They blend right in. Unknown on Jul 24th 2024 -
Cool bit with one issue
I like the idea of these and they make getting in and out of any RAP easier. However the 2.5mm hex screws that are sent free with the purchase do not fit. The original bolts fit snug so you will need to source screws that match that size. Unknown on Oct 14th 2022
-
Quality of Life
I have 3 classic Hraps and opening them has always been a hassle. With a few sets of these, I don't have to bother with the bottom plate ever again! Replacing buttons is a snap with the included hex driver, 6 on top, pop and you're basically finished. All my Hraps are now modded with Brook PCBs and I d
don't dread having to open them up for maintenance anymore! telesniper on Jun 18th 2020 -
Amazing
Makes it super easy to open and gives it a cool look with the new screws Corey on Nov 23rd 2019
-
-
Find Similar Products by Category


