- Category
- What's New?
- FightSticks/Pads
- Joysticks
- Pushbuttons
- Spare Parts & Tools
- Hardware & PCB
- Electrical
- Customize
- Merchandise
- Sales & Clearance
- Brand
Hit Box Rivet Snaps 0.197" Nylon - Black (Set of 10)
-
Product Description
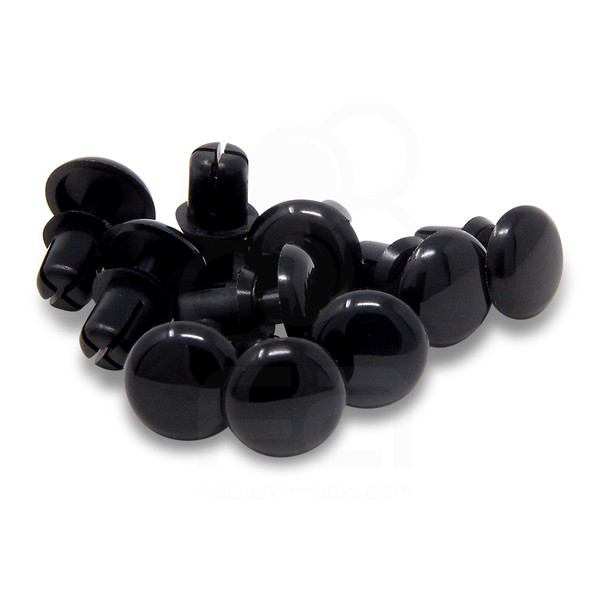
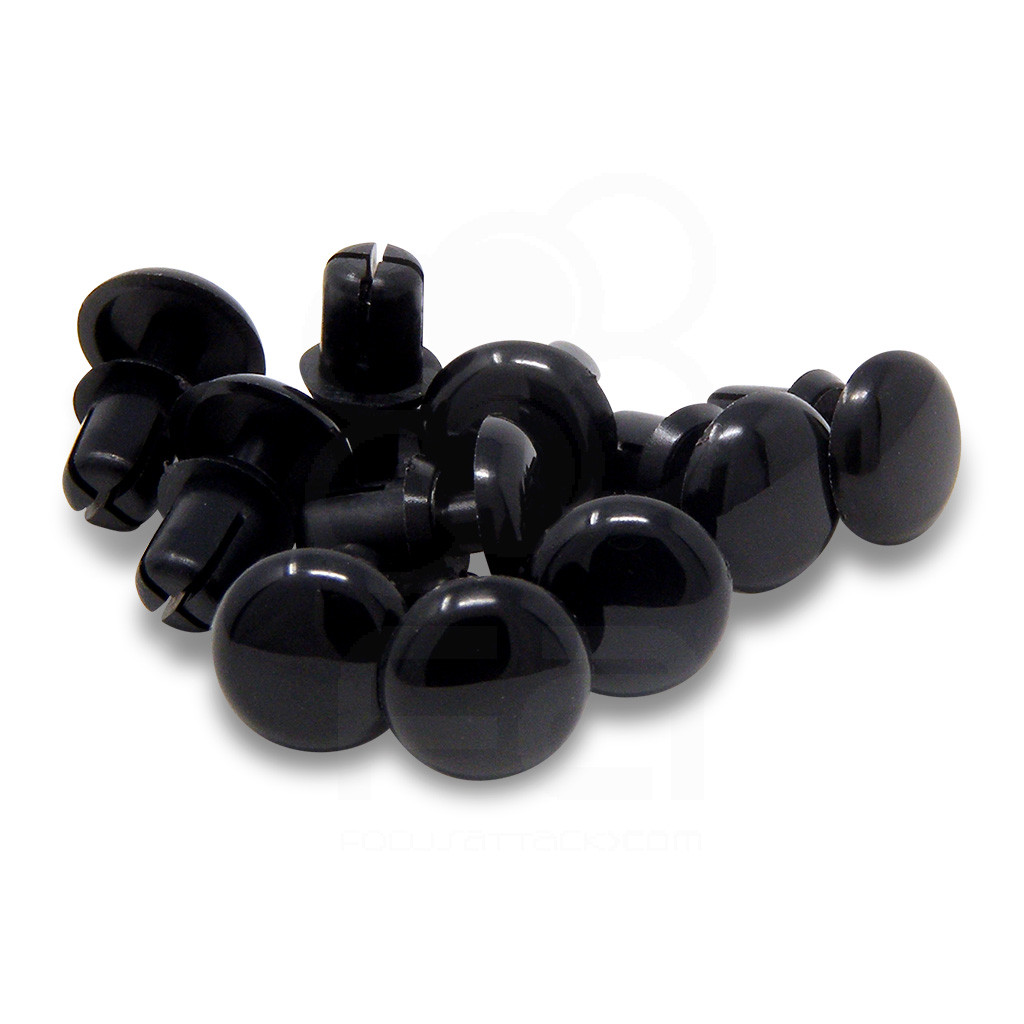
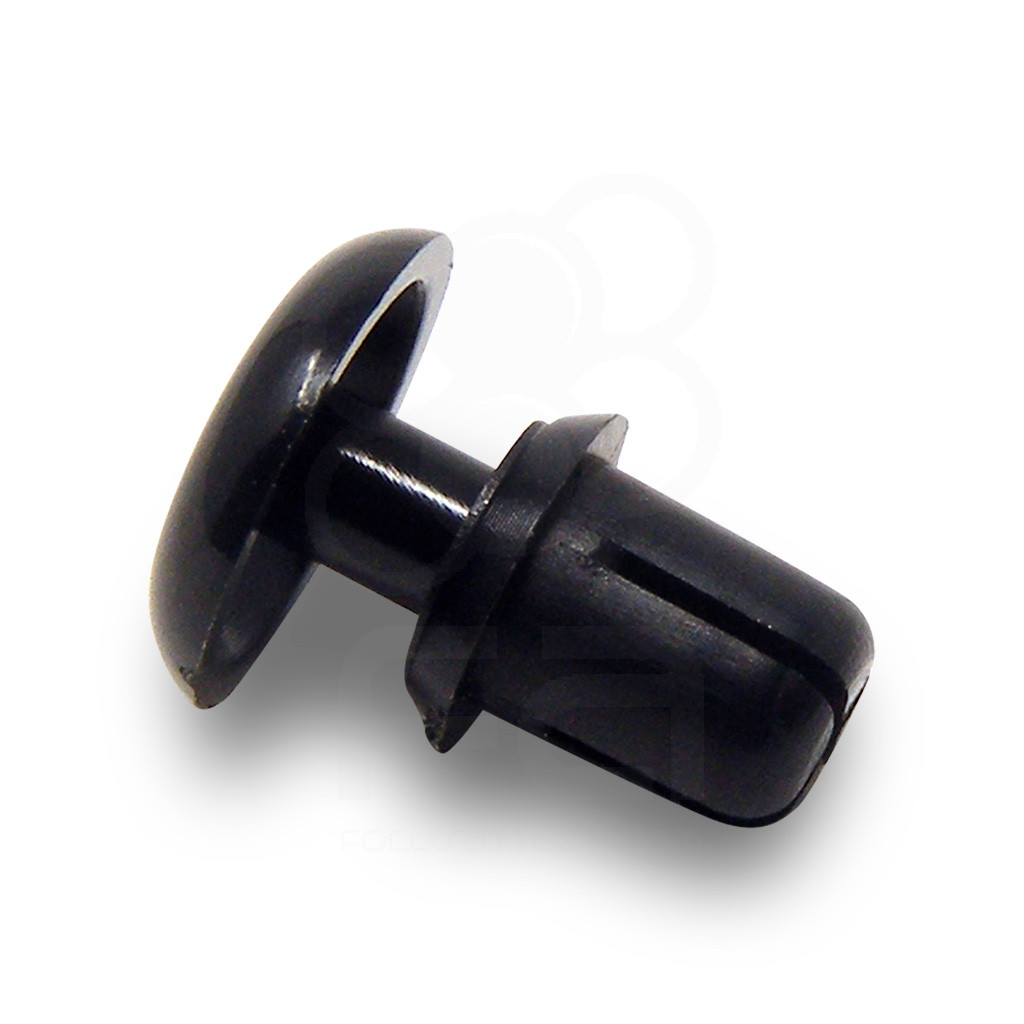
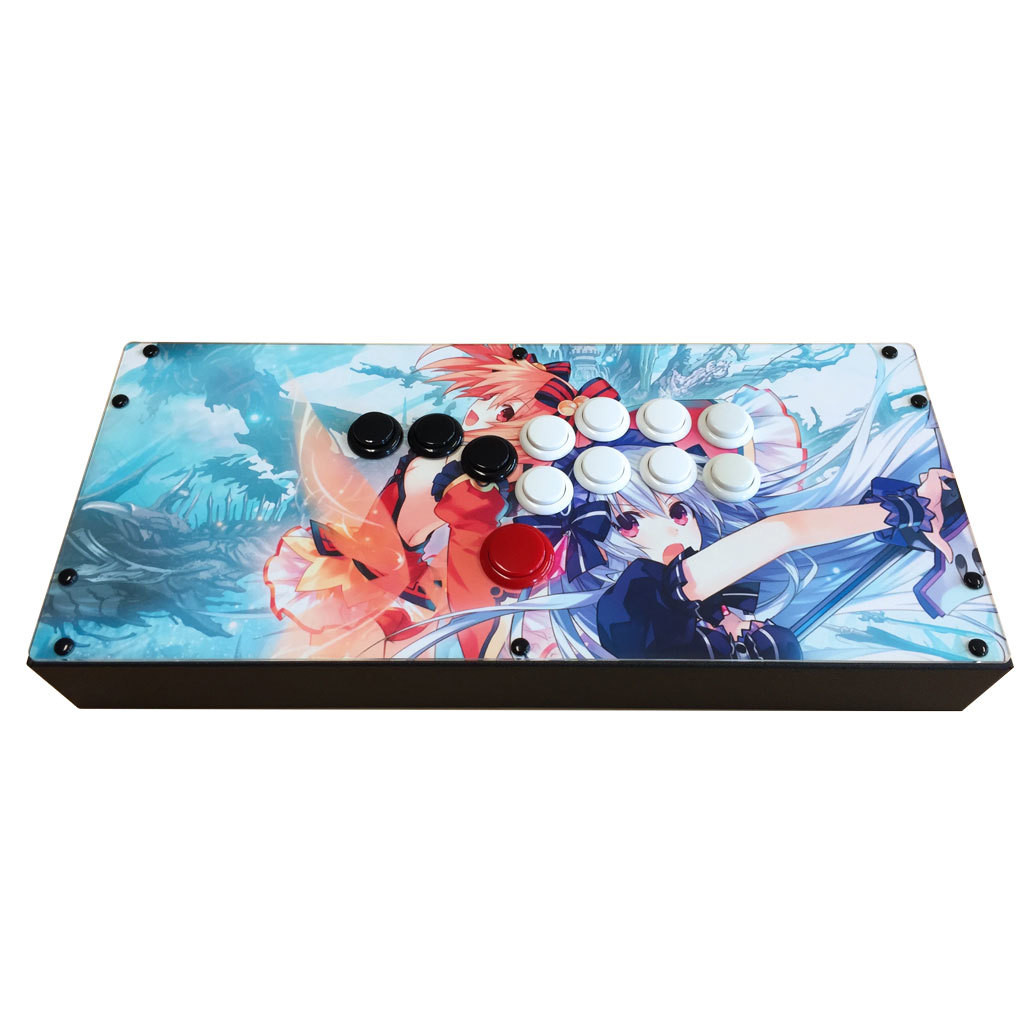
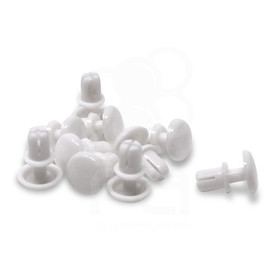
HitBox Rivet Snaps have a .197" diameter head and made of nylon - exactly as the original HitBox rivets. These are perfect should you desire to change the appearance of your Hitbox or simply need a replacement for any broken units.
You will receive a pack of 10 rivets, which are fully compatible with our custom HitBox plexi and artwork services.
~Many thanks to the staff at HitBox Arcade for providing specifications.

Installation
The latest version of HitBox uses a combination of screws in the bottom plate, and plastic rivets on top panel.

First, you will flip the HitBox upside down to access the bottom plate.
Next open the bottom panel of the hitbox by squeezing the rubber portions of the bottom of the corner screws and gently turning. Use a screwdriver carefully to remove the center buttons.Much thanks to 801 Mods' Joey Wainwright for the helpful tutorial.

Once the bottom panel is removed, use a needle-nose pliers to carefully remove the quick disconnects attached to each button. Carefully remove each button by gently pushing the tabs on each side of the button inwards, and then downwards to push the button out.
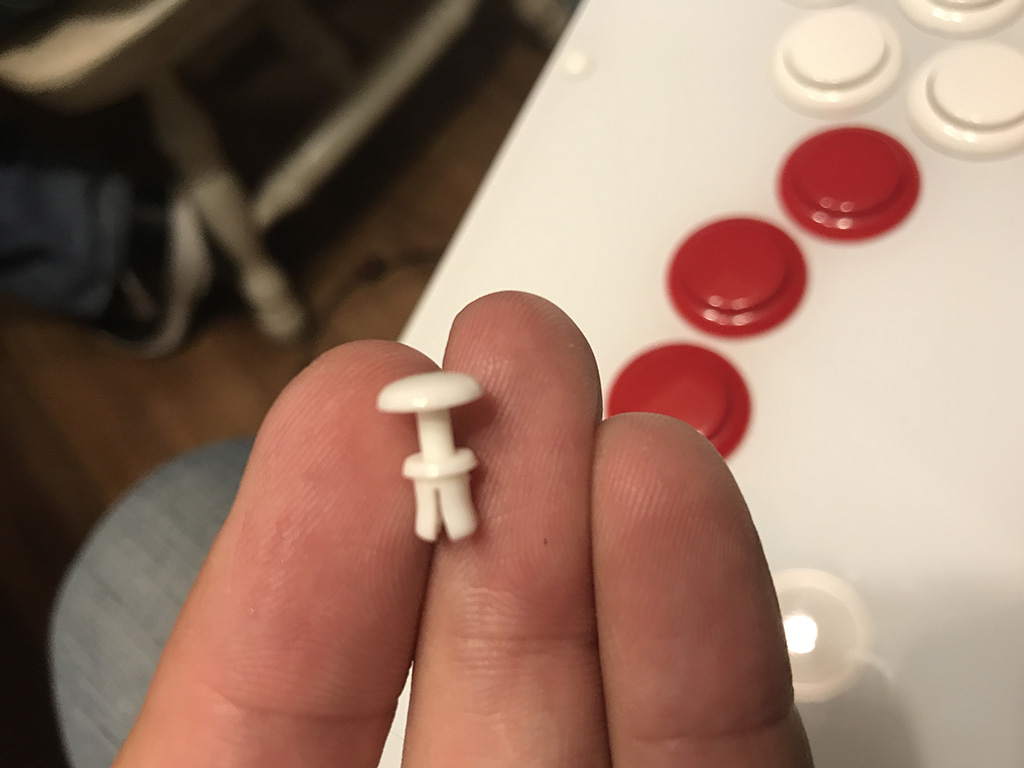
The ten plastic rivets can be removed without damaging the rivets themselves. Using a small punch with a flat head (octagonal shaped) gently push in the middle of the rivet. This will allow the rivet to unlock and be pushed through.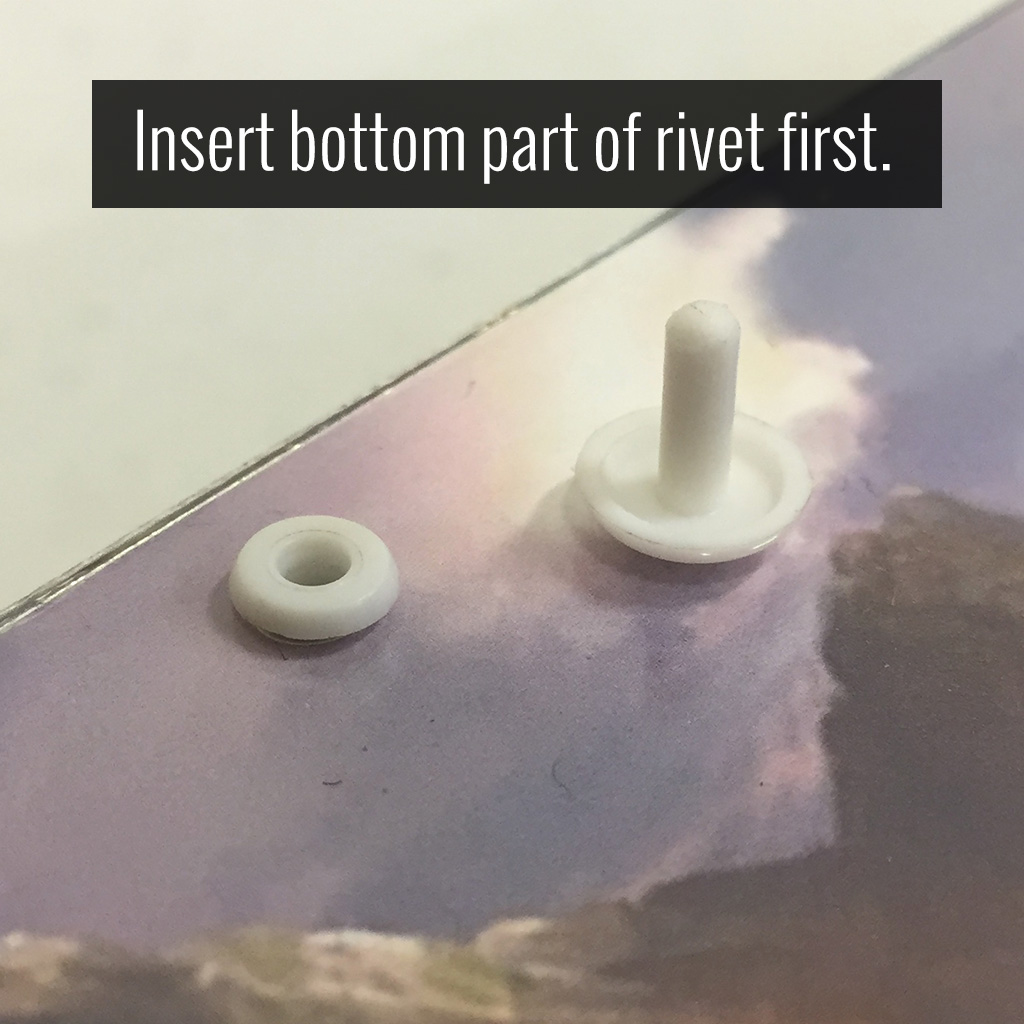
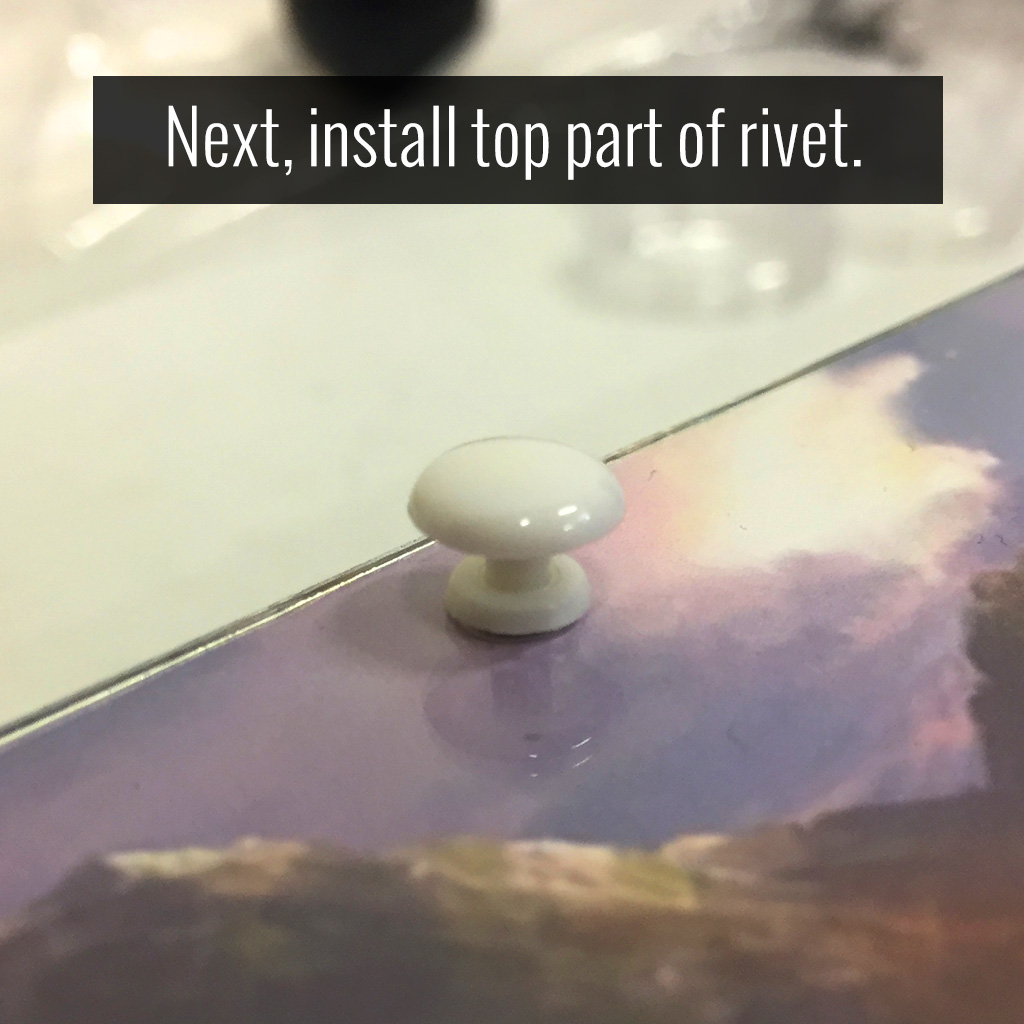
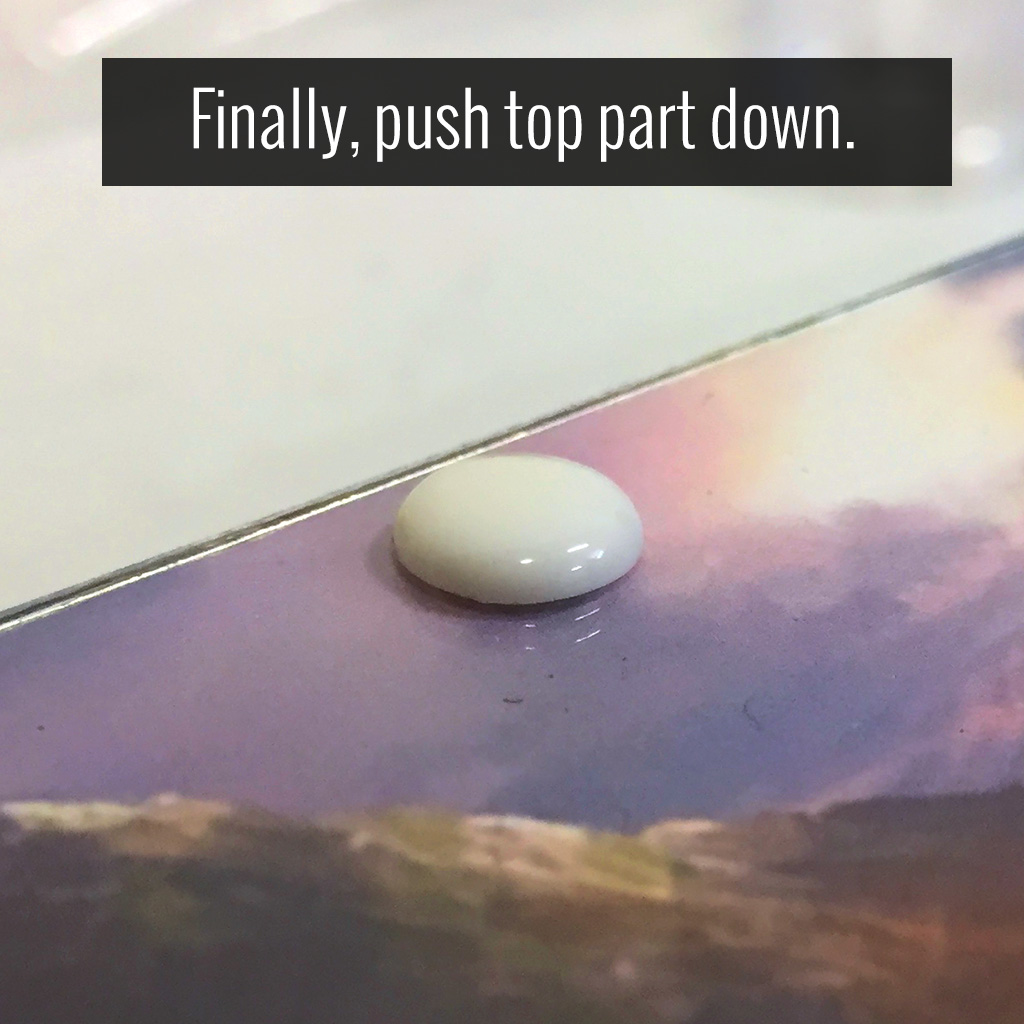
Once artork and plexi are in place, you can reinstall the plastic rivets. Start with the bottom rivet, threading it into each top hole. You may find that after removing the first time the rivet's bottom is stretched outward a bit and may not easily fit into the hole. Gently squeezing the bottom with needle-nose pliers will help Next, insert the rivet top into the bottom rivet's hole. Finally, push the top rivet down until you hear a snap. The rivet works by securing the top half to bottom, expanding the bottom rivet's plastic legs to keep everything in place. Should you need to remove the rivet again, you can follow the process above to release them without damage. -
Product Reviews
-
Guaranteed to add AT LEAST 5 points to your hitbox's [Sexiness] stat.
Like the originals, but black. WalaStika on Sep 23rd 2023
-
perfect fit!
as the title says, they fit perfectly and there were no issues. also, customer support is amazing. Sage on May 22nd 2023
-
Just what it was supposed todo
Worked like a charm! Alex on Sep 11th 2019
-
Perfect Fit
Everything fit in place perfectly on my hitbox controller. I'm glad that I could finally replace the default white ones to better fit my design! Insomniac FGC on Mar 21st 2019
-
-
Find Similar Products by Category


