- Category
- What's New?
- FightSticks/Pads
- Joysticks
- Pushbuttons
- Spare Parts & Tools
- Hardware & PCB
- Electrical
- Customize
- Merchandise
- Sales & Clearance
- Brand
Madcatz TE/S USB Compartment/Door Replacement (N-30 Style)
-
Product Description
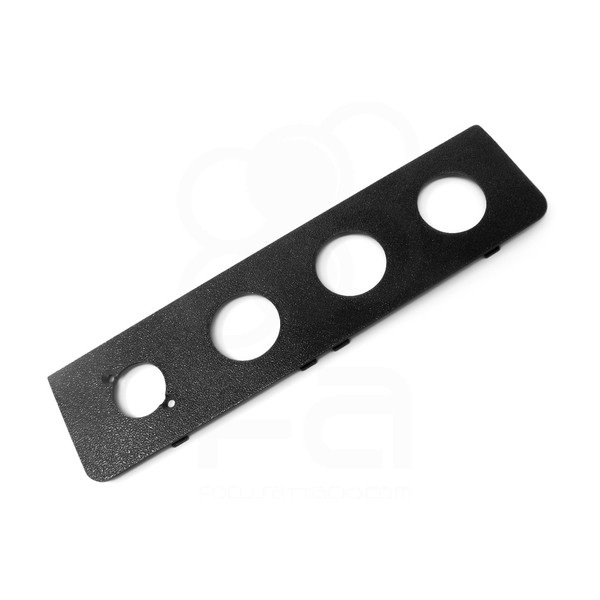
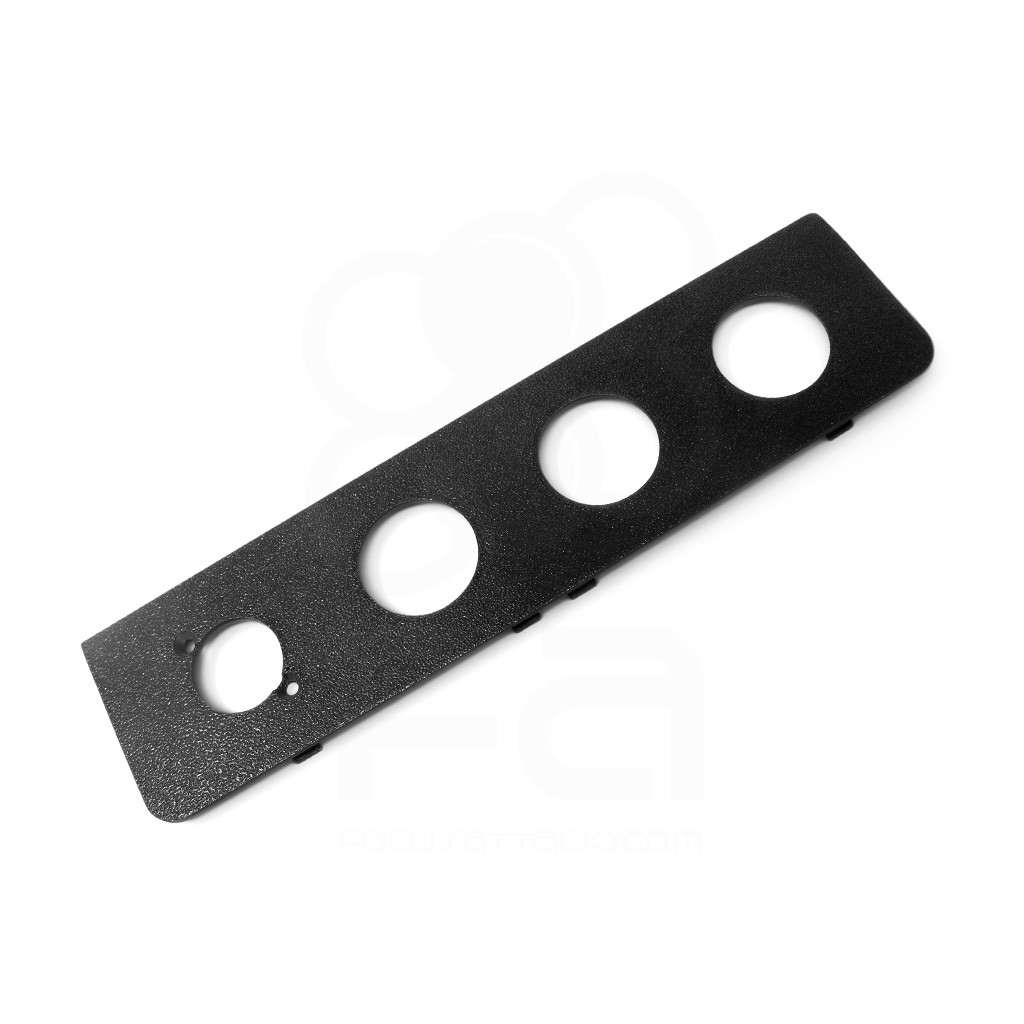
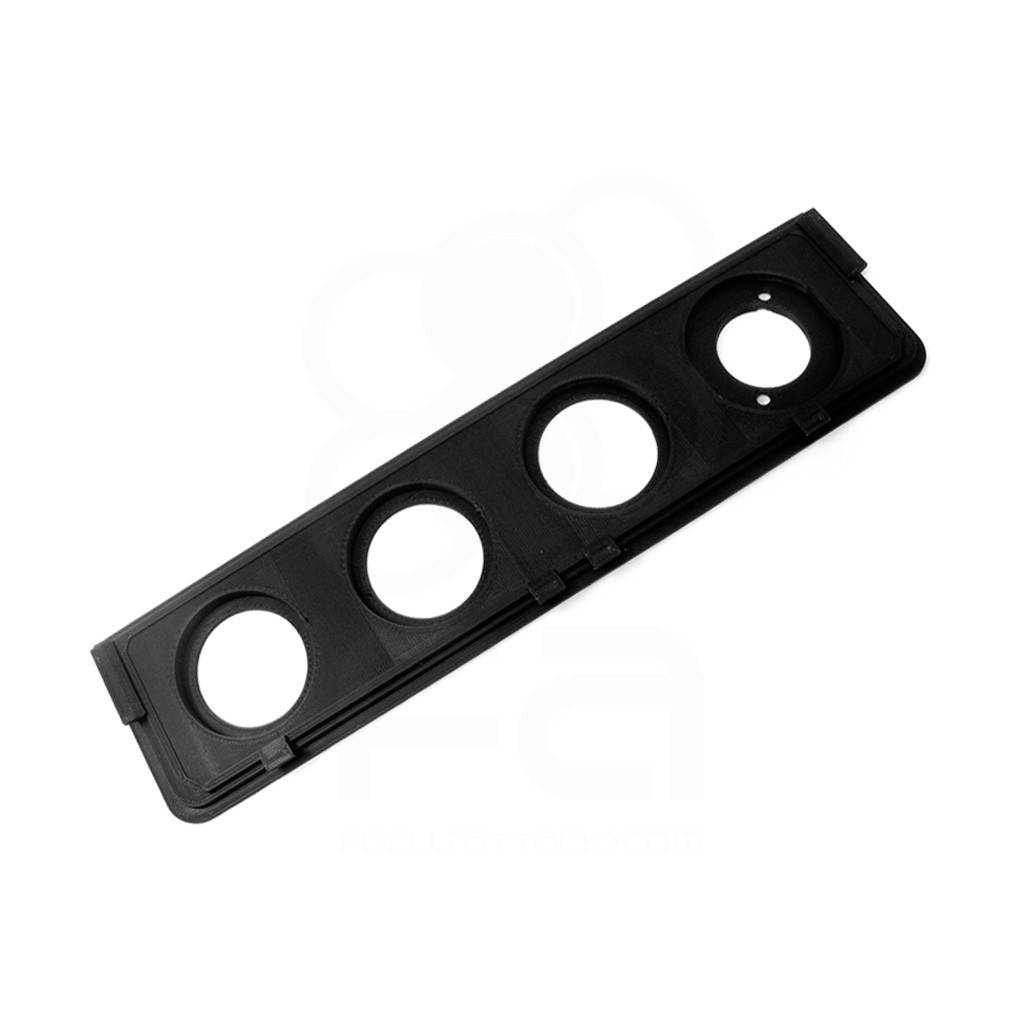
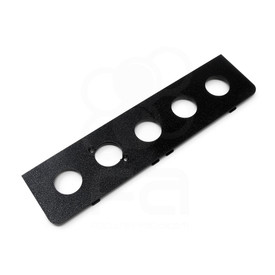
Those owning the original MadCatz Tournament Edition Fightstick have fond memories of this iconic controller - with exception to the cable door. Known for its weak plastic nubs used to hold the door in place, the TE's door would soon meet its fate in the trash bin, and many would simply fare without cable management. Buttercade - with integral assistance from Wei Louie - breathes new life into the aging TE with this unique 3D printed door and USB compartment replacement.
Expansion Ports
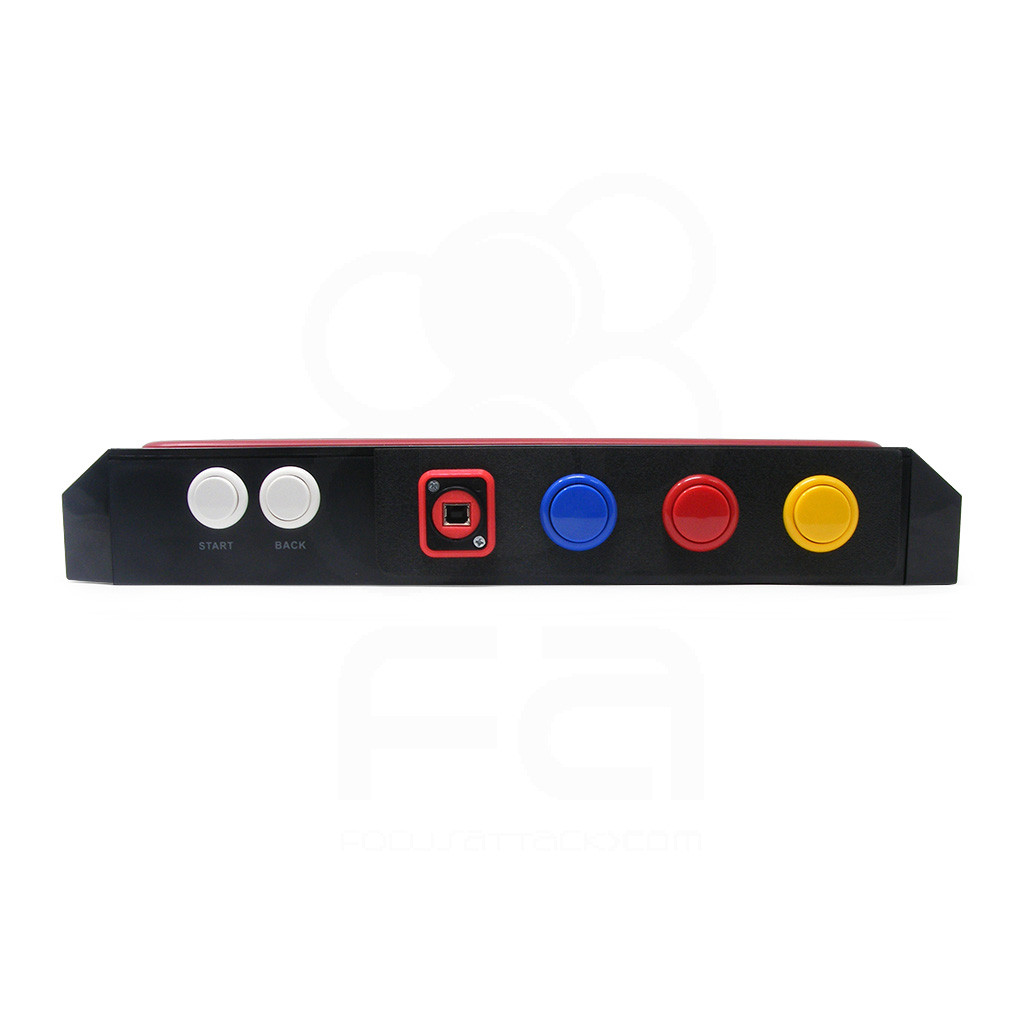
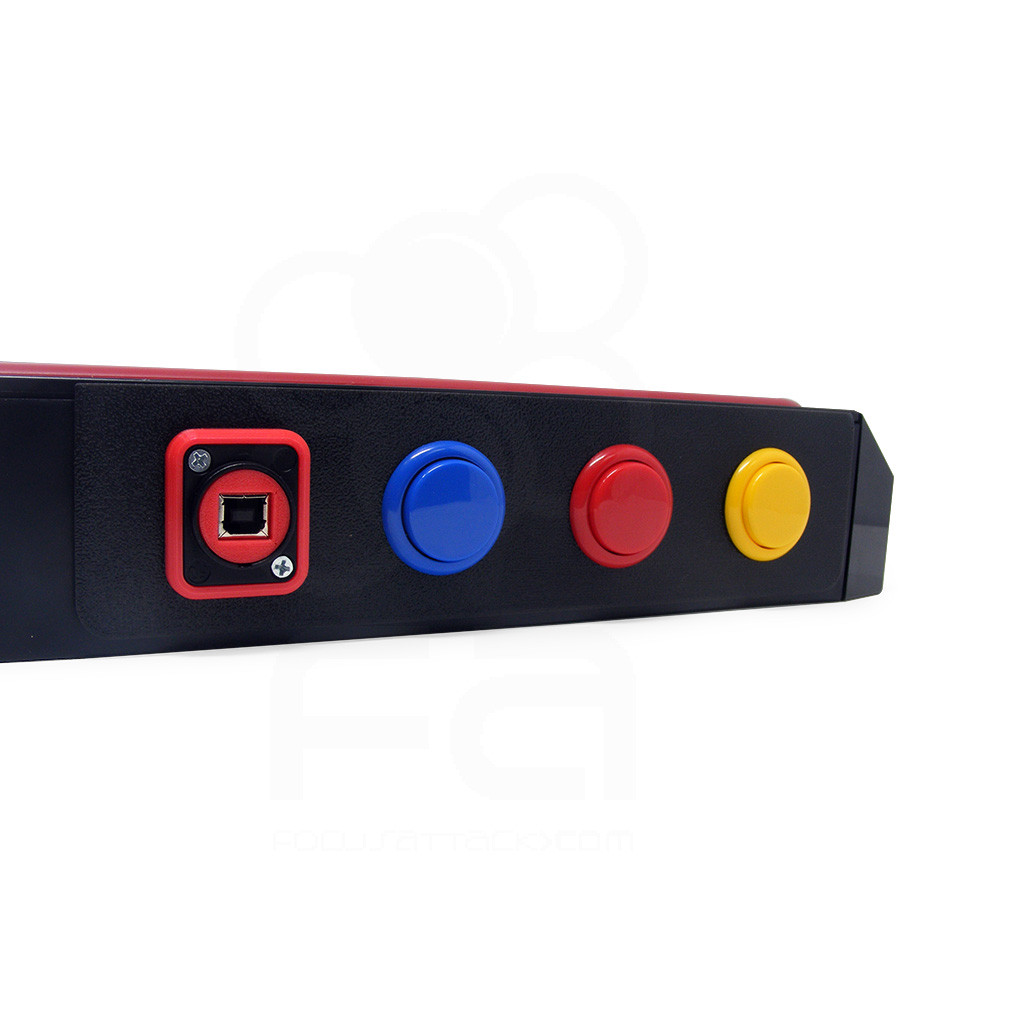
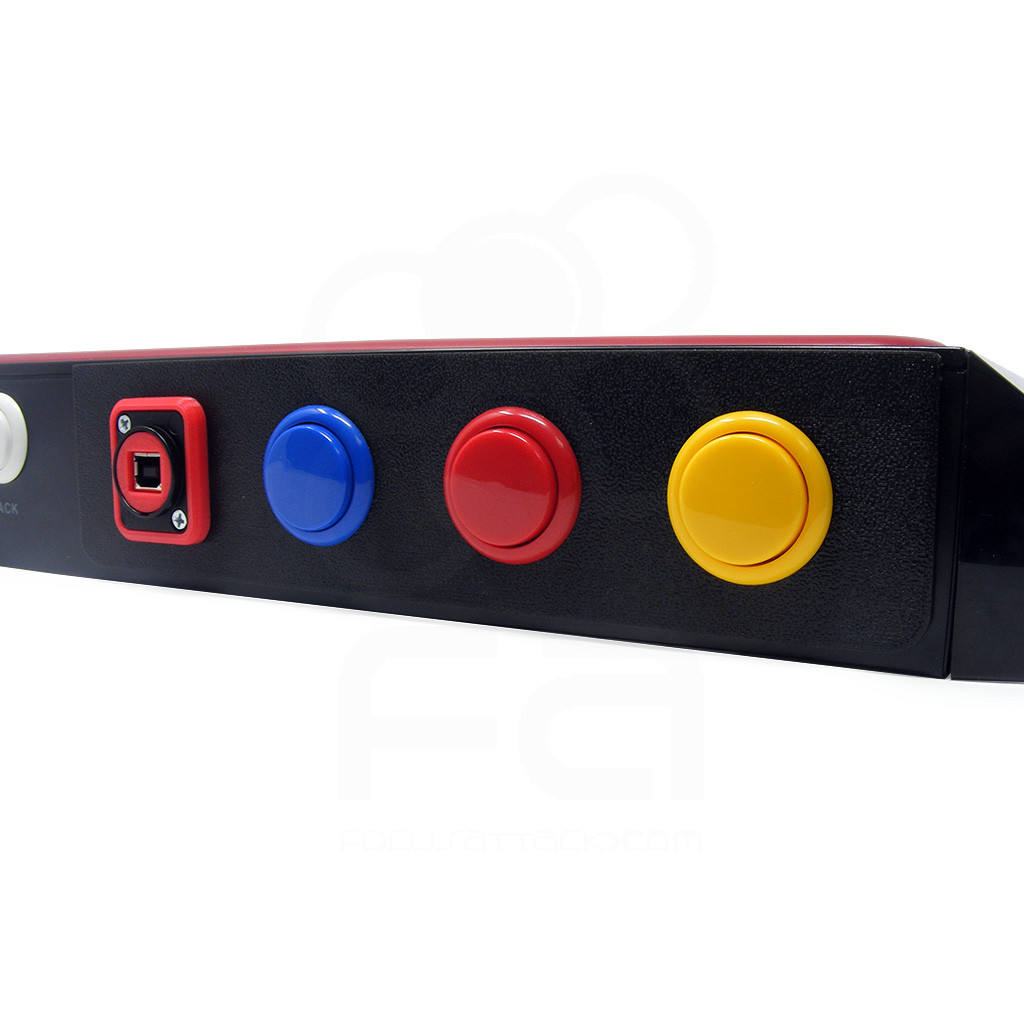
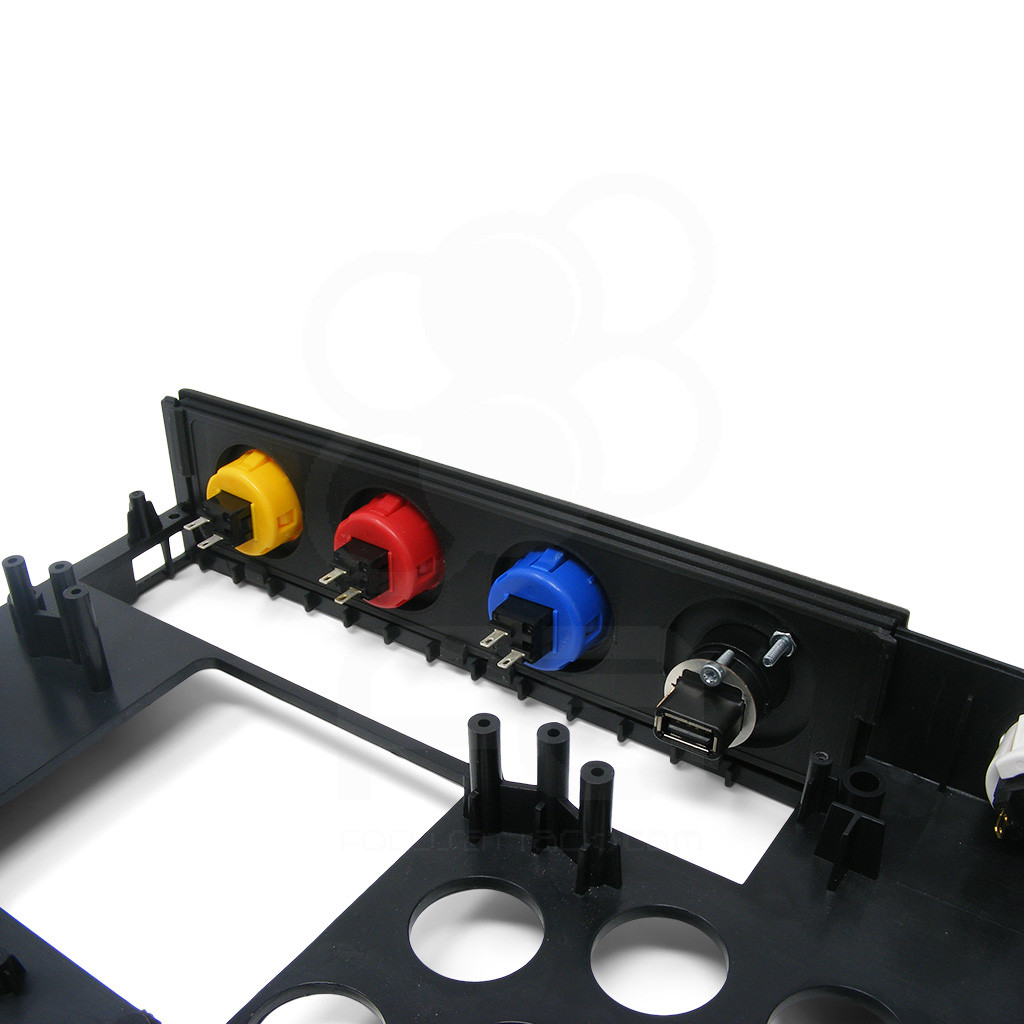
Buttercade's TE door replacement not only substitutes the MadCatz TE door, but adds buttons and a Neutrik-style port. With the additional buttons, you could utilize functions present in modern control PCBs and consoles such as PS4 touch button. On this model, you receive spaces for three 30mm pushbuttons and one Neutrik port, perfect for installation of a Neutrik NAUSB-W-B A/B USB Feed-Through.
Compatibility
The Buttercade TE USB Compartment/Door Replacement was tested and confirmed compatible with the following models:
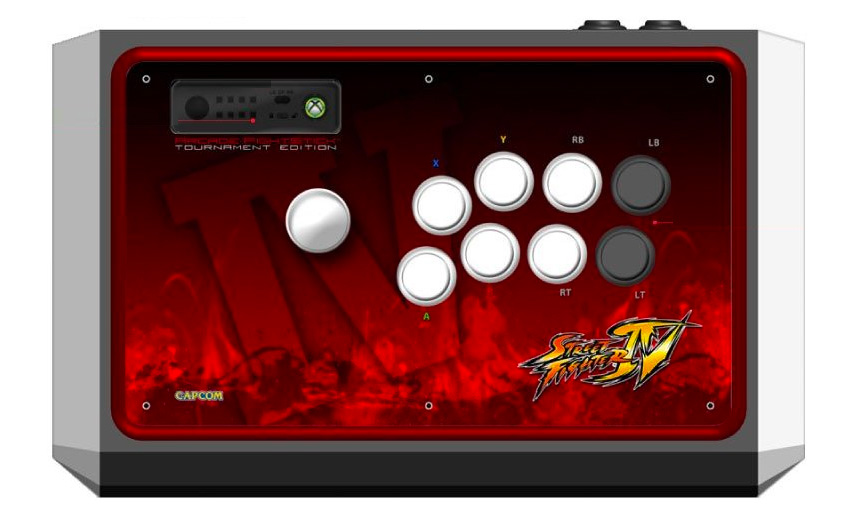
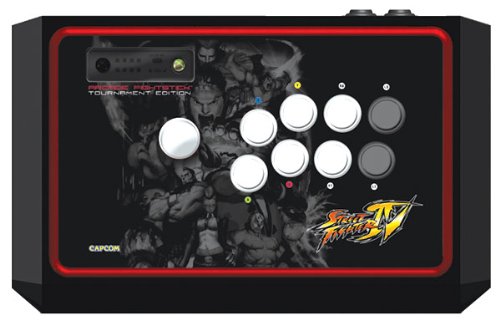
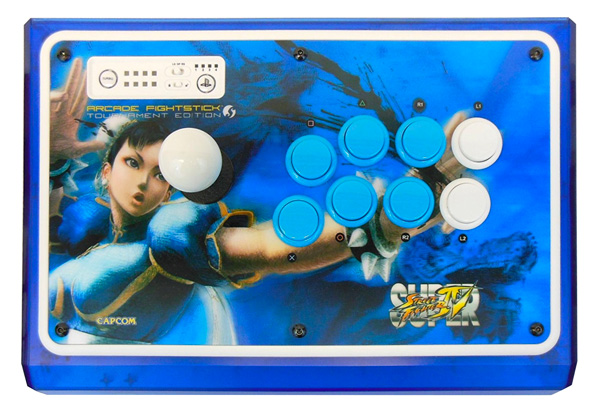
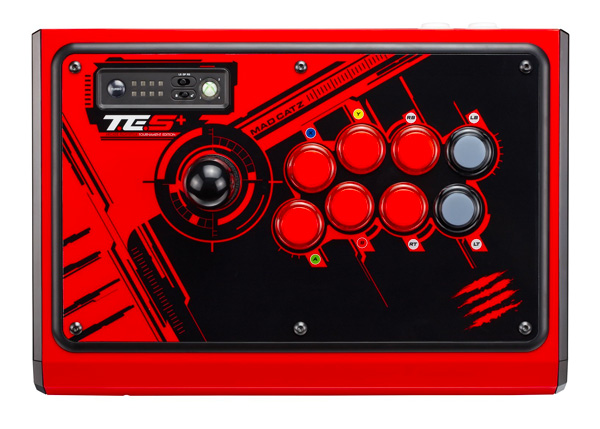
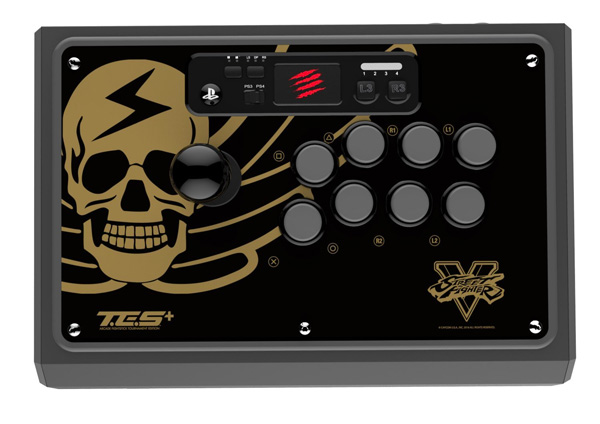
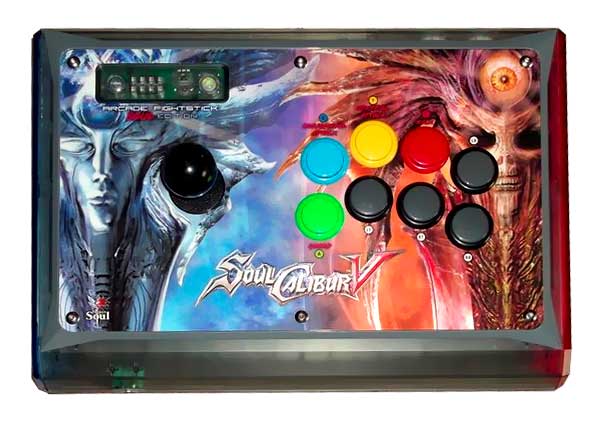
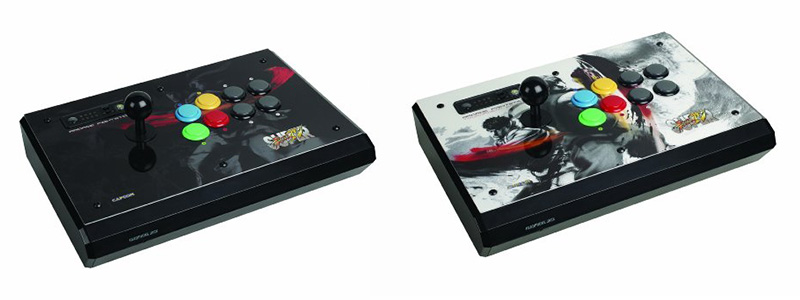
Madcatz TE Round 1 MadCatz TE Round 2 MadCatz TES Chun-Li MadCatz TE.S (XB360) MadCatz TE.S+ (PS4) MadCatz SCV (SOUL Edition) Madcatz TES Version 1 Installation
Please Note: Installation requires a complete teardown of the MadCatz TE. You will also no longer access the original control panel PCB often located at top left. This project is mainly for those looking to overhaul their aging TE with a new control PCB that makes use of a Neutrik port. It is recommended that you purchase a replacement plexi and custom artwork and choose "No" next to option "Cut Contol Panel?". There might be variations to removing the USB cable space in models such as the TES Shadaloo version for PS4, and you should be able to keep the CP functions of the Shadaloo model intact.
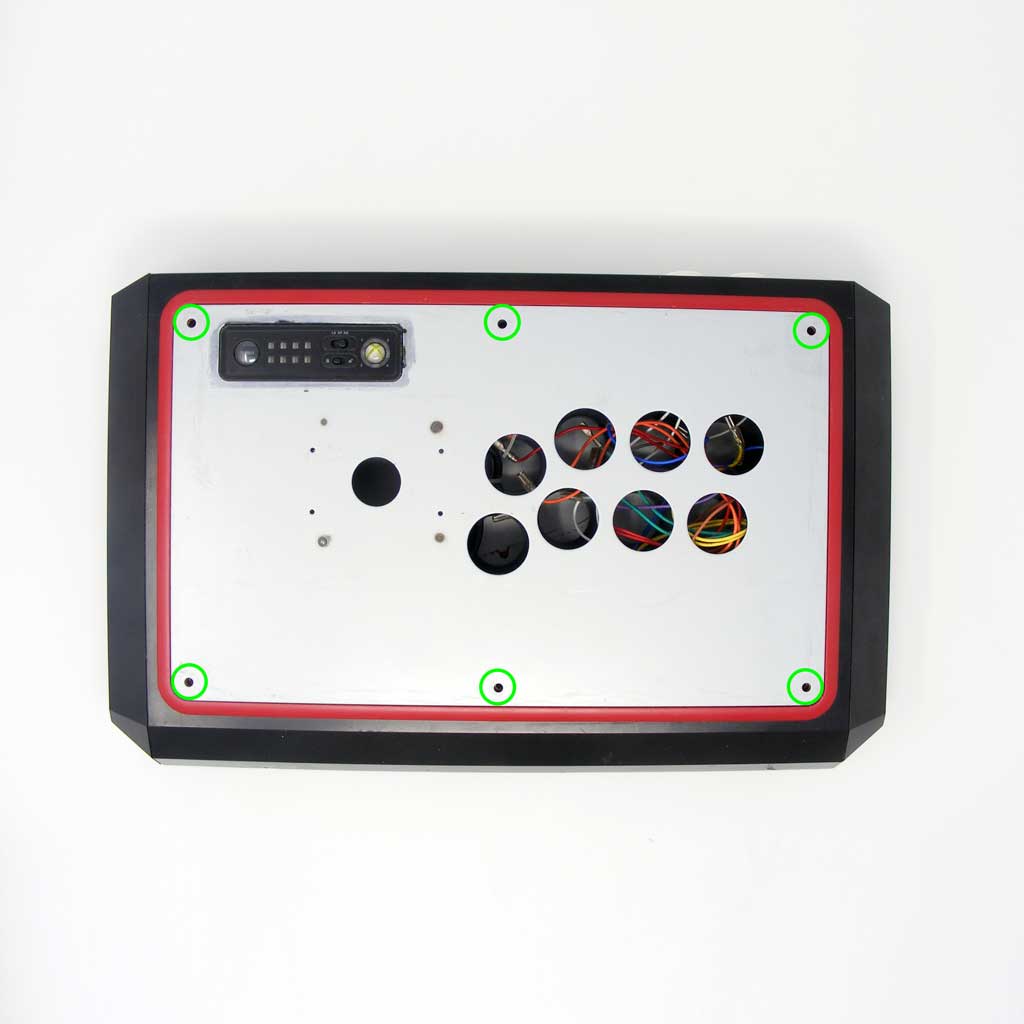
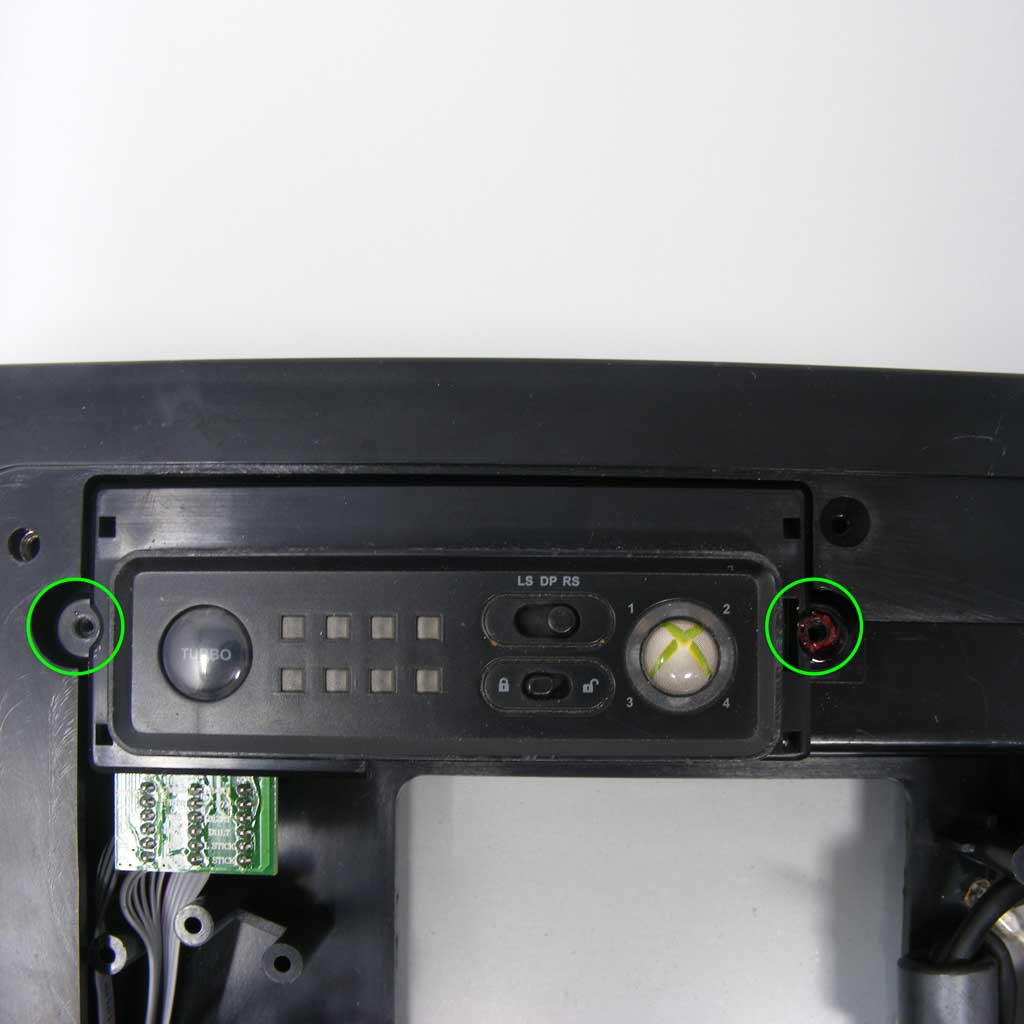
We want to have a bare shell to install the replacement door. We start with the TE top panel, removing six hex screws using a 3mm Long Arm Hex Key for MadCatz Tournament Edition Joystick. The goal here is to begin removing elements from the panel such as buttons and joystick lever (remove balltop first). With the screws unfastened, you can access these items, and the wiring connected to them. Remove the two screws that attach the plastic control panel to the frame. You may have to deal with a hard, red adhesive goo on each of the TE's inner screws, a method used to restrict tampering. A mini flat-head screwdriver to chip away at the goo, or brute force with a Phillips head screwsdriver is effective at working through most of the goo. 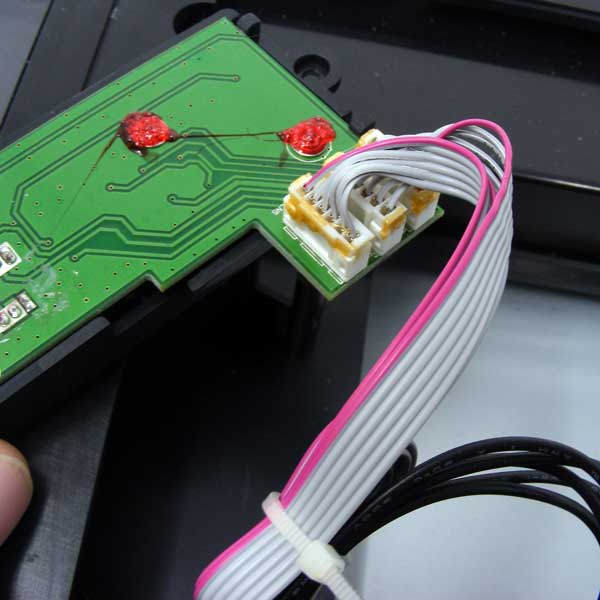
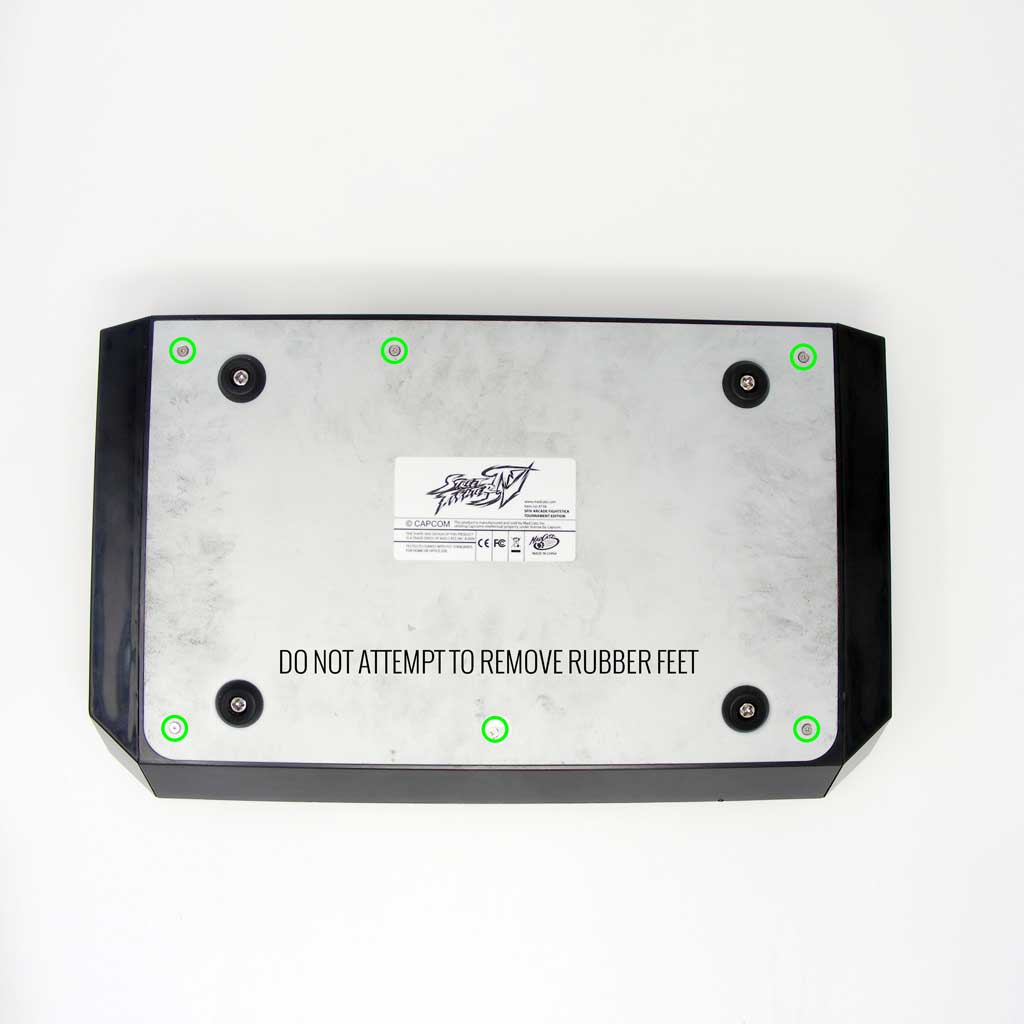
Underneath the plastic control panel is a PCB board with JST connectors, once again held in by adhesive. You can pull these connectors out with effort. You will not use any of this wiring after installing the TE door, as the control panel will not reside on the board. We now move to the bottom of the TE to access the underside of the plastic frame. It is there that screws to the USB cable compartment reside. Remove the six screws around the bottom metal panel, including one hidden by a warranty seal. You do not need to remove the rubber feet by unscrewing; those do not affect your ability to dislodge the bottom panel. 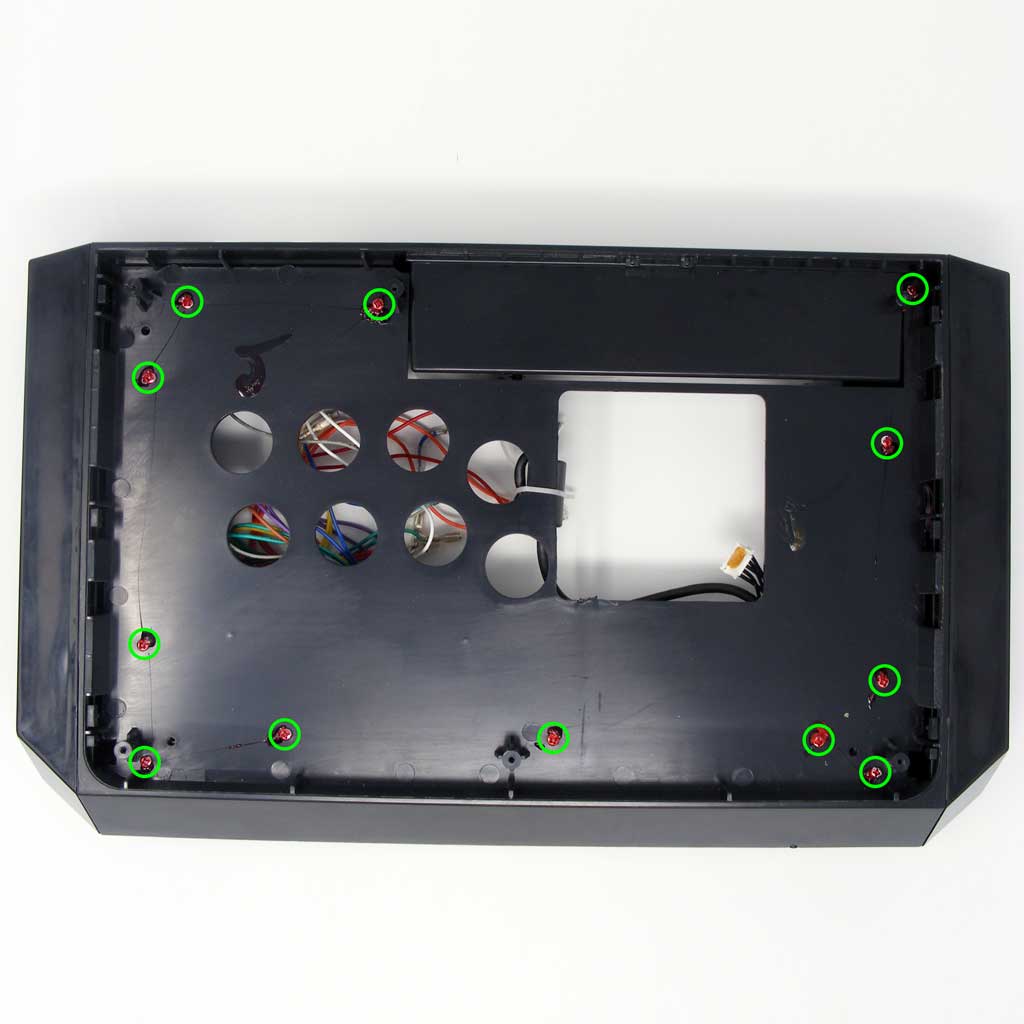
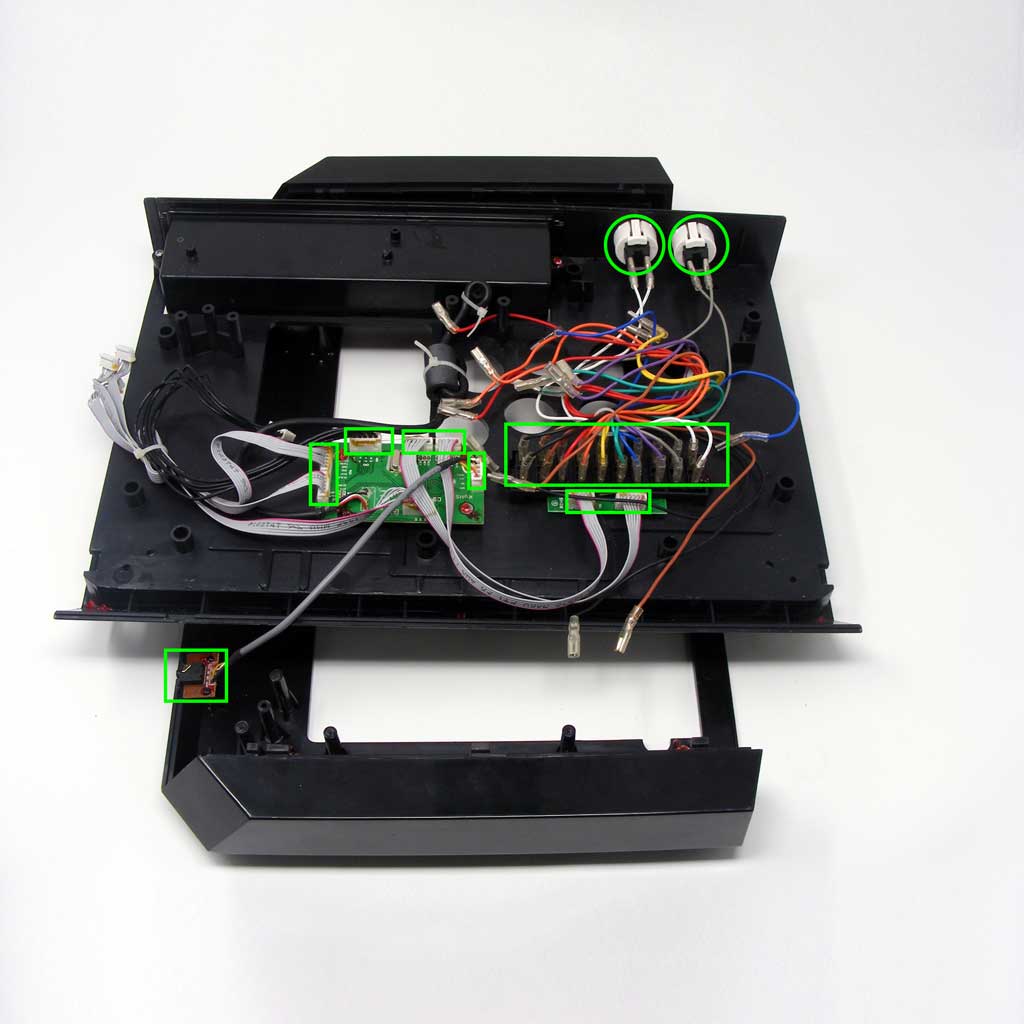
With the bottom metal panel undone, you will remove eleven (11) screws to separate the bottom plastic frame from the top. Again, you can chip away at the red goo to access the screws, or brute force the Phillips head screw in and start turning. With some effort, the screw will start to rotate despite the adhesive. With the screws removed, you can now remove the top and bottom plastic frames apart. Next, you will disconnect any remaining wires from the main board, or unscrew the boards entirely. Again, the TE door replacement serves as a pushbutton and neutrik expansion, allowing you to utilize a modern PCB such as Brook Universal Fighting Board. You will not need the wiring currently installed into the TE. 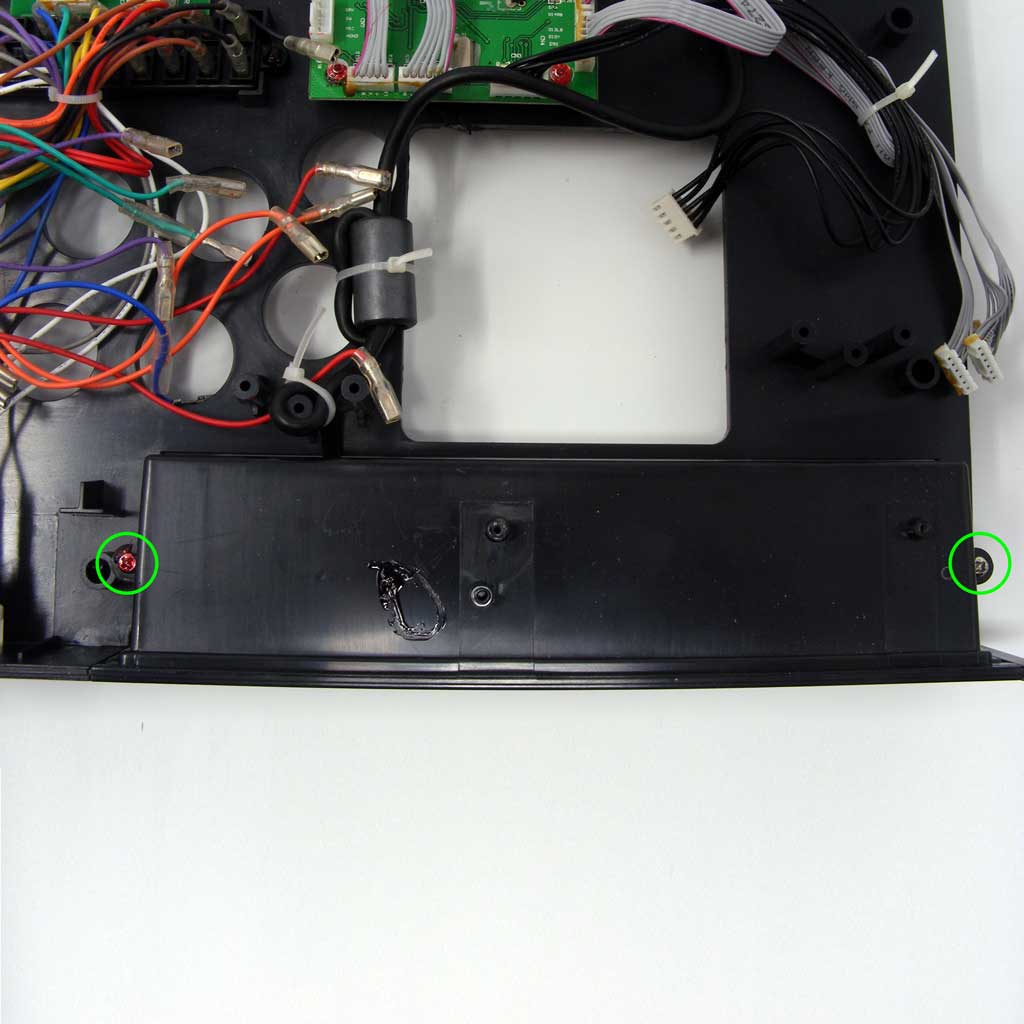
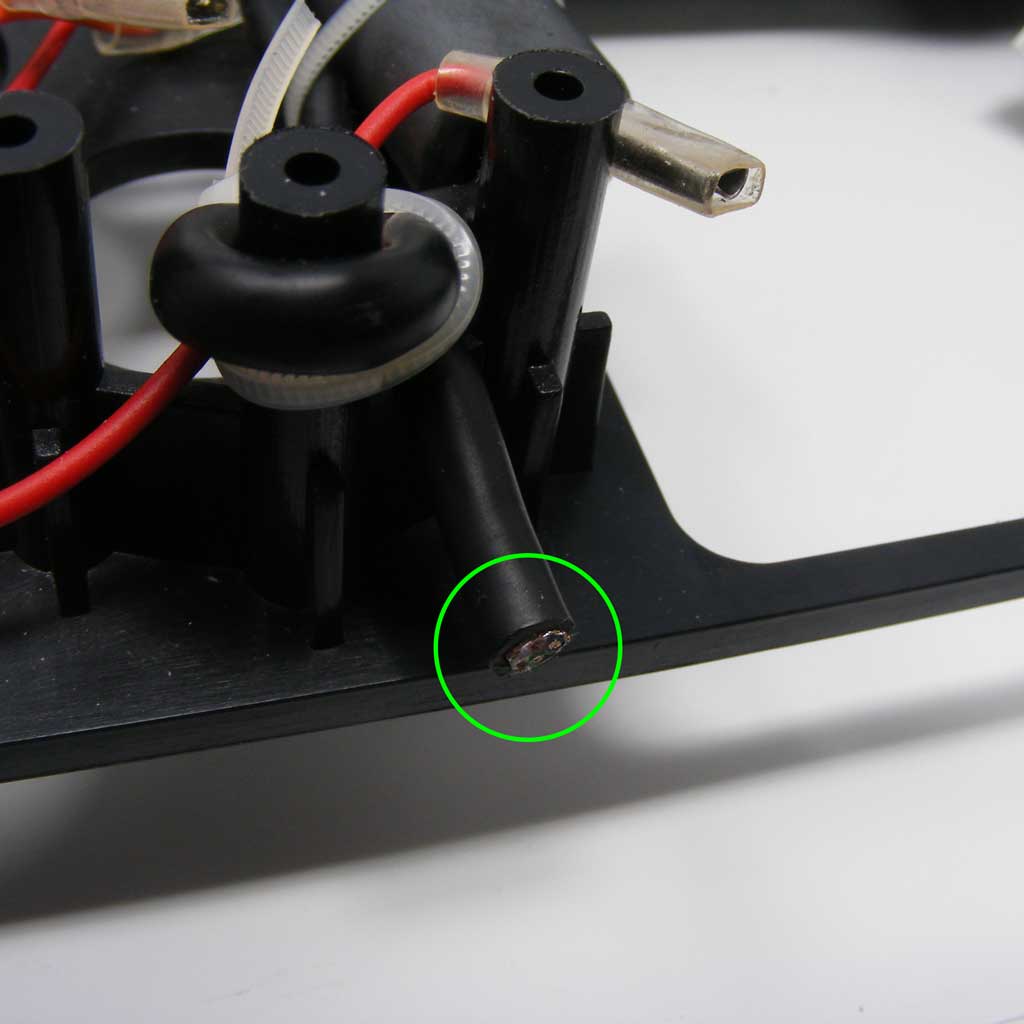
We finally reach the USB cable compartment. Unscrew the two screws holding it to the bottom plastic frame to dislodge it. The USB cable can be cut with a pair of sharp scissors. Since you are going to use a control PCB with a pair of new USB AB cables and a Neutrik passthrough, you will no longer need it. 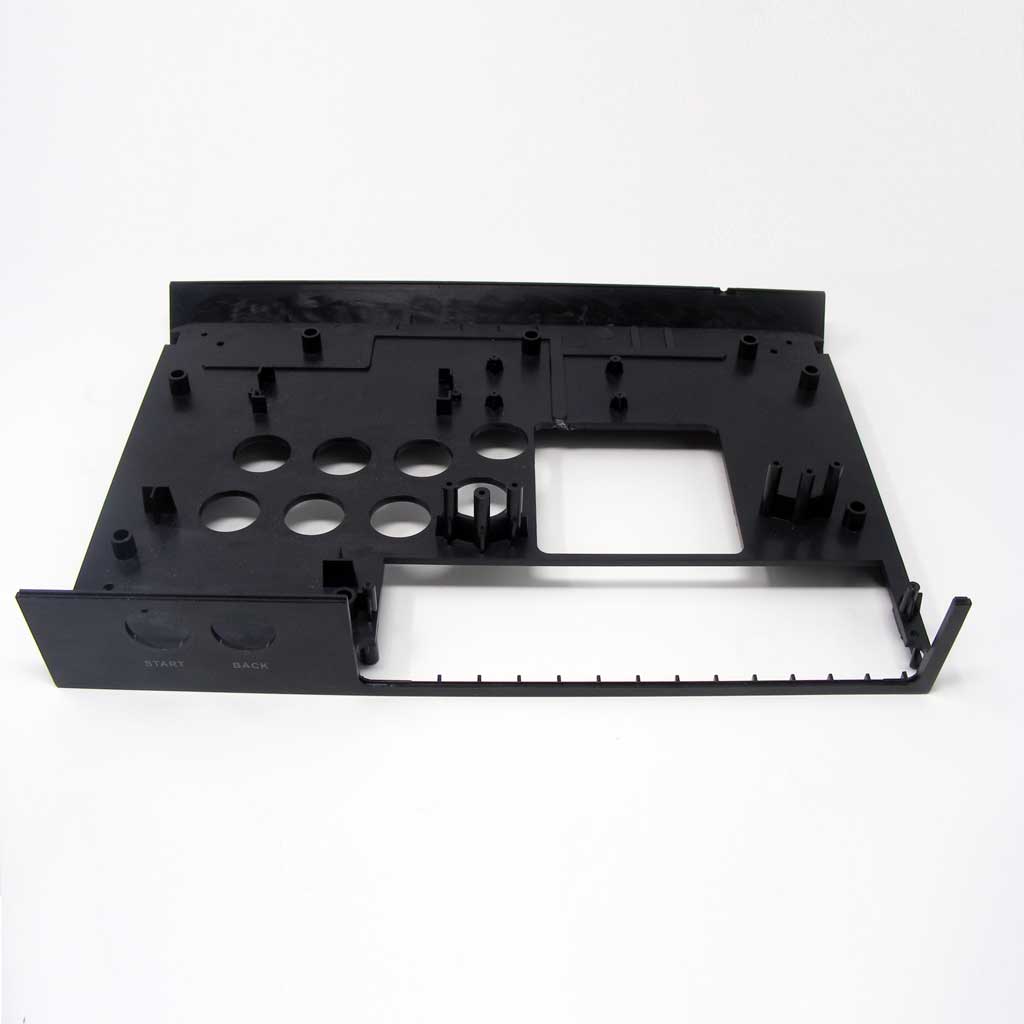
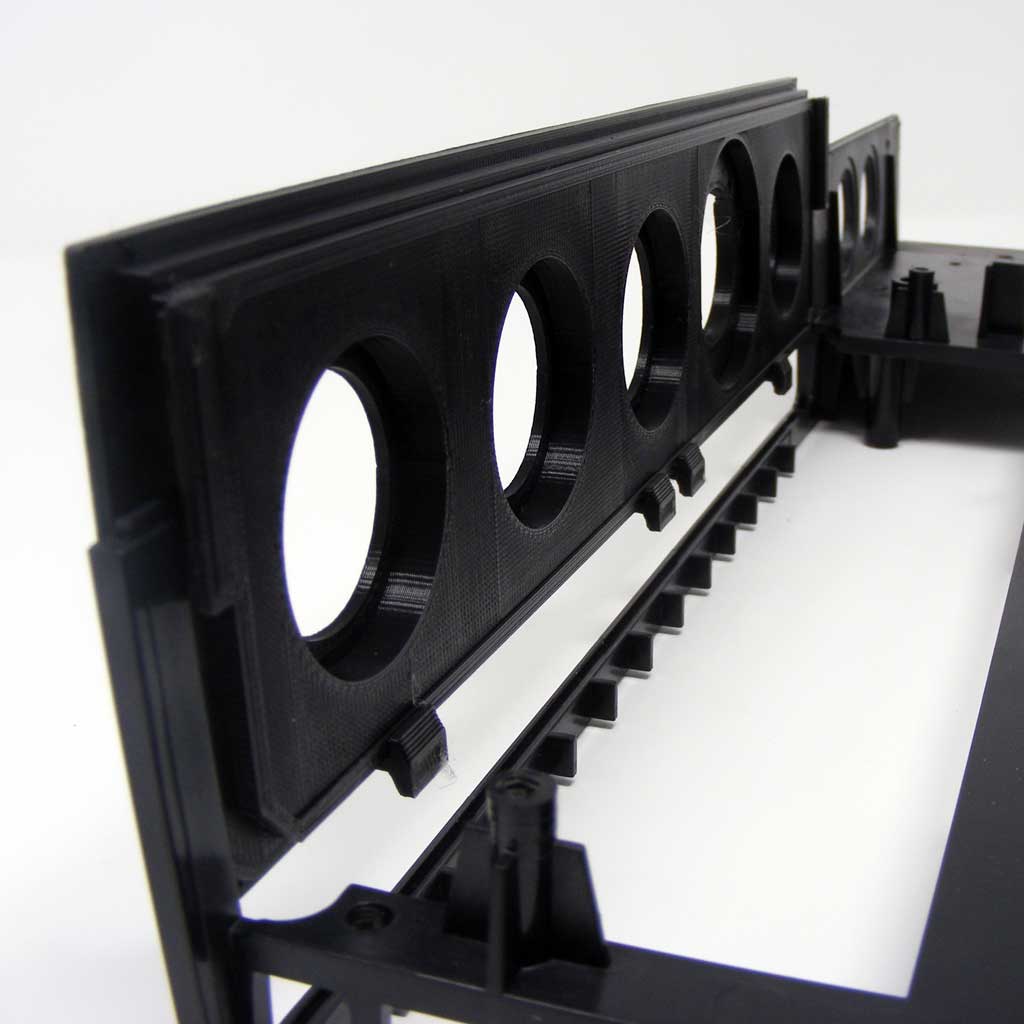
We are left with the bare bottom plastic frame, which housed the original TE door. We can now finally install the Buttercade TE/S USB Compartment/Door Replacement. Use the tabs on each side and bottom of the door to slide down between the plastic housing. The door should lay relatively flat against the housing. 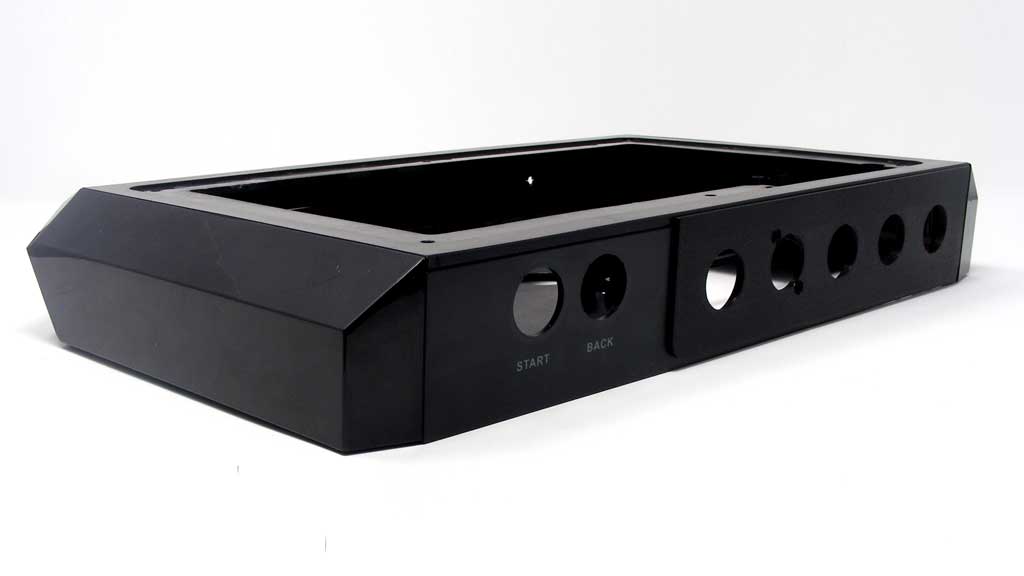
With the Buttercade TE door installed. You can begin rebuilding the TE back together, reversing most of the steps after your desired replacement PCB and wiring is in place, the Neutrik passthrough is attached, and additional 24mm buttons are connected. Congratulations! -
Product Reviews
-
Good Solution but installation time may very
I bought this product to modernize my MadCatz TE (the Chun-Li one). Disassembling the stick was not an issue, but I did have some trouble reinstalling the frames. The problem was that the product was a bit too wide on the left side pushing that side of the bottom frame out. Upon inspection, it seemed that there was some extra plastic added to the stick frame. This model is acrylic, while I believe the other round one and two editions were made of a harder plastic. Long story short, I had to use a metal file to shave some plastic off of both the frame and the product itself. I had to be careful not to ruin the acrylic, as this could have caused it to crack on the inside. I still recommend the product to those who plan on installing a new PCB. Just note, you might need a little patience to get the results you want.
Unknown on May 26th 2023 -
Good fit for the old TE case and nice way to extend functionality with alternate PCB's
The biggest strike against TE case customization besides being overly complicated to take apart is that there's just no convenient place in the existing TE case to drill extra holes in for more buttons other than the cable stowage compartment half of us don't use.
The best part of this replacement is that you get those four extra buttons holes for the Home button, adjustment buttons, and the Neutrik jack/RJ45 passthrough you're gonna need for any custom PCB (MC Cthulu, Brooks boards) sold out there.
I chose to the get the 30mm button wall plate because I have a ton of leftover 30mm buttons and didn't want to buy more 24mm buttons right now!
Although the description doesn't say this, an RJ45 passthrough DOES fit in the provided space for the Neutrik jack so you're good for retro-console PCB support.
There IS one problem besides the fact you have to take apart the TE case to install the replacement wall. On the Round 1 and Round 2 TE's (Street Fighter IV, Femme Fatale, Marvel vs Capcom 2, Super Street Fighter IV), the cable stowage compartment has an attached screw peg on the left bottom that you insert a baseplate screw in to fasten the baseplate to the TE case. Either you 1) go without this screw peg and attach the baseplate with only 5 screws, or 2) saw off and retain part of your stowage compartment so that you keep the screw peg to secure the baseplate a bit better.
I chose Option #2 but it creates extra work. For my peace of mind, I did it anyway! The piece of the stowage compartment that I sawed off was roughly the width of my pinky finger (around 1/4") has both the screw peg for the baseplate and a fastening point on the left to attach to the inner middle part of the TE case. Because it only secures on the left, I chose to hot-glue the small piece of stowage compartment onto the inner frame to provide more support for it otherwise the chances of it snapping off in the future if I take the TE case apart again are fairly high. You'll definitely reduce stress on the screw by providing glue support. I hot-glued it in the front and left side to secure it better to the inner TE frame. In addition, I also used some scrap pieces of TE inner frame plastic to shore up the baseplate peg on the bottom of the compartment piece and provide more area for the baseplate to rest against. It might be paranoid to do this but I like to think ahead and provide reinforcement when I do mods like this.
I don't know if this baseplate peg issue affects any other TE's other than the Round 1 and 2 cases but beware and check to see if it's any issue with your TE case's generation, too. GeorgeC on Nov 19th 2020
-
-
Find Similar Products by Category


