- Category
- What's New?
- FightSticks/Pads
- Joysticks
- Pushbuttons
- Spare Parts & Tools
- Hardware & PCB
- Electrical
- Customize
- Merchandise
- Sales & Clearance
- Brand
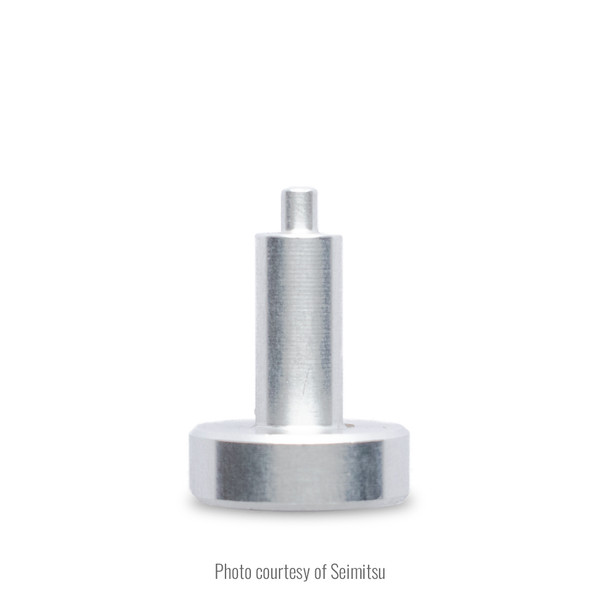
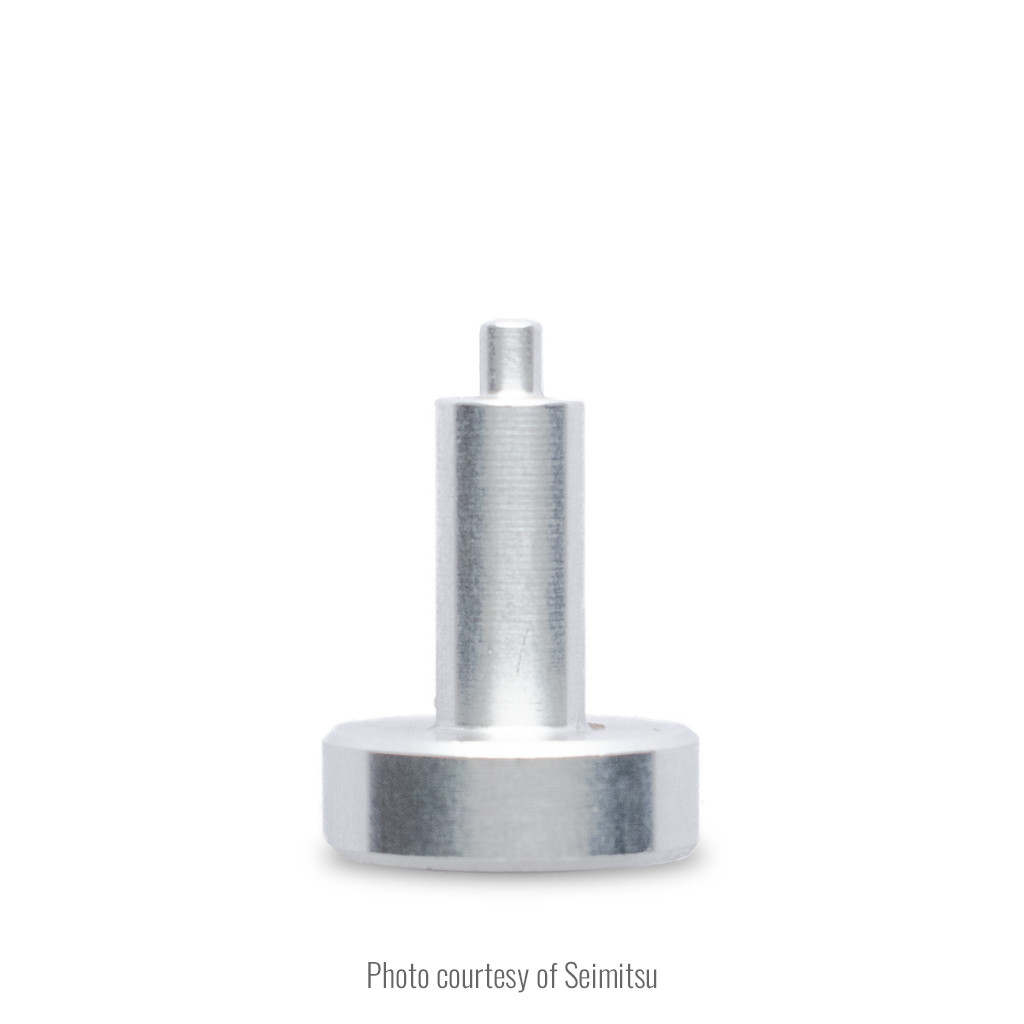
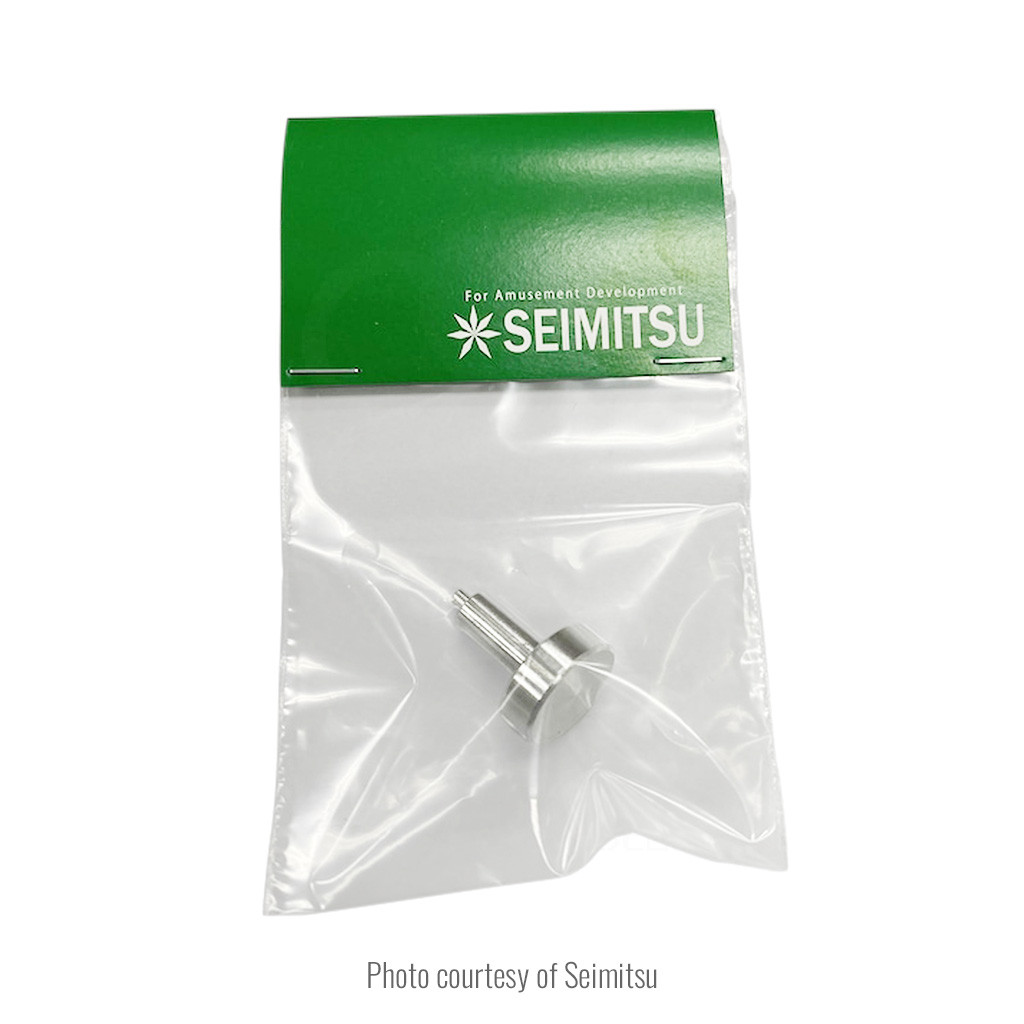
Seimitsu Alutimo Metal Push Out Tool
Price:
$5.45 (USD)
Brand
SKU
SEIMITSU-ALUTIMO-PUSH-TOOL
Weight
1.50 Ounces
Shipping
Calculated at checkout
-
Product Description
This small metal tool assists with pushing out the MX switch from the bottom, and a recommended tool when disassembling the Alutimo. In our experience, Alutimo is quite difficult to disassemble from the top, because the inner cap stays inside of the rim. Removing the inner cap from the inside of the rim will need a special tool.
Instead, we suggest that you attempt to safely disassemble from the bottom via this push out tool.
Installation and Disassembly Tips
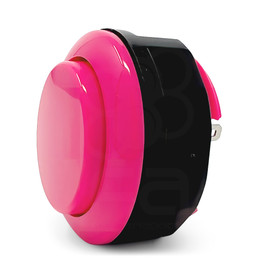
The Seimitsu Alutimo has quite the unique build, making hot-swapping MX switches a challenge.
- Read this review of Alutimo for tips on disassembly and methods to keep your contact cylinders in place during a swap. (Japanese, use Google Translate)

- Check out this method to help quiet the Alutimo using cloth tape. (Japanese, use Google Translate)

- Check this YouTube video showing how to assemble and disassemble the Alutimo (temporary video until Seimitsu releases an official one)

Disassembling Alutimo (Please proceed at your own risk.)
- Remove outer cap.
- Push the center point of the MX switch via push out tool. You can feel the inner lock has got off with a click sound. We highly suggest that you use the Alutimo Switch Push Out Tool for the purpose to avoid injury.
- Remove the inner cap and swap the switch or shims.
Assembling Alutimo
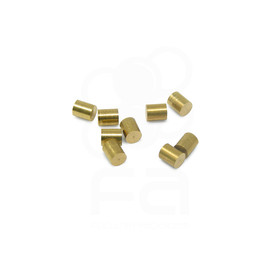
- Install the contact cylinders. You will need tweezers.
- Install the shims on the switch.
- Assemble the inner cap and switch before you install these to the rim. Because the clearance of the inner cap and the switch stem is tight, you will need to use a firm hand to insert them deeply. The button will work even if you did not insert them deeply, but it will not reach the correct actuation point.
- Install the assembled unit into the rim. You need to be careful not to bend the MX switch pins.
- Install the outer cap.
- Read this review of Alutimo for tips on disassembly and methods to keep your contact cylinders in place during a swap. (Japanese, use Google Translate)
-
Product Reviews
-
Find Similar Products by Category


