- Category
- What's New?
- FightSticks/Pads
- Joysticks
- Pushbuttons
- Spare Parts & Tools
- Hardware & PCB
- Electrical
- Customize
- Merchandise
- Sales & Clearance
- Brand
SNOW DAYS 2X FA.REWARDS! SHIPPING RESUMES 1/28 [ INFO ]
Promotion ends 11:29pm PST Tuesday Jan 27 (3:00am EST Jan 28)
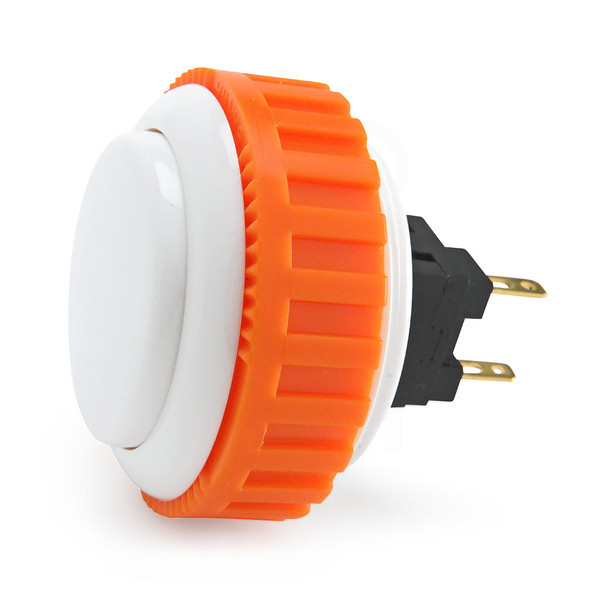
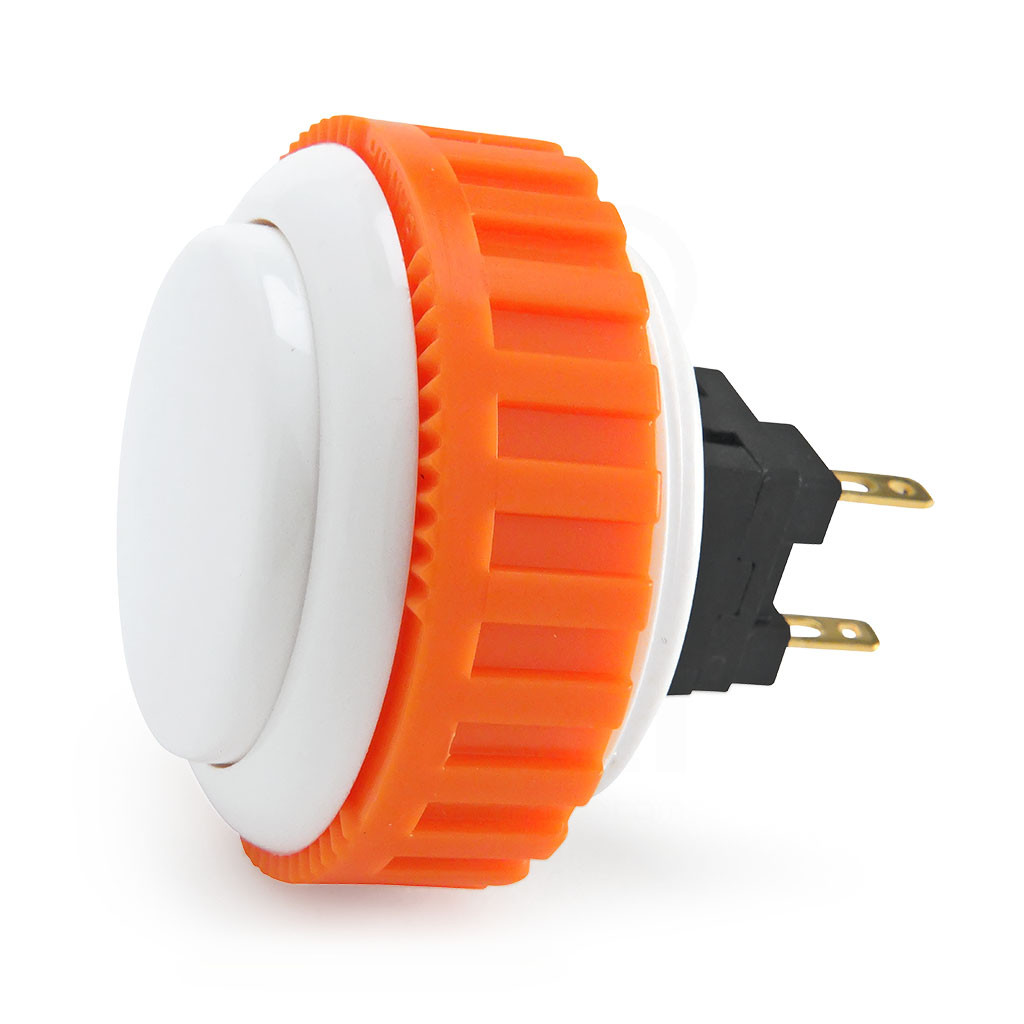
Sanwa OBSN 30mm Screw Button White
Sorry but this item is currently unavailable.
Please check back at a later stage.
-
Product Description
The Sanwa OBSN-30mm series screw-in pushbutton is specifically created for wooden joystick enclosures with a thicker top. The adjustable screw feature and lower form-factor make it ideal to use in your custom set up.
Bundle with Silencer 30mm Foam Washers
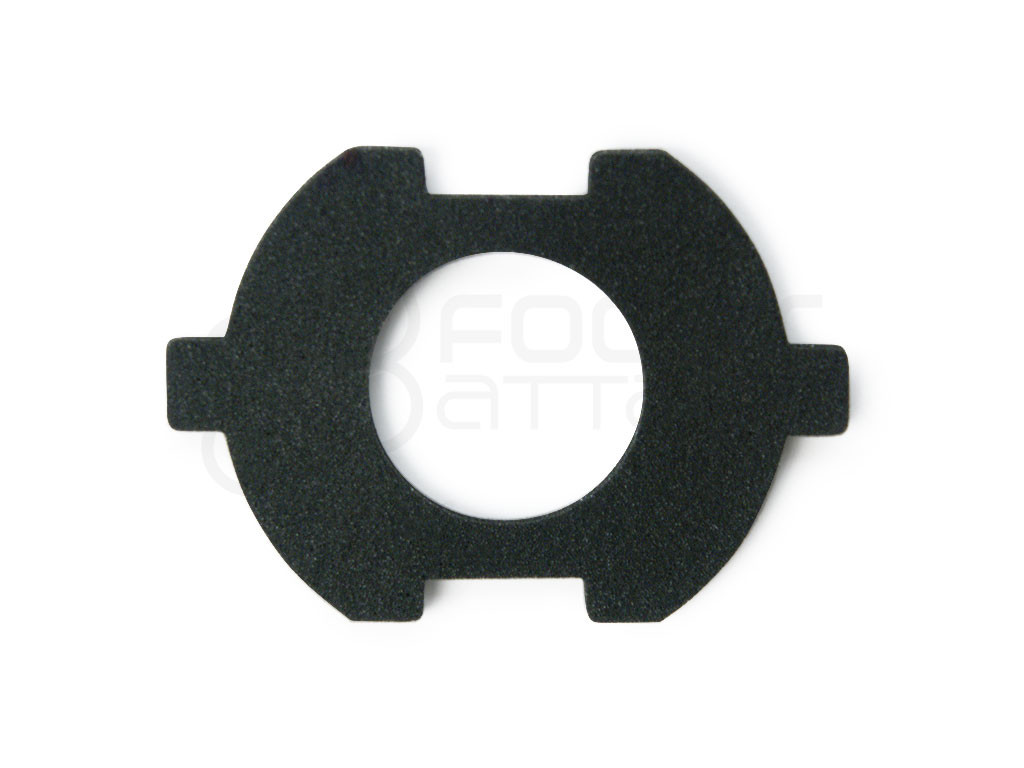
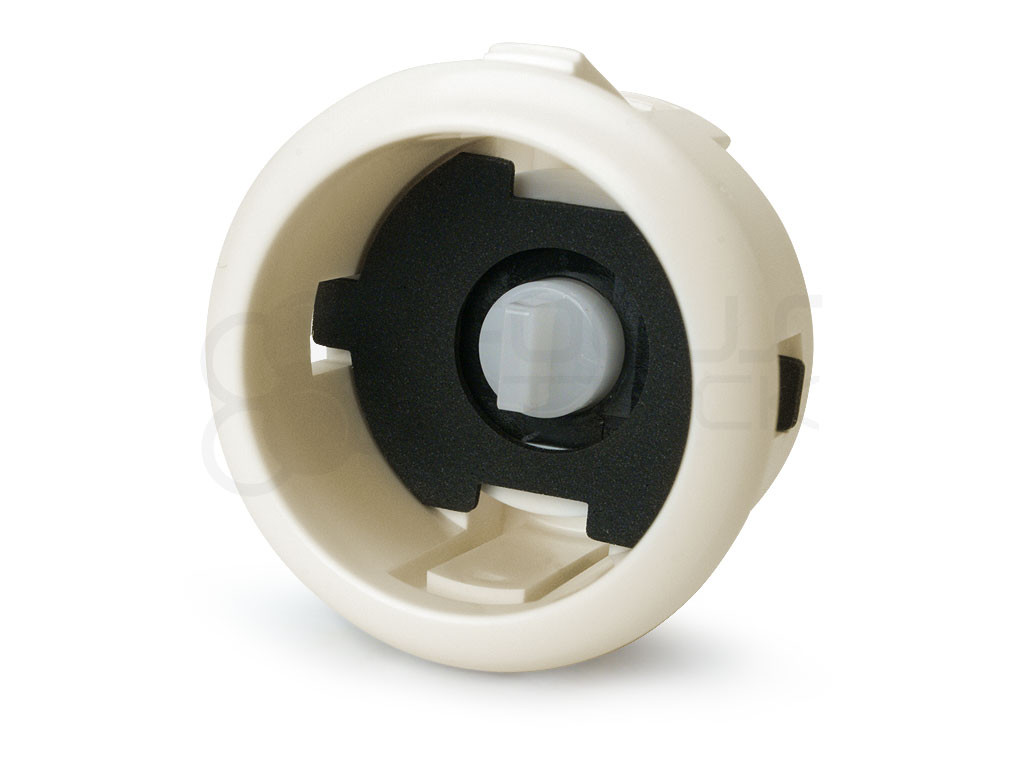
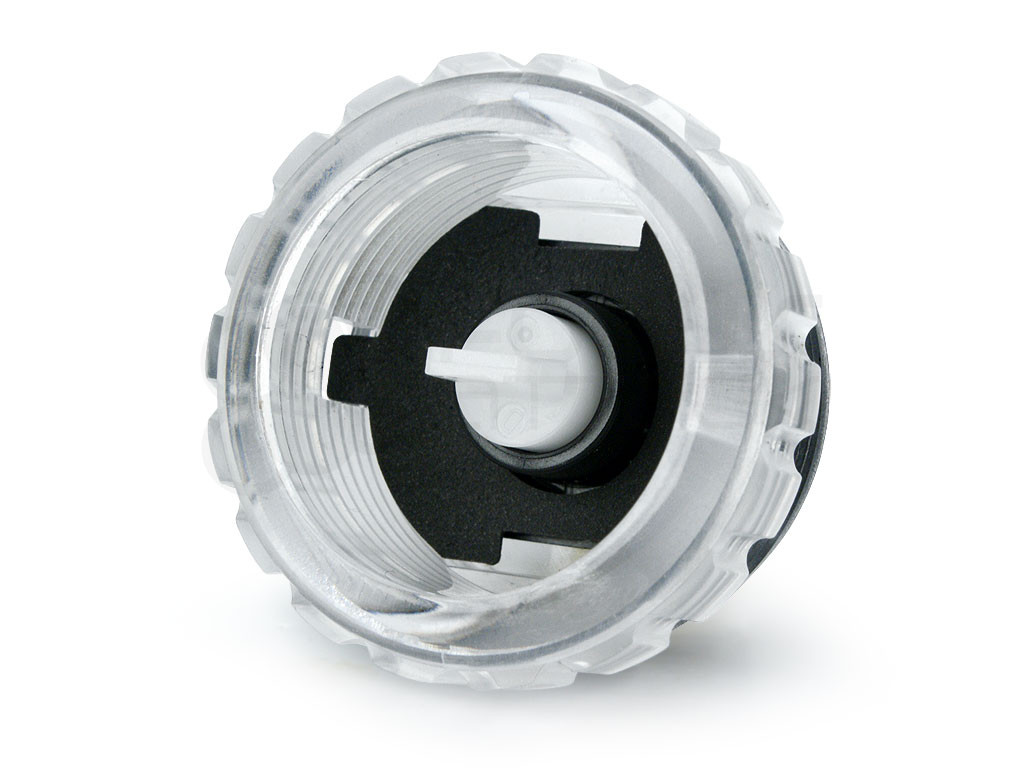
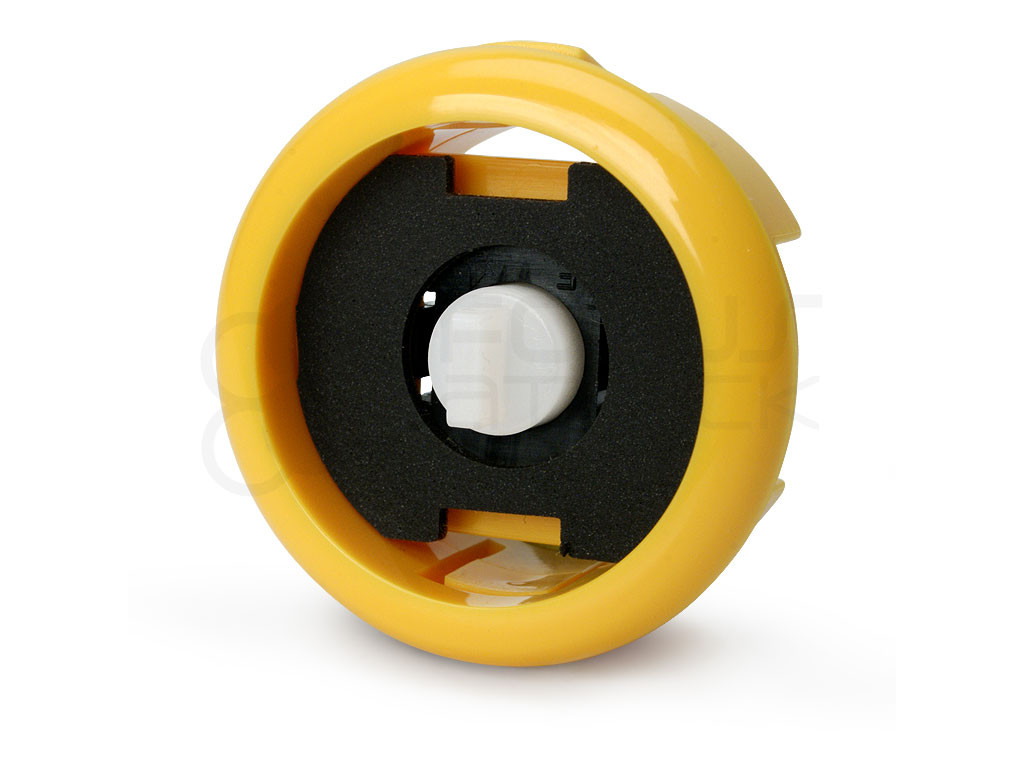
Silencer is our 1mm-thick foam washer that helps to dampen the loud sounds common with tapping on the button plunger. It conforms to the internal housing of many Sanwa or Seimitsu-style 30mm pushbuttons.
Known compatibility:
Sanwa Seimitsu Crown Hori Silencer Installation
installing the Silencer foam pads into a Sanwa or Seimitsu pushbutton is straightforward. Place the washer - plastic film side down - into the button housing. Align the small tabs so that they stick out of the holes on each side of the housing. For Seimitsu PS-15, and Hori Hayabusa low profile pushbuttons, snip the tabs off with scissors and place into the housing.
24 vs 30mm When processing orders, a frequent mistake we found among new players is choosing the wrong size for action buttons, such as punch and kick.
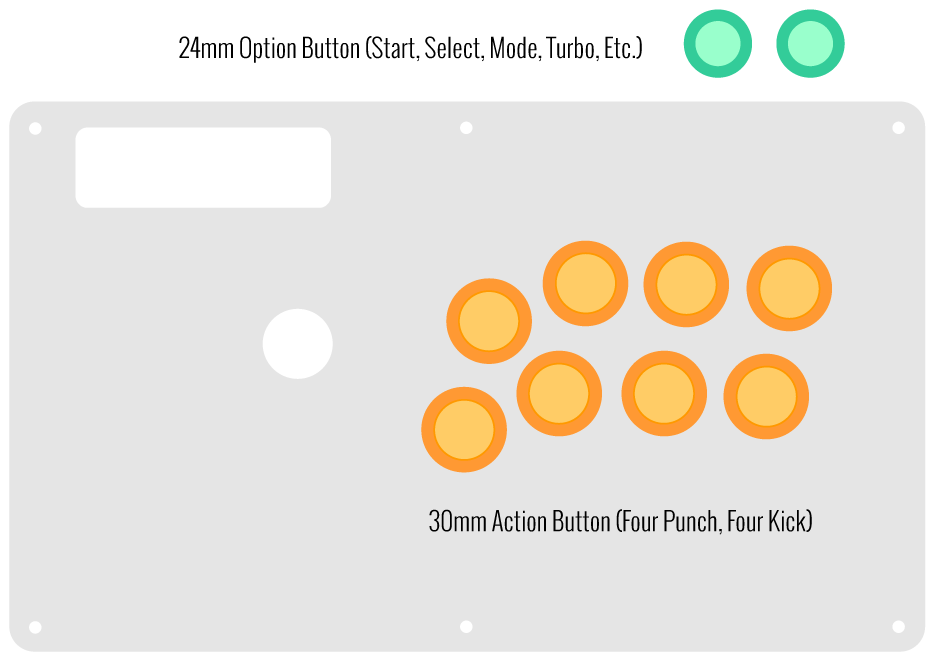
Within the fighting game genre, Japanese arcade buttons commonly consist of two diameter sizes: 24 millimeter and 30 milllimeter (mm). In most configurations, 30mm represents your action button. These are front facing, appearing most prominent on your Fightstick control panel. Option button, such as "Start", "Select", or more recently "Option", "Touch", or "Share" are usually 24mm.
UPDATE: Owners of Neo Geo AES Joysticks will need 24mm pushbuttons instead of 30mm (Thanks SRK's DEZALB)
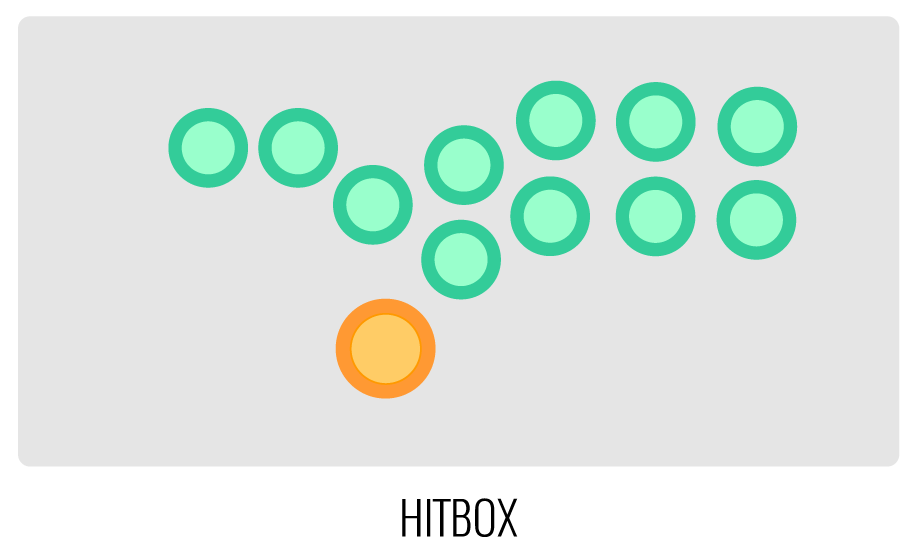
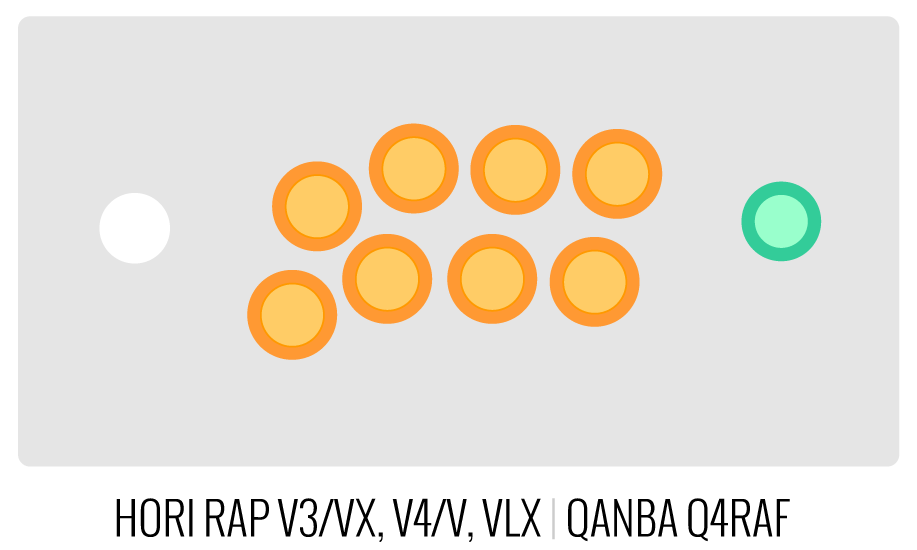
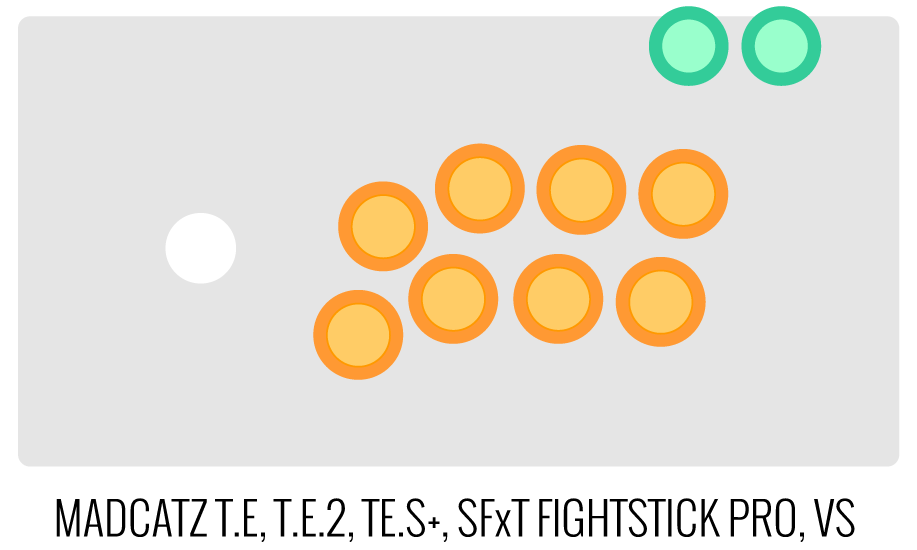
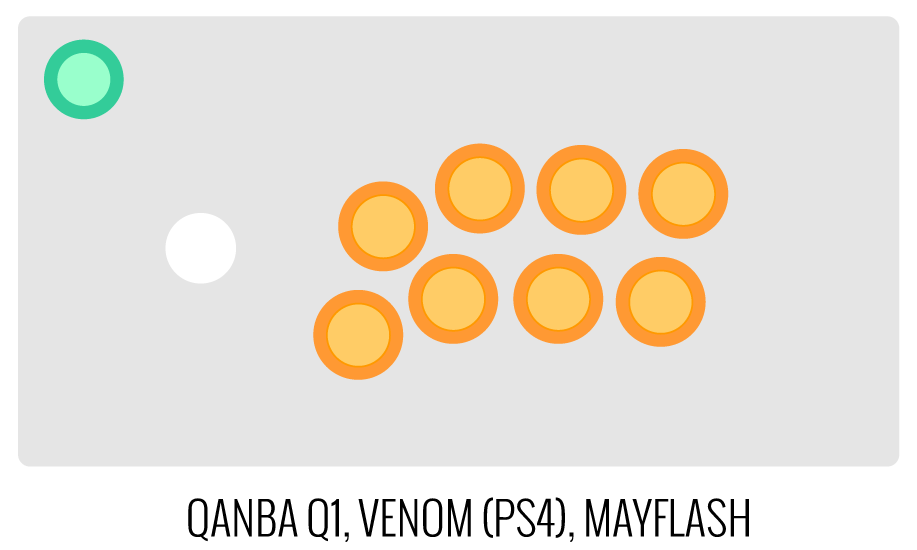
Below is a visual representation of a common Fightstick control panel. Throughout this article, we will mark 24mm in green, and 30mm in Orange.
Checking the Proper Size
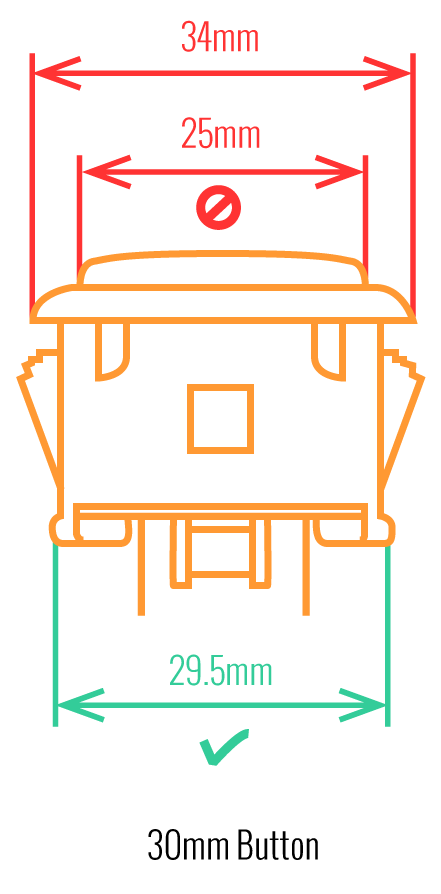 Another way that players can misinterpret the pushbutton size is by measuring the pushbutton plunger. Have a look at the diagram at right.
The plunger - the part that you press down to represent an input - is 25mm or a bit smaller in most 30mm pushbuttons. Often this leads to the conclusion that one needs a 24mm button and not 30mm.
Similarly measuring the button rim can lead to confusion, as it is intentionally larger than the button hole it is placed in. You don't want to use these measurements. Instead, review the button housing diameter, or the hole the button will be placed in. You can do this with a caliper - a digital caliper is often quite helpful for this and other arcade-related projects.
Control Panel Configuration
Most Fightsticks from MadCatz, Hori, Qanba, and similar will use these two sizes. How the buttons are used will depend on the model joystick that you own. Over time, we'll provide example configurations for specific popular Fightstick models and arcade cabinets using the color key for 24mm (green) and 30mm (orange). We'll also expand the key for future models if another size is introduced, and we offer for sale.
-
Product Reviews
-
What a change
From sudden some push buttons on my fightstick start to feel lose and when open up the cover I see that one of the tabs that fix the push button to the top was broken.
I stop getting push buttons because of that and this screw buttons are great, same quality but without risk of lost the buttons on changes or use.
Please check since the Madcatz sticks tend to have no room available to use these buttons on the bottom left one the closer to the joystick, so check there before you got all screw buttons. Andres Serrano on Jun 20th 2018 -
Feels just as good as the snap ins
I have no complains feels very solid Unknown on Mar 29th 2018
-
Overall great, make sure your panel is thin enough to accommodate
I ordered these to install on a .75" arcade panel which is thicker than these buttons can normally be screwed in to, which I knew ahead of time thanks to the site documentation. I was able to fit them all on the panel after routing it down a bit to around .4". Some of the buttons still aren't screwed in very tightly but they work. I like them a good amount but be careful that you'll need like 5mm to securely screw in the button.
I also added the silencers and while they do noticeably dampen the clicking sound, I wouldn't say it's a major difference Unknown on Nov 3rd 2016
-
-
Find Similar Products by Category


