- Category
- What's New?
- FightSticks/Pads
- Joysticks
- Pushbuttons
- Spare Parts & Tools
- Hardware & PCB
- Electrical
- Customize
- Merchandise
- Sales & Clearance
- Brand
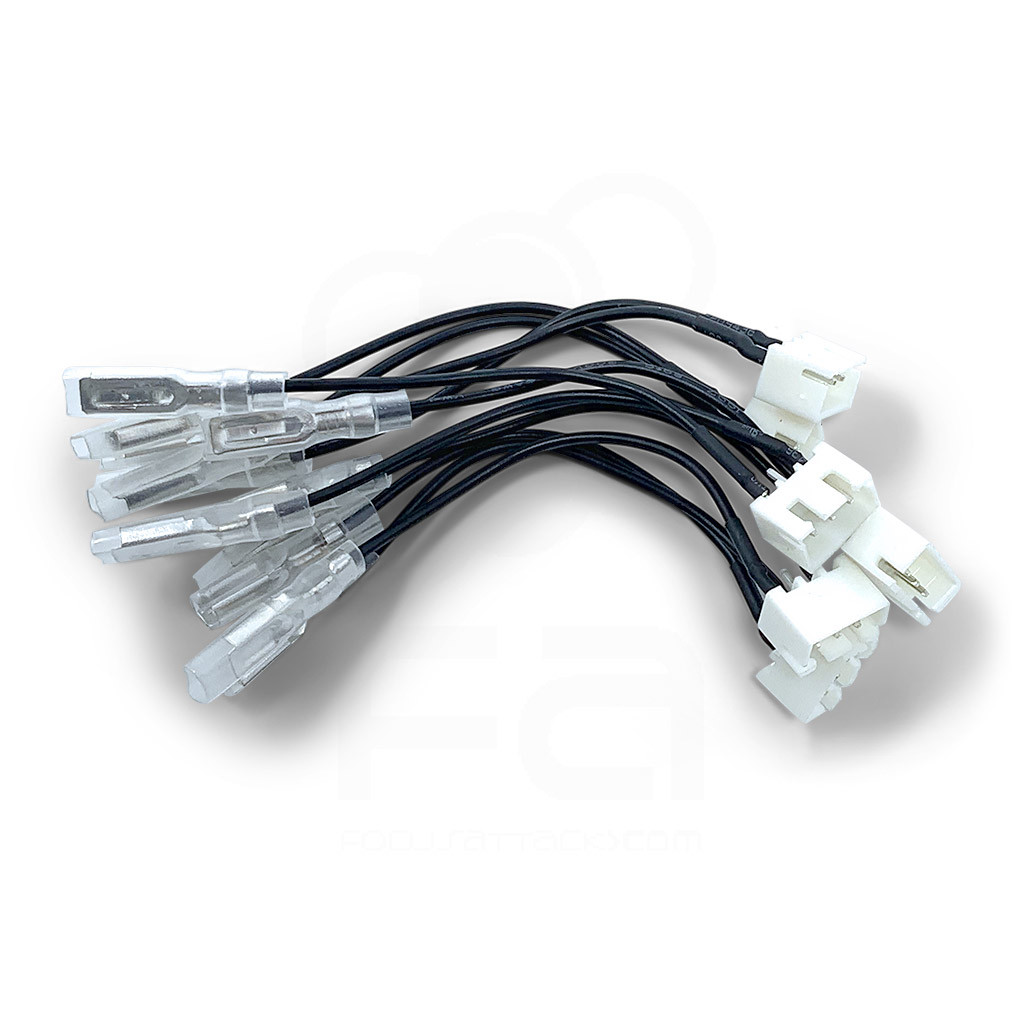
.110" Button to Agetec HKT-7300 Harness Adapter (6-Pack)
-
Product Description
Important: 30mm Buttons Do Not Fit Original Panel Without Modification
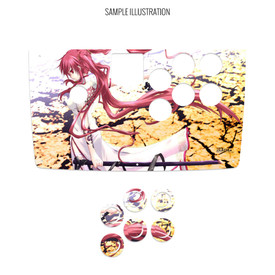
Please note that the original metal panel was designed for buttons that are slightly smaller than typical 30mm buttons. We recommend purchasing a Blank Plexi Replacement Panel for Agetec HKT-7300 or Custom Etch Plexi Replacement Panel for Agetec HKT-7300 and Artwork Print and Cut for Agetec HKT-7300 Replacement Panel which has proper diameter for 30mm buttons. If you prefer to keep the metal panel, you must dremel the button holes to fit a 30mm button.
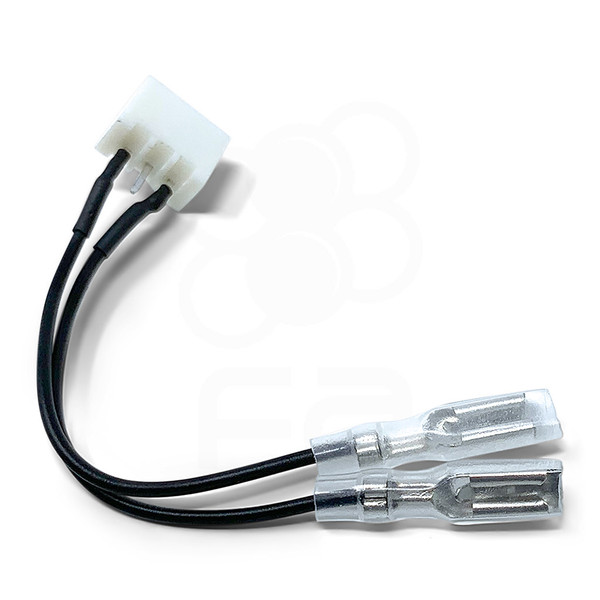
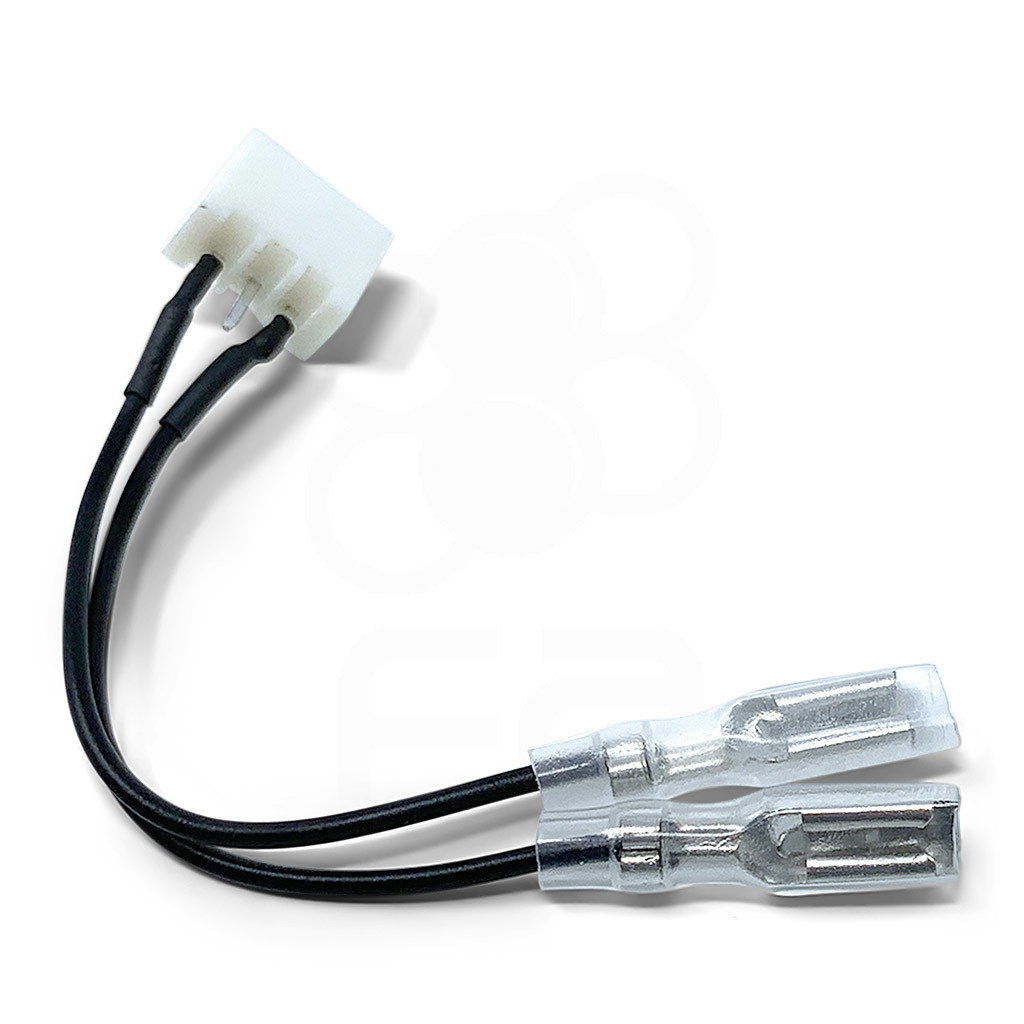
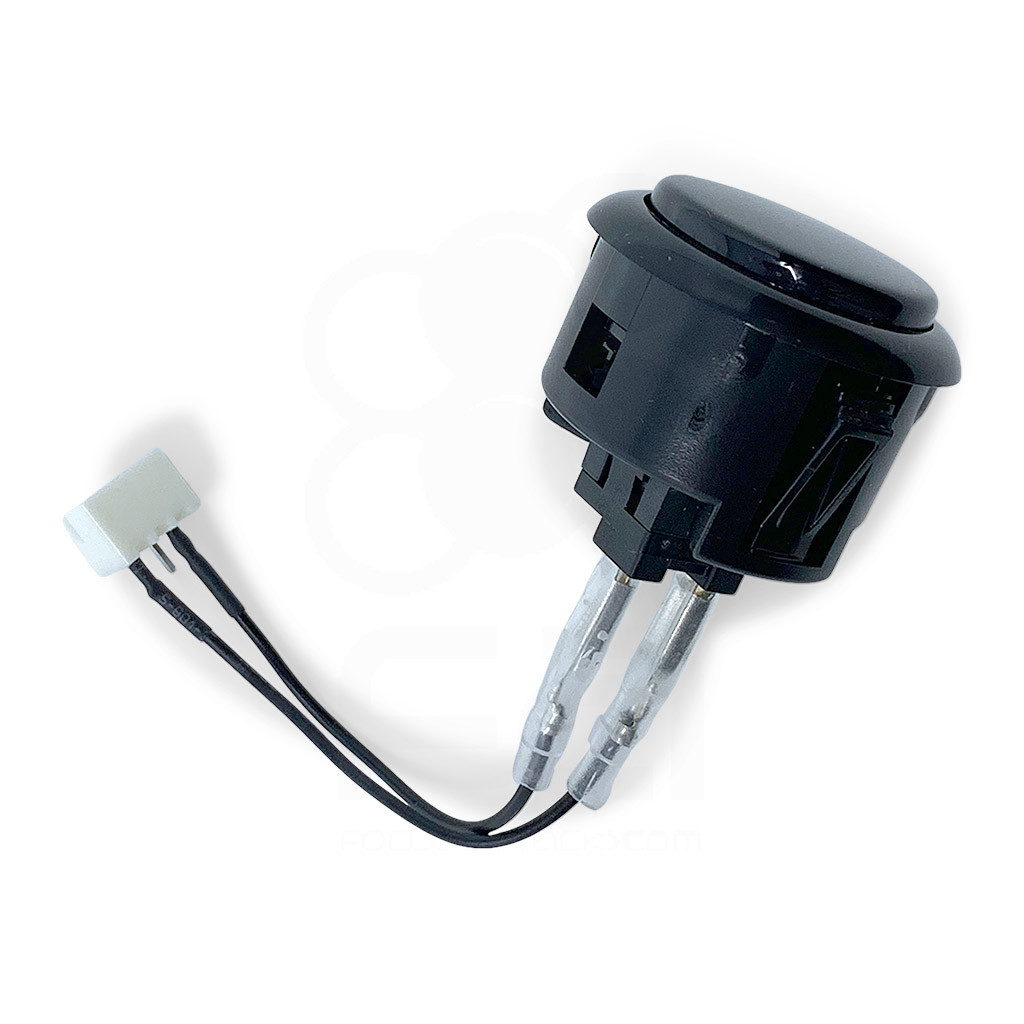
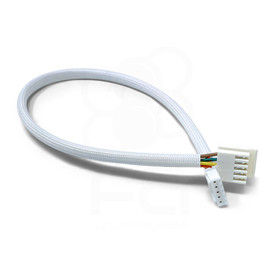
The .110" Button to Agetec HKT-7300 Harness Adapter allows you to attach a common Japanese button with .110" terminal to the 3 pin connector found on the arcade stick's pushbutton harness.
The classic Dreamcast arcade joystick - the Agetec HKT-7300 is affectionately known as the "green goblin" for its presentation of green buttons and balltop. Enthusiasts that still play iconic Dreamcast titles such as Capcom vs SNK 2, Street Fighter III: Third Strike, or Marvel vs Capcom 2 enjoy the 6-button configuration and overall feel. Modding the HKT-7300 is quite the challenge; the original buttons attach to a 3 pin connector found on the arcade stick's button harness. You can't otherwise install a Sanwa or Seimitsu pushbutton to the harness.
Each adapter harness uses .110" terminal female quick disconnects to attach to the .110" terminals of common Japanese arcade buttons. The other end sports a 3 pin male connector, which attaches to the female connector on the button harness. This simple approach creates a trouble-free installation of your favorite Japanese brand pushbutton into the Agetec fightstick.
Installation
These notes instruct you in replacing the entire panel. Please note that the original metal panel was not designed for 30mm buttons. We recommend purchasing a Blank Plexi Replacement Panel for Agetec HKT-7300 or Custom Etch Plexi Replacement Panel for Agetec HKT-7300 and Artwork Print and Cut for Agetec HKT-7300 Replacement Panel which has proper diameter for 30mm buttons. If you prefer to keep the metal panel, you must dremel the button holes to fit a 30mm button.
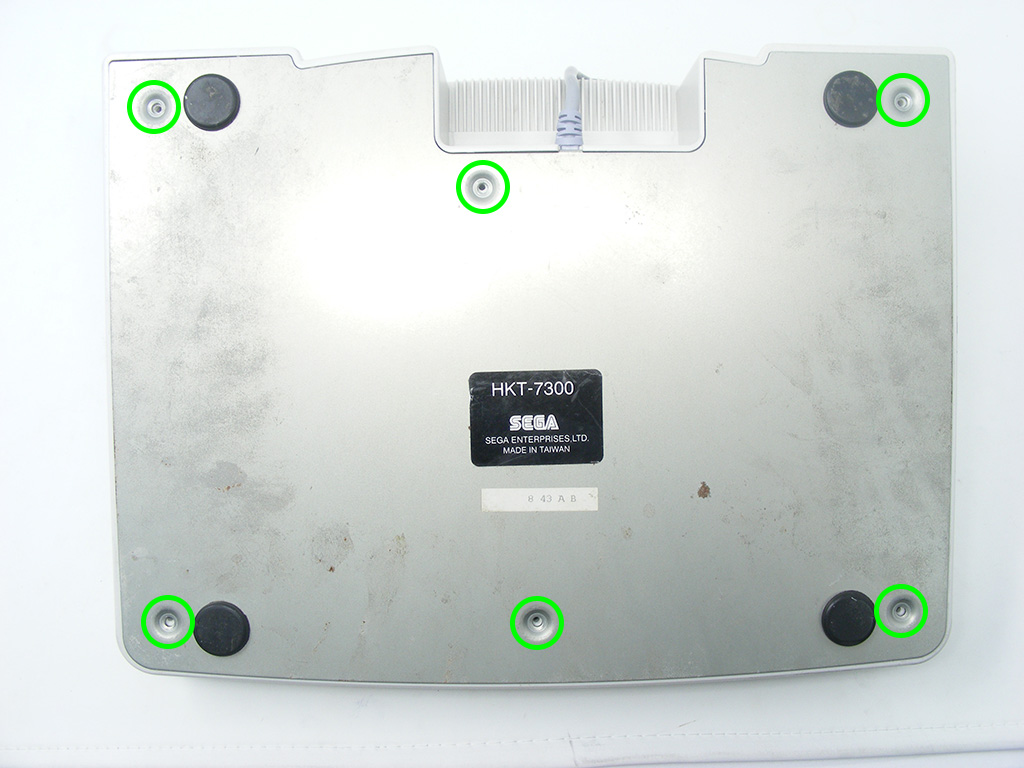
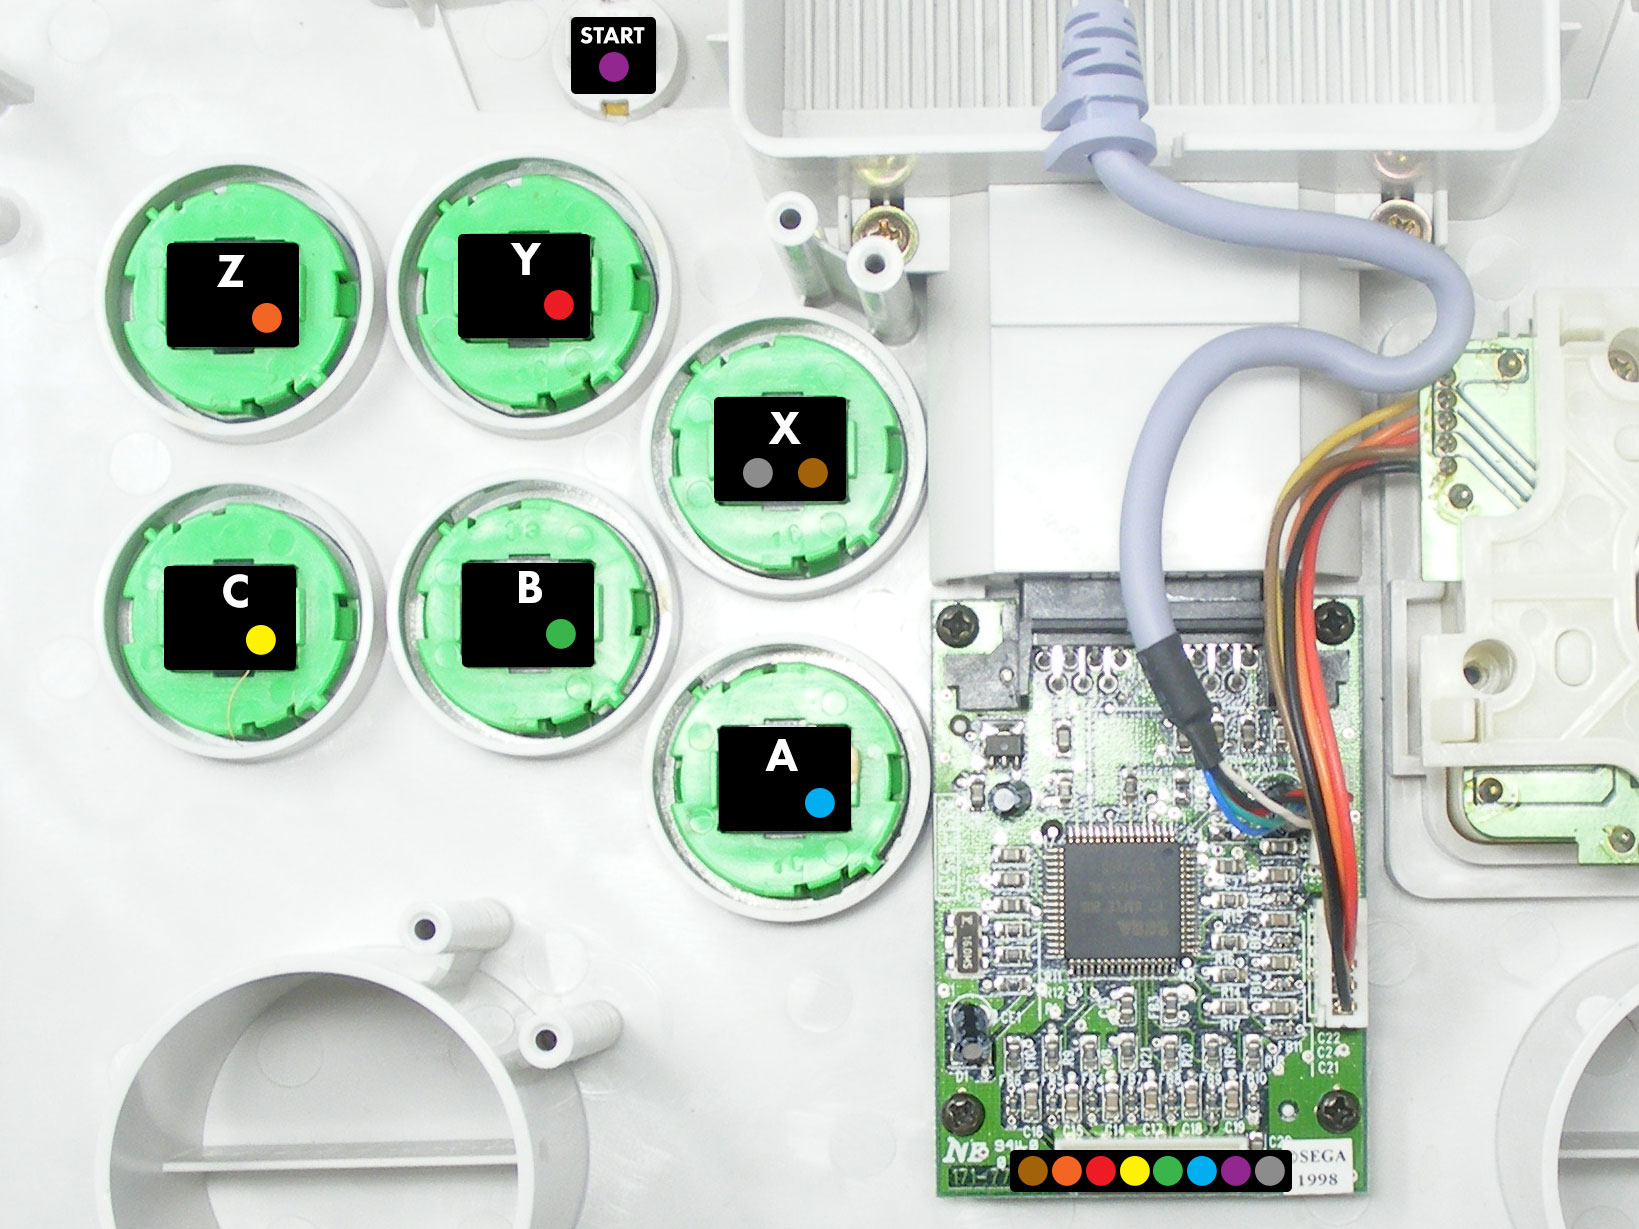
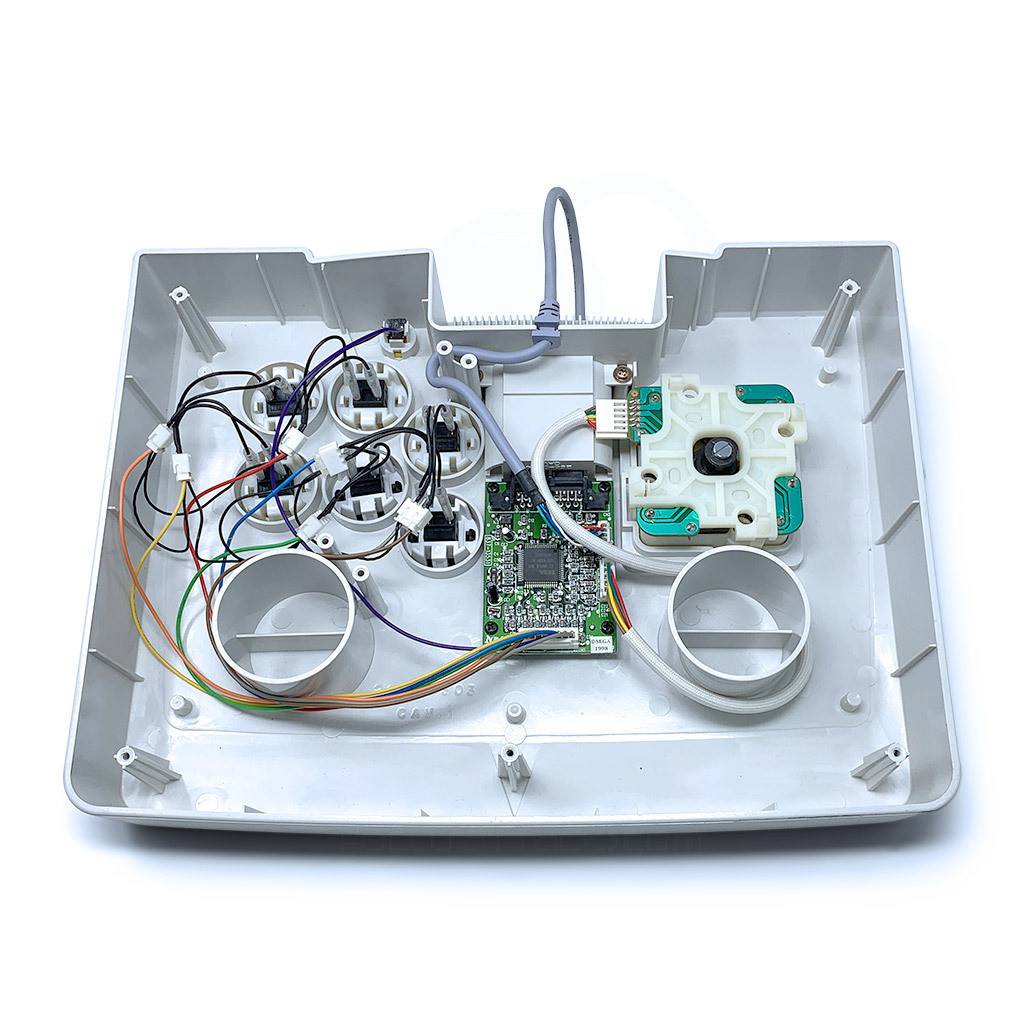
We start with the bottom panel; you will remove six screws to access the original buttons and wiring inside. Please excuse the condition of the presented model as it was purchased specifically for teardown. With the bottom removed, take note of the original button wiring. Each action button (X, Y, Z, A, B, C) is attached to a plastic connector that contains wiring and a daisy chain ground, and held into place with a resin glue. To install standard buttons such as Sanwa which uses a .110" terminal, you must either replace the wiring, or remove the connectors by cutting them, stripping the wire and attaching a quick disconnect. Alternatively, you can purchase the .110" Button to Agetec HKT-7300 Harness Adapter (6-Pack). 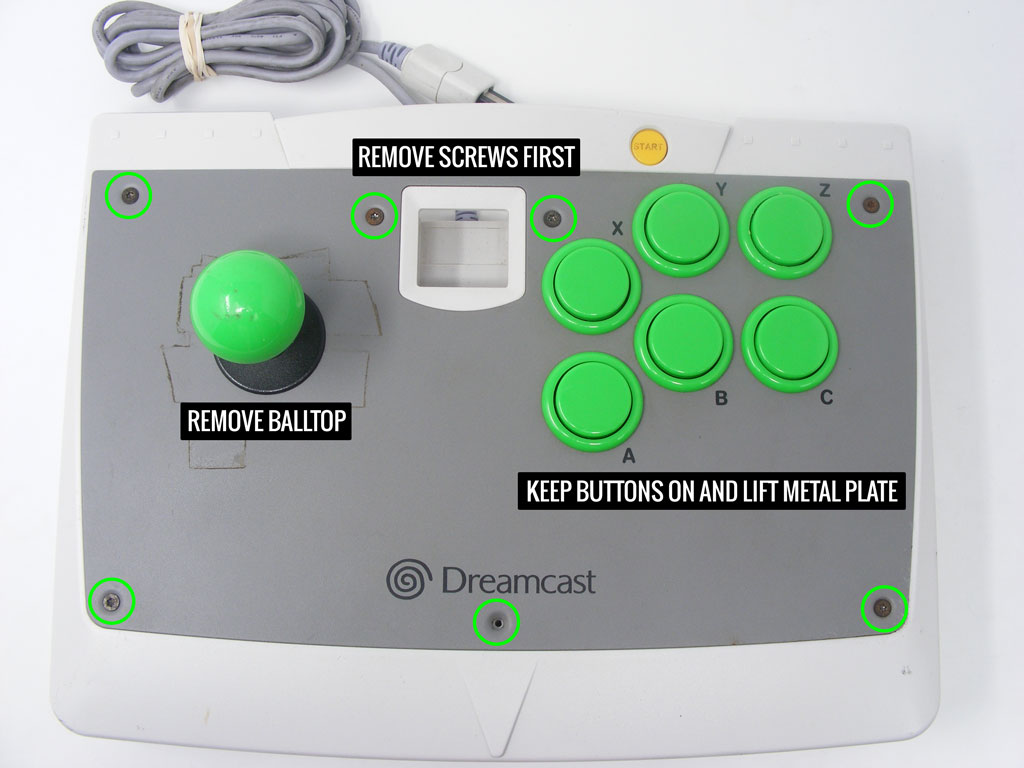
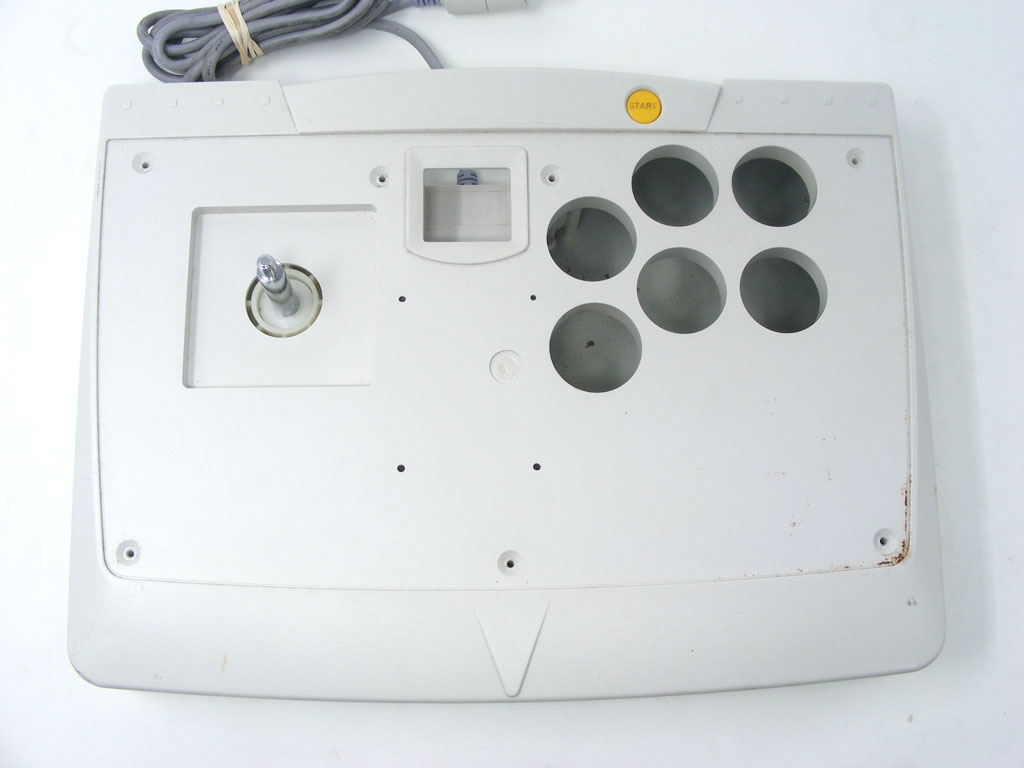
With the original Agetec wiring disconnected from each button, we now move to the top metal panel. You will need a T-10 Torx screwdriver to unscrew the seven screws across the top and bottom of the plate. You will remove the joystick ball top and dustwasher, and then proceed to lift the metal plate from the plastic housing. It is easier to keep the original buttons on, as they are initially difficult to access until the panel is lifted. With the panel removed, the plastic housing of the HKT-7300 is exposed. The existing holes present in the housing are able to accommodate 30mm pushbuttons. It is here that you will first install new custom artwork, followed by the replacement panel. 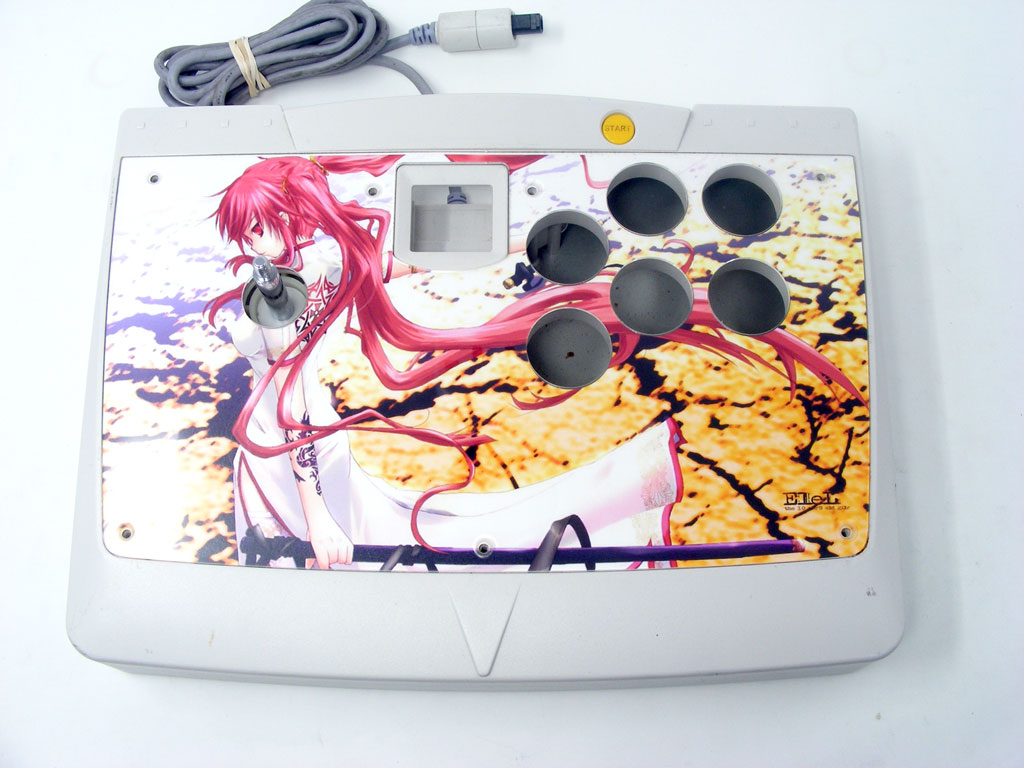
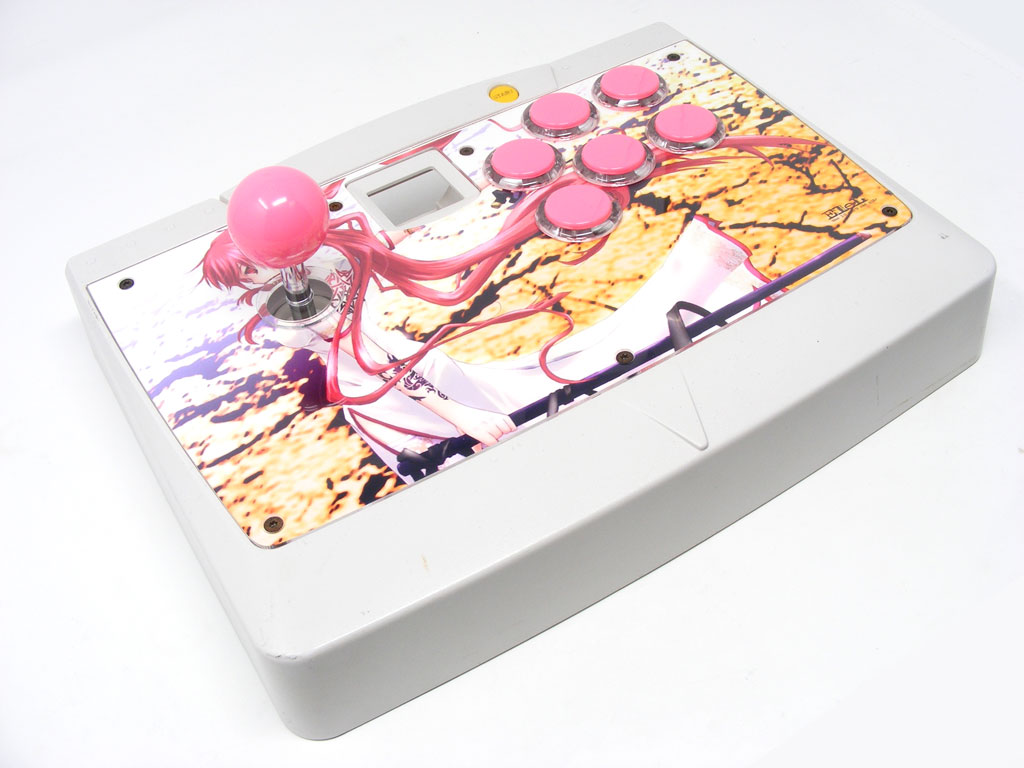
Here, the custom artwork and replacement plexi panel are in place. You can now return the original screws, plus install your snap buttons, plus desired dustwasher, balltop or battop. The panel is designed with a slight indentation over each button hole of the original housing, allowing you to snap most 30mm buttons into place. Here, the replacement buttons are installed, along with dustwasher and balltop. If you had purchased our upcoming button adapters (not yet available at the time of writing this tutorial), you can install each one onto the .110" button terminals, with the other end attaching to the Agetec wiring harness connector. We will also offer a Sanwa JLF to PCB adapter that allows you to install a Sanwa JLF-TP-8TY joystick lever components (TPMA PCB, shaft, etc.) into the existing lever mounting bracket. 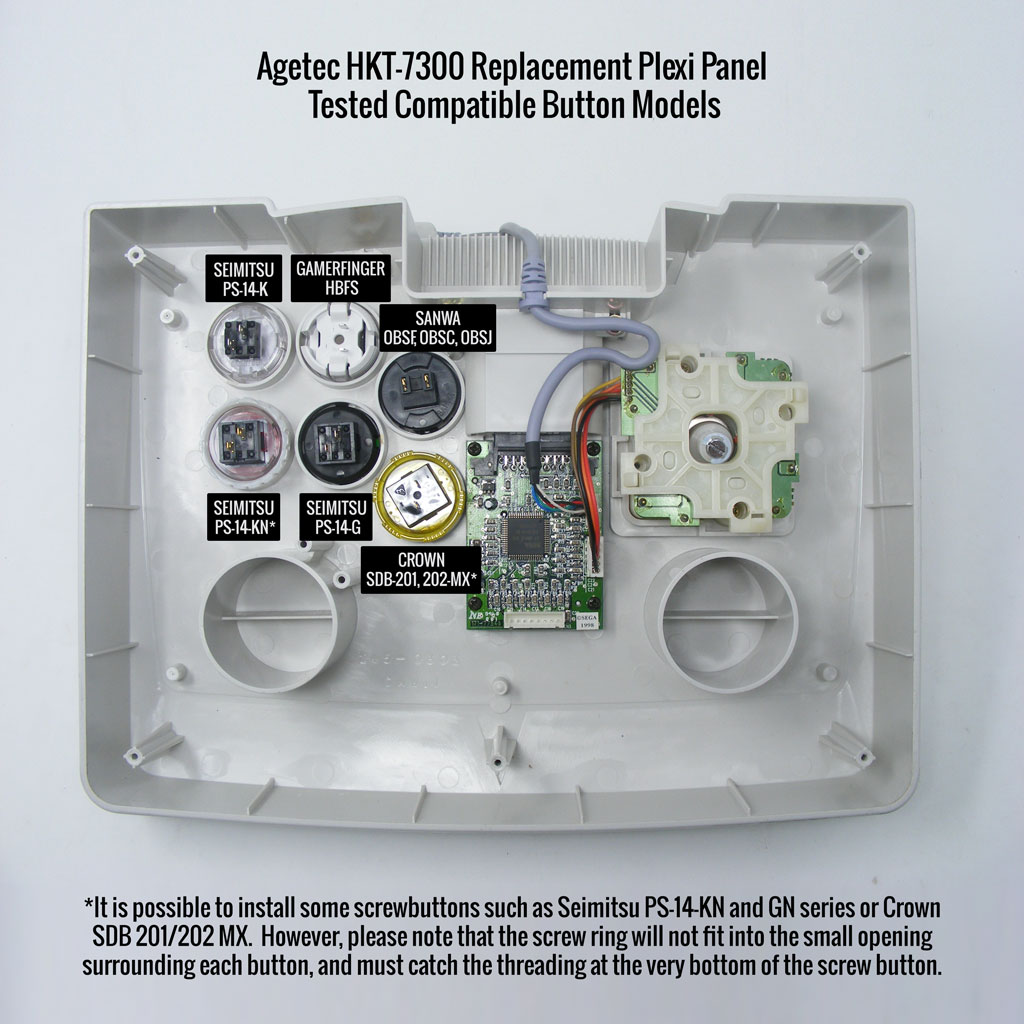
In this photograph, you can see which buttons were tested to fit into the replacement panel. Note that some screwbuttons may not work with the panel due to the HKT-7300's internal housing and button spacing. The screw button ring must manage to thread onto the very bottom of the screw button in order to stay in place, as they will not fit into the limited space that surrounds each button. -
Product Reviews
-
Find Similar Products by Category


