- Category
- What's New?
- FightSticks/Pads
- Joysticks
- Pushbuttons
- Spare Parts & Tools
- Hardware & PCB
- Electrical
- Customize
- Merchandise
- Sales & Clearance
- Brand
Hori RAP N Shiokenstar Custom Art/Plexi Bundle [Clearance Price]
Choose Your Options
-
Product Description

Check out our garage sale! These items are or will be discontinued from the manufacturer, or we are phasing them out from our store to make room for other items. These are priced to move, and do not qualify under our return policy. Any products marked as sold out will not be replenished.
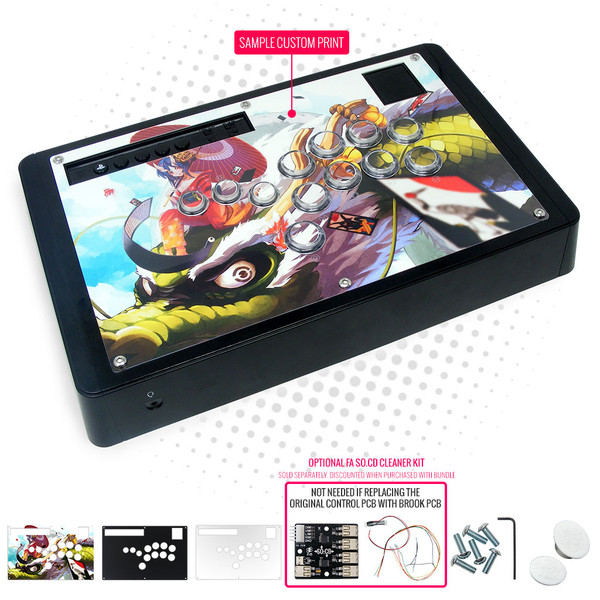
Bundle Does not include Actual Fightstick
Please note that the Custom Art/Plexi Bundle only contains parts that complement the commercial Fightstick it is designed for. It does not include the Fightstick - this is purchased separately from Amazon, eBay or another vendor.
The fighting game community has enthusiastically embraced all-button layouts - a unique arcade input control method that replaces the up, down, left and right directions with pushbuttons instead of a joystick lever. Thanks in part to AllFightSticks - makers of incredibly durable steel FightStick enclosures - you can now own a stick-less version of your favorite model.
Designed for Modern Hori RAP N Models
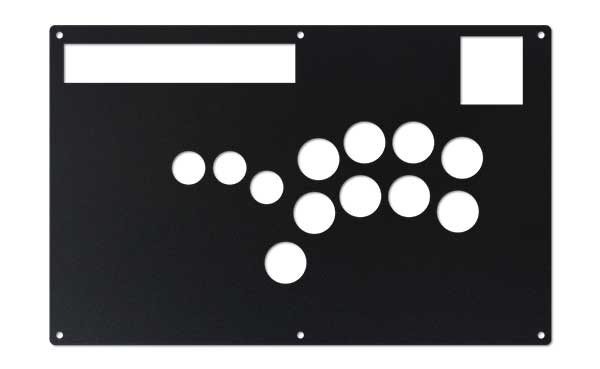
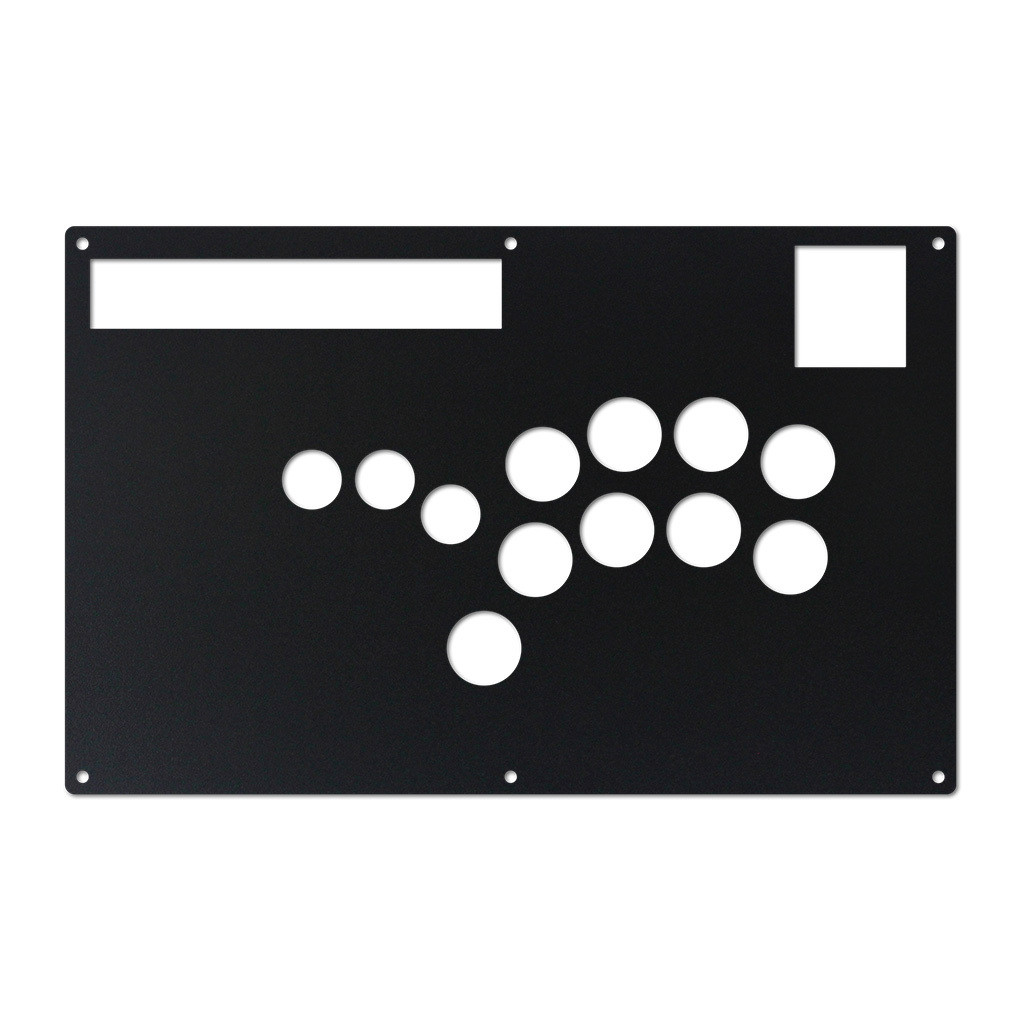
Hori RAP N/DOA5 Shiokenstar Panel Template
(Compatible only with AFS Custom RAP N Shiokenstar replacement panel, 1.9Mb zip)The replacement panel will fit each of the models displayed
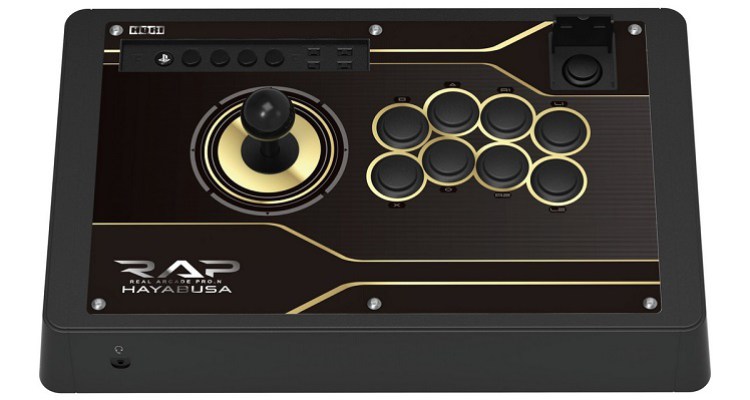
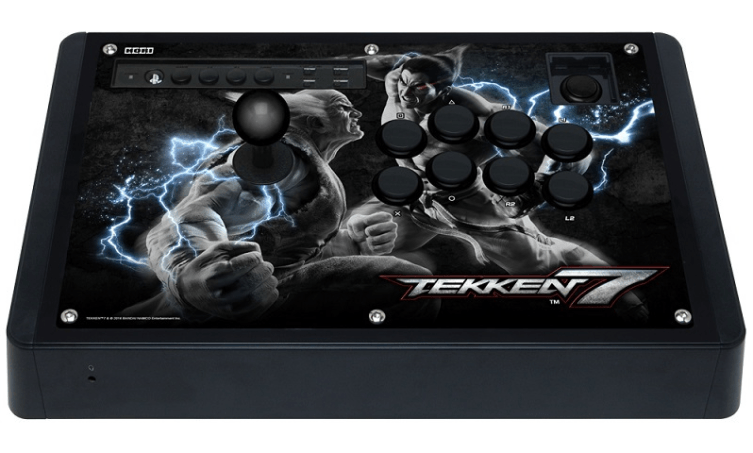
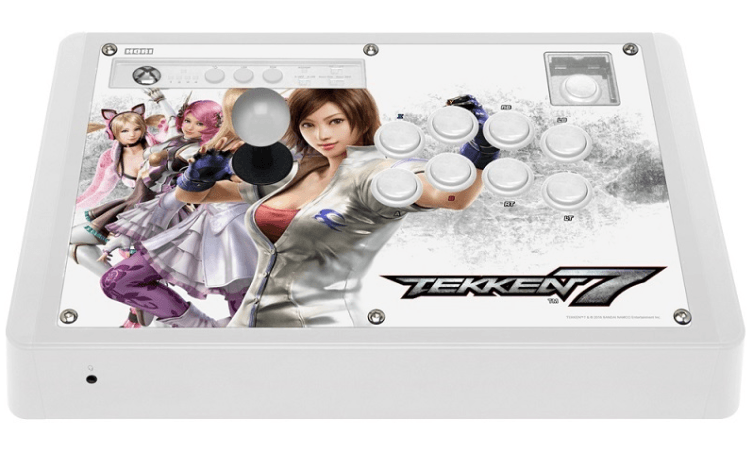
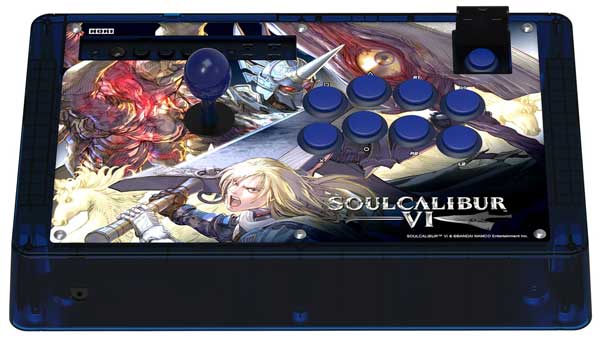
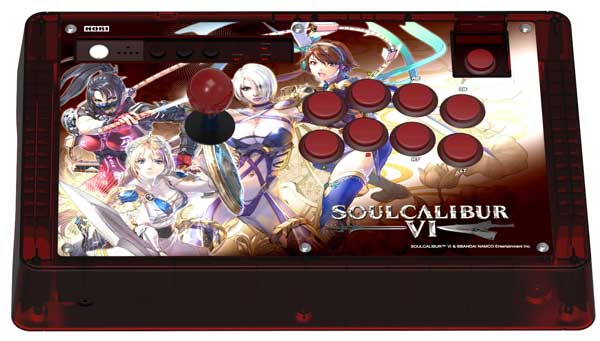
Save Over Purchasing Separately
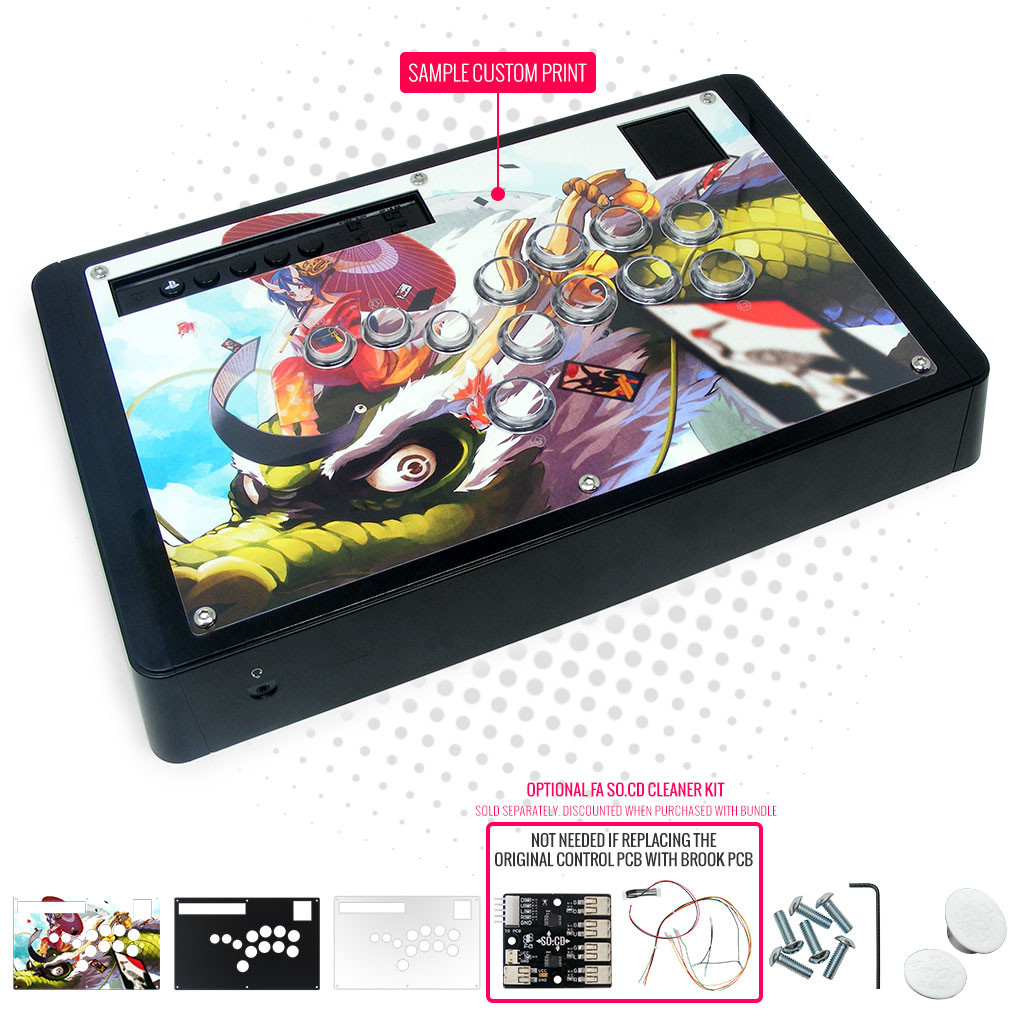
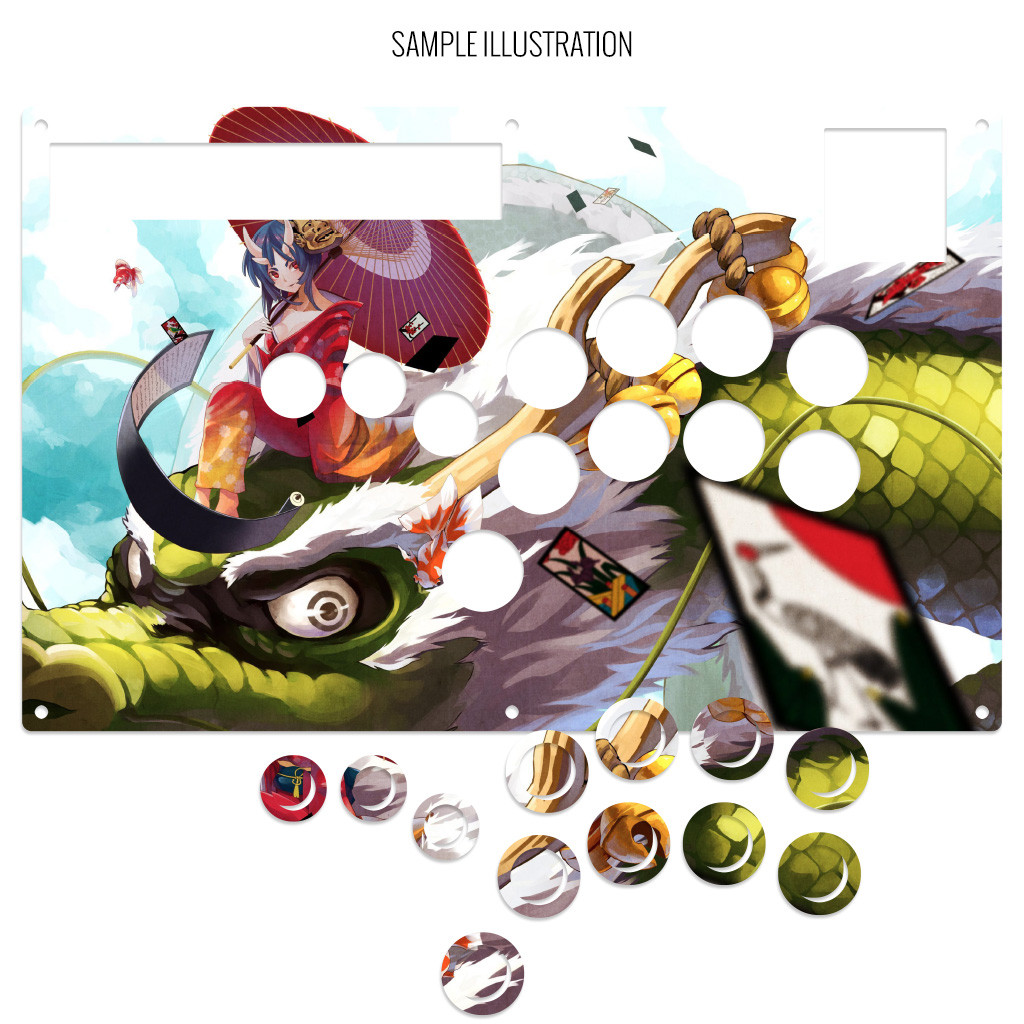
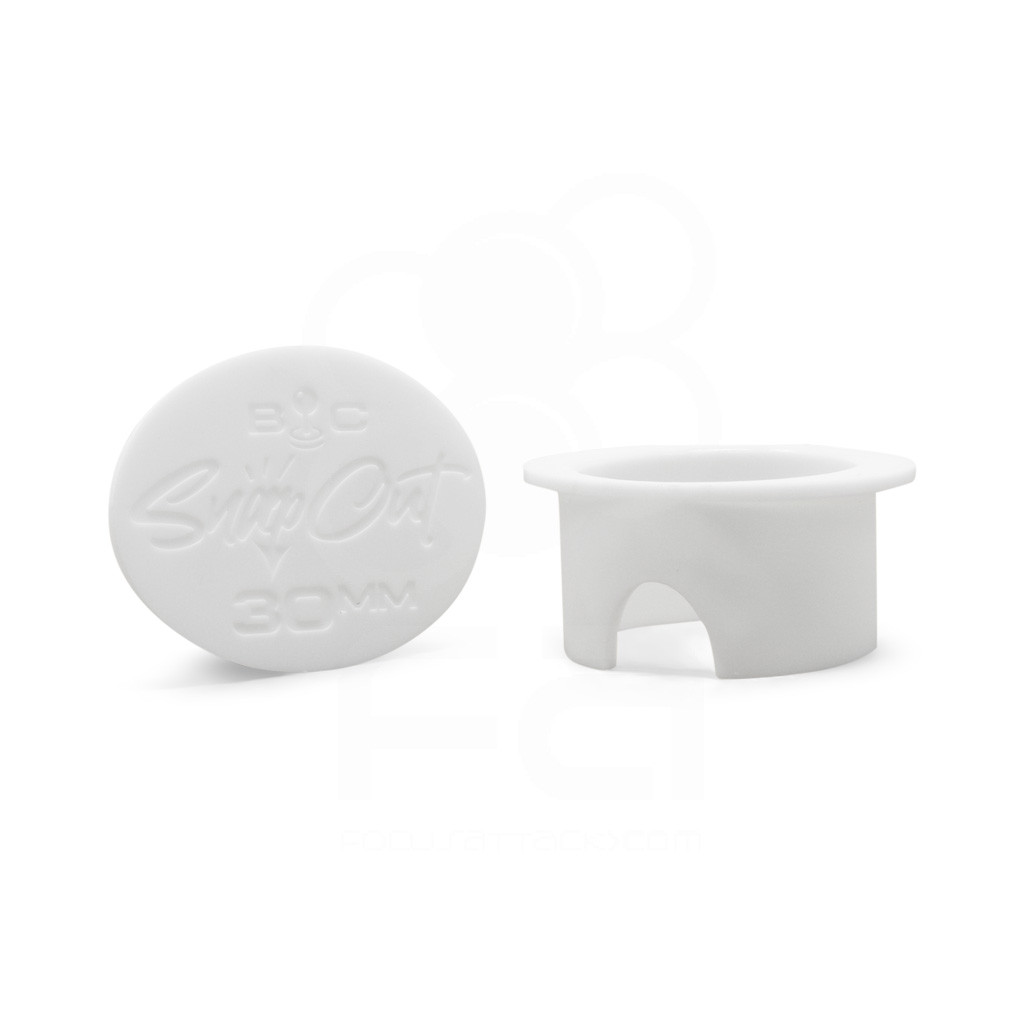
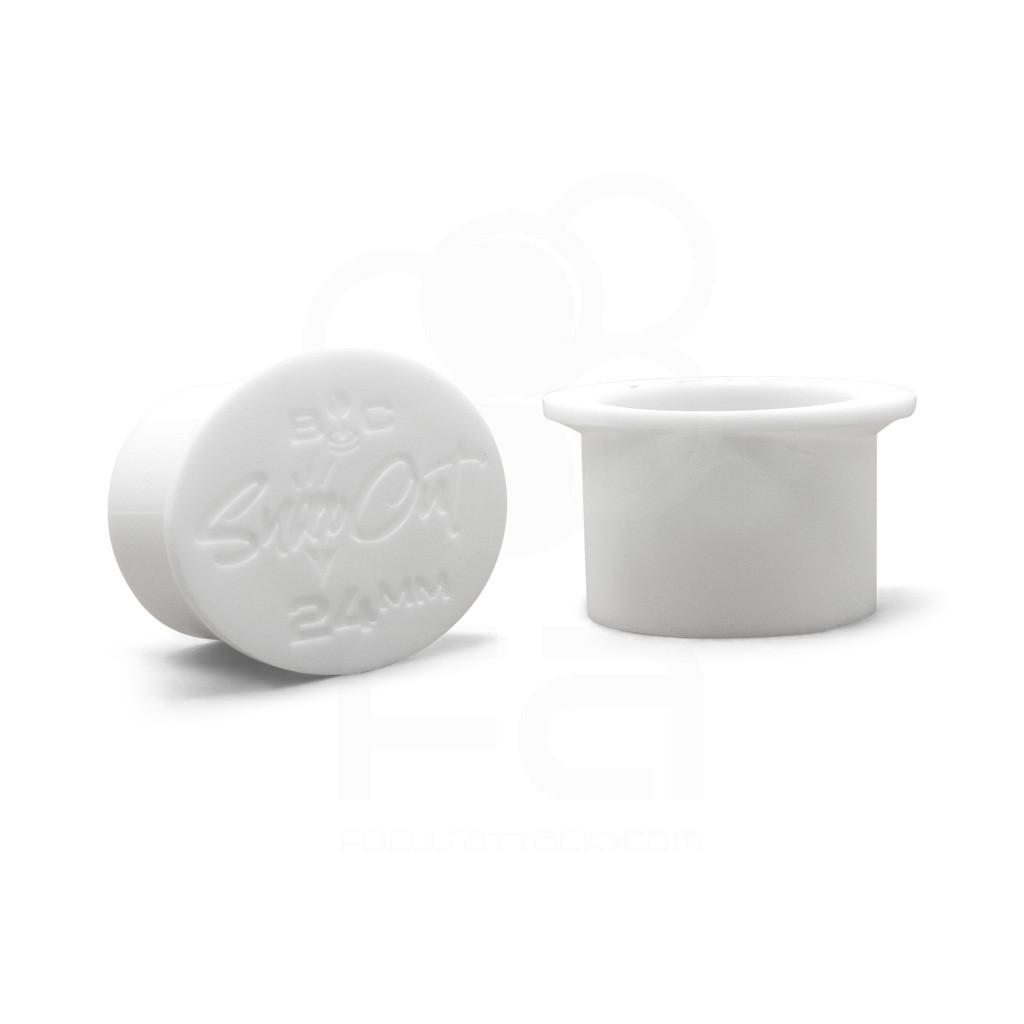
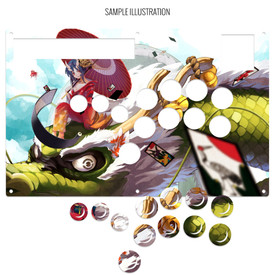
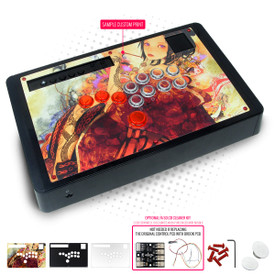
This discounted bundle includes your replacement panel, custom artwork, plexi and anodized color screws. Finally, you'll score special bonus items such as the Buttercade SnapOuts for 24mm and 30mm.
- Hori RAP N Custom Replacement Panel - Shiokenstar Layout ($39.95 Value)
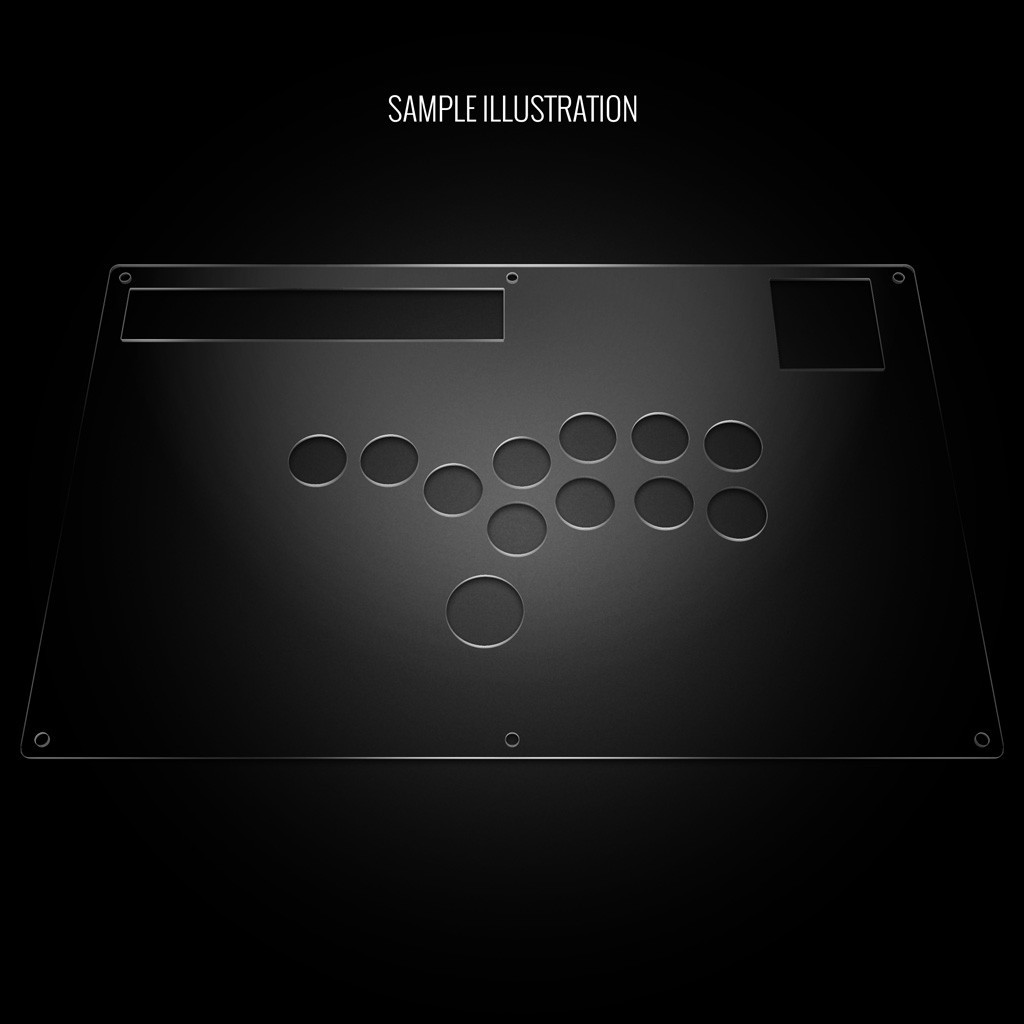
- Blank Acrylic Panel ($16.95 Value)
- Buttercade SnapOut Button Tools: 30mm and 24mm ($15.95 Value)
- Custom Printed Artwork ($14.95 Value)
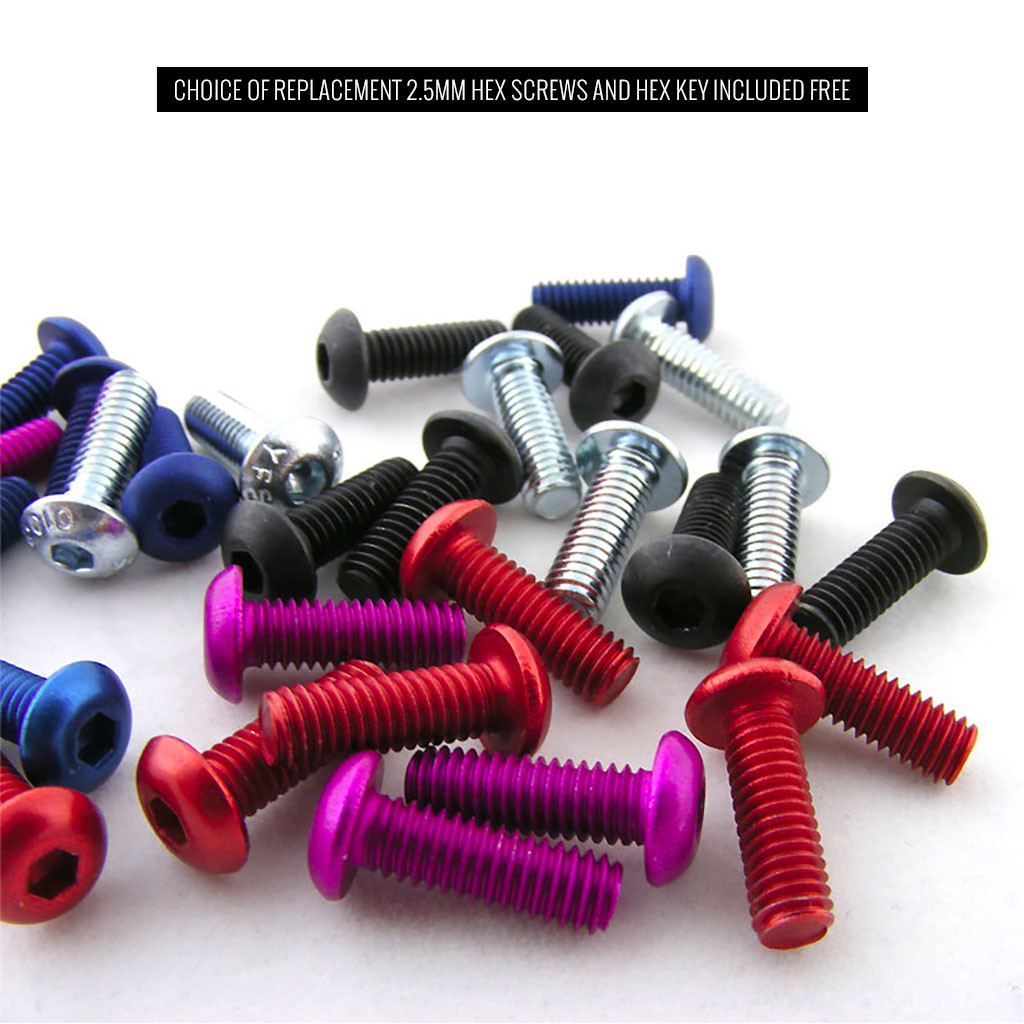
- Choice of Color Anodized Hex Screws + 2.5mm Long Arm Hex Key) ($4.25 Value)
- Brillianize Instant Detailer Pack For Plexiglass ($1.95 Value)
Durable Steel Panel, Matte Finish
Each AllFightSticks panel is constructed out of steel, with a protective black powdercoat, providing a matte-like texture that can also manage wear and tear.
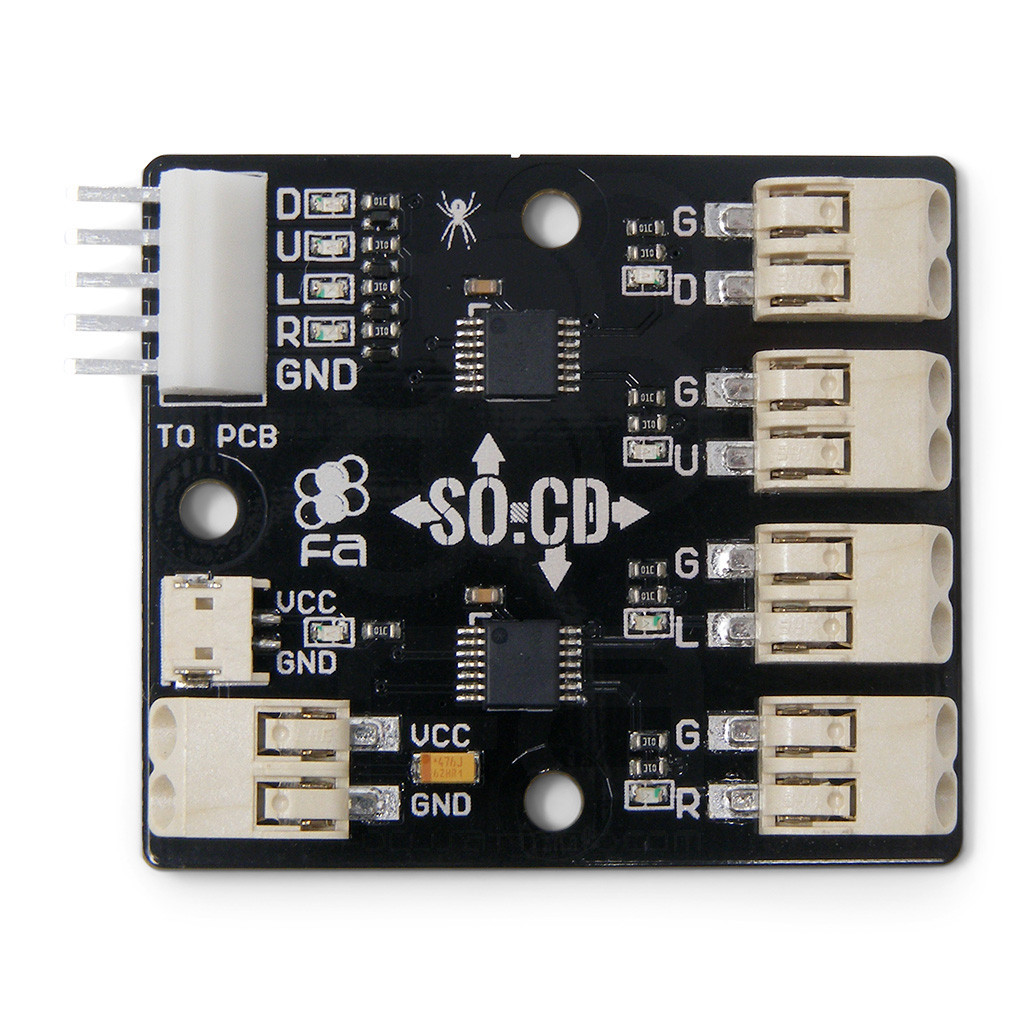
SOCDs Available Separately. Not Needed if Replacing Control PCB with Brook Fighting Board PCB
Simultaneous Opposite Cardinal Direction, or "SOCD" represents the act of engaging two different directions at the same time. This is only possible with buttons, as a simple lever can only be one cardinal direction at once. To abide by fair tournament standards, this action is therefore "cleaned" using a SOCD cleaner, a PCB that uses logic to output a single direction or neutral based on those standards. We offer two models:
FA SO.CD V2 Now CPT Compatible
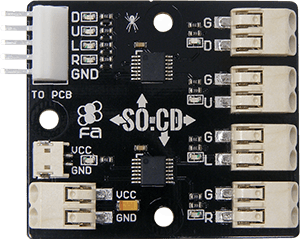 The FA SO.CD control PCB is designed to "clean" multiple directional inputs to the March 2023 CPT accepted standard in a Fightstick that was not originally designed for all-button control. We now offer this device option should you desire to keep the original control PCB that came with your Fightstick. It is currently only available with purchase of a Stickless Conversion Bundle.
Brook Devices with SOCD
If you are using a control PCB that already has SOCD (Simultaneous Opposite Cardinal Direction) cleaning built-in, such as most Brook multi-console control PCBs such as:
- Brook Universal Fighting Board FUSION (PS5, Multi Console)
- Brook PS5+ Fighting Board (PS5/PS4/PS3/PC)
- Brook Zero PI Fighting Board (PI/PS3/PS2/PSX/PC/Switch)
- Brook PS4 Fighting Board Plus (PS4/PS3/Switch/PC)
- Brook PS4+ Fighting Board with Audio v2017 (PS4/PS3/Switch/PC)
- Brook PS3/PS4/Switch Wireless Fight Board
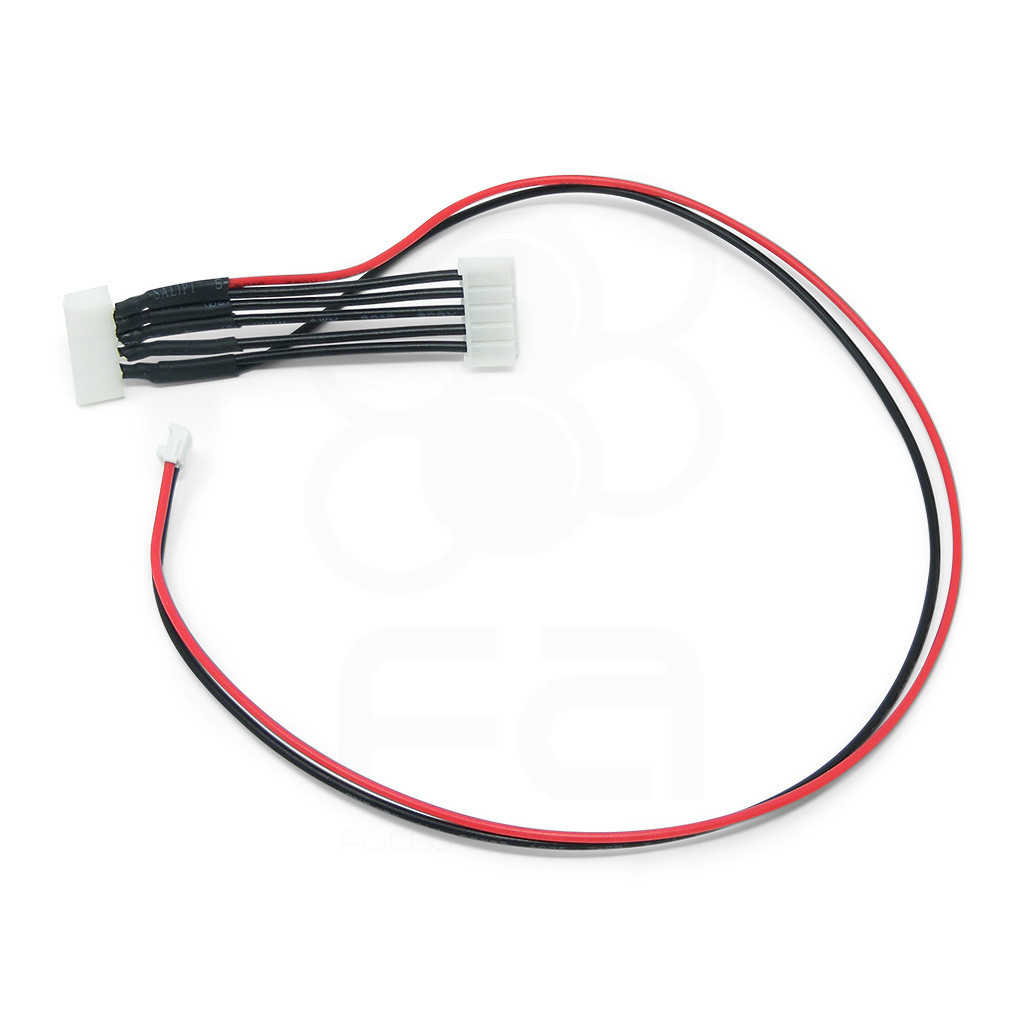
Then you do not need the FA SO.CD. Instead, you can purchase the 5-Pin to All-Button Conversion Harness. Note: Some Brook devices will need a firmware update to comply with the March 2023 CPT ruleset for SOCD cleaning.
Options You have several options to personalize your control panel, such as button layout, removal of control panel or screws in some models, button label etching, and text etching.
REMOVING DEFAULT ELEMENTS | CUT BUTTON INSERTS | CONSOLE BUTTON LABELS | ETCHED TEXT | ETCH TEXT FONTS | PARTIAL & FULL ETCH | ADDITIONAL INSTRUCTIONS
Layout Configuration
Each Fightstick has its own characteristics, with some sharing similar elements, such as the popular Vewlix button layout. We will specify what options are available for each Fightstick. Below are the most common button layout configurations:
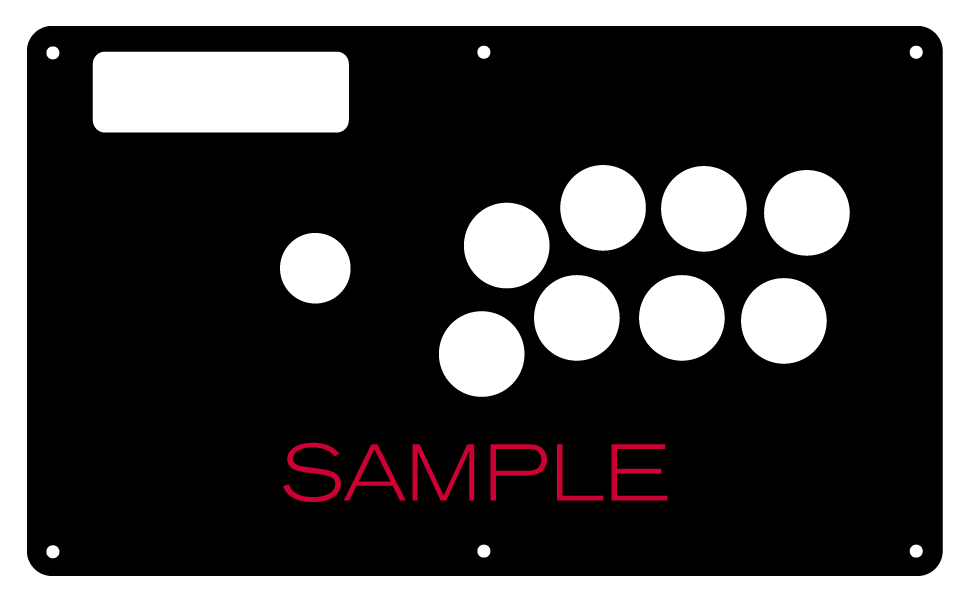
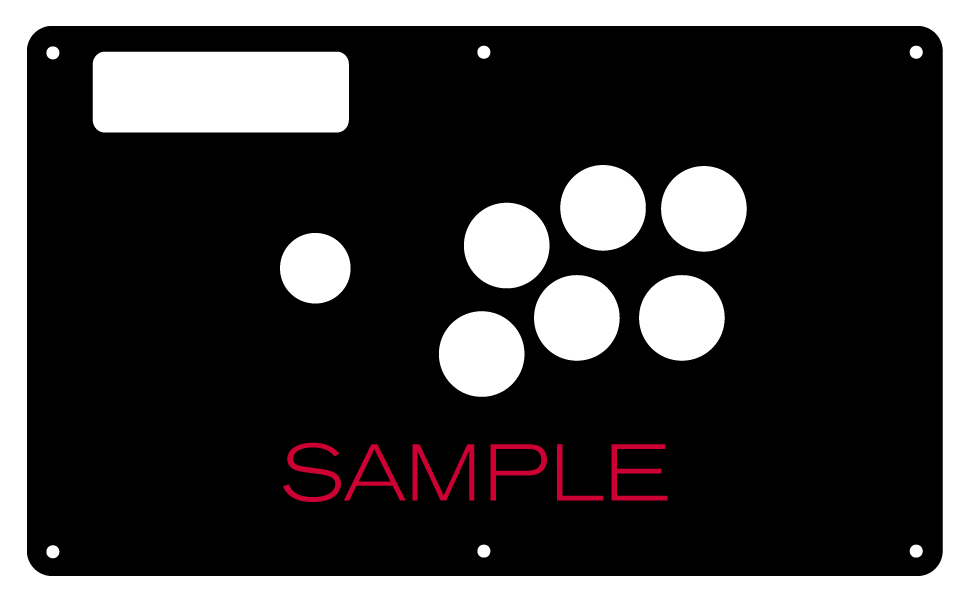
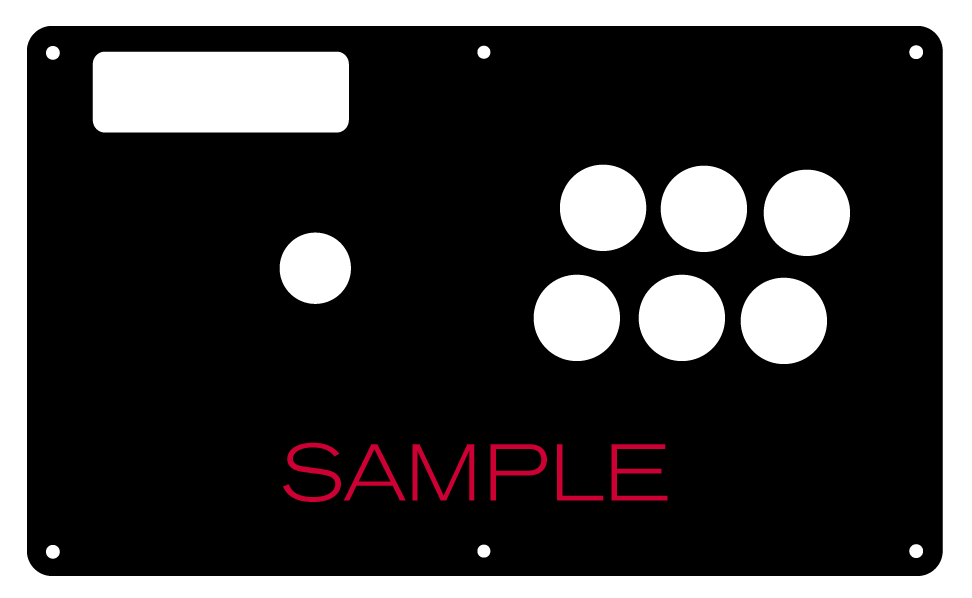
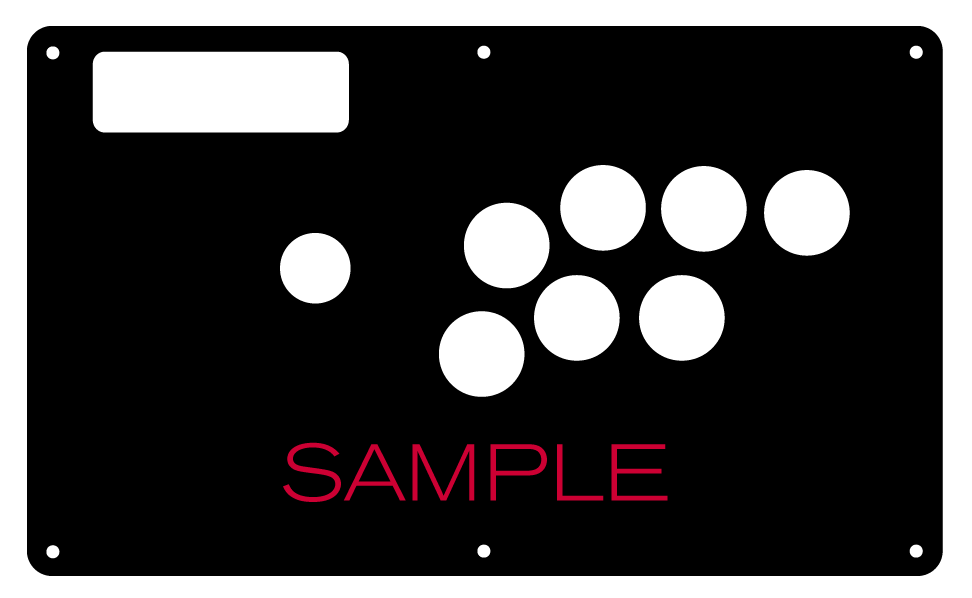 8 Button VewlixFirst 6 ButtonsLast 6 Buttons7 Button Vewlix
Removing Default Elements
Some Fightsticks, such as the popular MadCatz TE, offer additional personalization options by removing default elements such as control panel, start button, or screws. Cut options are defaulted to their authentic counterpart, displayed as [YES (default)] in the options list. For example, a MadCatz TE, the default configuration is to have the turbo/guide portion of the control panel cut, so that the control panel can fit properly. You have the option to select [NO] to prevent cutting these areas.
![Cut Control Panel? [NO]](http://support.focusattack.com/attachments/token/ioB7e1jzIXfxKdM8KJPKKzvKD/?name=sample-8button-noturbo.png)
![Cut Start Buttons [NO]](http://support.focusattack.com/attachments/token/SWbsx5sVHYupnBQ5iuZH1S2HK/?name=sample-nostart.png)
![Cut Middle and/or Bottom Screws? [NO]](http://support.focusattack.com/attachments/token/QzFj5pc5cNNHkOKrzlEMcc0I4/?name=sample-8button-nomiddlescrew.png) Cut Control Panel? [NO]Cut Start Button? [NO]Cut Middle and/or Bottom Screws? [NO]
Cut Control Panel? [NO]Cut Start Button? [NO]Cut Middle and/or Bottom Screws? [NO]
Cut Control Panel? [NO] - If you own a MadCatz TE, and installed a PS360+, you may no longer need the Turbo/Guide area of the control panel, located at top left. This option allows you to remove the Turbo/Guide portion. Please note that you MUST remove the actual control panel on the TE by unscrewing it before applying the plexi, or you risk damaging the plexi. Also, please make certain to select this option if you are also choosing to have artwork printed, or the plexi and artwork won't match.
Cut Start Button? [NO] - On some joysticks - such as the Qanba Q4 - the start button is directly on the panel. You can select to have this removed. You can also select this should you desire a panel similar to the Eightarc Fusion or Synthesis series Fightstick, as the start button is moved elsewhere. Again, this option is available on specific joysticks.
Cut Middle and/or Bottom Screws? [NO] - Selecting "no" on this option allows you to remove the middle top and bottom screw holes on specific joysticks, either for a cleaner appearance or to avoid rubbing your wrist against the screw. Please reconsider this option if you intend to have a full panel etch on your plexi, as etching physically changes portions of the plexi due to heat. In this case, it is best to leave the screw holes in place in order to keep the panel securely positioned.
Cut Button Inserts

Pushbutton manufacturers such as Sanwa, Seimitsu, Crown and GamerFinger have each produced specific models with a clear or translucent plastic cap and flat plunger. These are often used to display a graphical insert, allowing you to enhance the button's appearance. That said, each button manufacturer has designed the artwork cap with a different diameter than their competitors. For example, GamerFinger's artwork cap has a diameter that is slightly larger than Seimitsu or Sanwa. An insert cut for a Sanwa artwork cap will fit loosely when inserted into the GamerFinger artwork cap. This is an undesirable result that can produce a white or colored ring around the insert.
Now, you can choose the button insert cut to match the pushbutton you intend to use. This allows the insert to fit snugly within the cap.
Brands and Model with Artwork Caps
- Sanwa - OBSC (30mm) | OBSC (24mm)
- Seimitsu - PS-14-GN-C (30mm) | PS-14-DN-C (24mm) | PS-14-K (30mm) | PS-14-KN (30mm) | PS-14-DN-K (24mm)
- Seimitsu - ALUTIMO SSPS MX 24mm and 30mm
- Crown - SDB-201-C, SDB-202 MX (30mm) | SDB-202-MX (24mm)
- Qanba - GRAVITY 24 and 30mm
- GamerFinger - HBFS30 (30mm) |HBFS24 (24mm)
In some instances, a button brand or model does not have a 24mm equivalent with art cap. In this case, we will cut to the default size of Sanwa 24mm insert.Please note that if you later intend to purchase a different button, you may need to get new button inserts or new artwork. If you are uncertain which button you may choose, Sanwa is chosen by default.
Button Cut for Qanba Q2 Glow
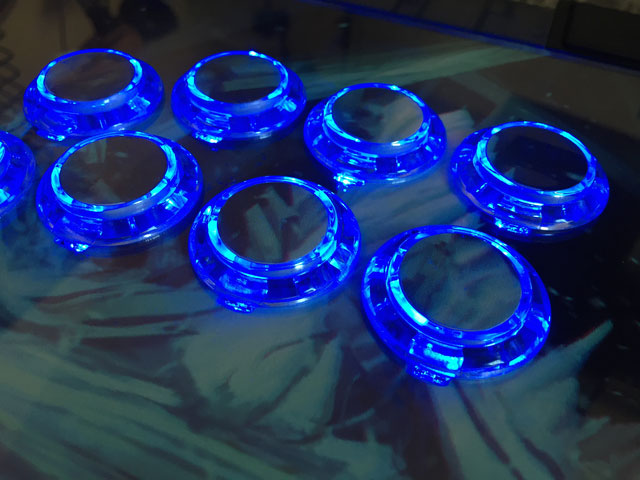 Qanba Crystal and Q2 Glow feature buttons manufactured by Qanba. These buttons have a smaller cap diameter, and thus require a smaller artwork insert. If you plan to keep the Qanba Crystal or Q2 Glow buttons installed when updating your artwork, please choose the option "Crystal/Q2 Glow".
24 vs 30mm
When processing orders, a frequent mistake we found among new players is choosing the wrong size for action buttons, such as punch and kick.
Within the fighting game genre, Japanese arcade buttons commonly consist of two diameter sizes: 24 millimeter and 30 milllimeter (mm). In most configurations, 30mm represents your action button. These are front facing, appearing most prominent on your Fightstick control panel. Option button, such as "Start", "Select", or more recently "Option", "Touch", or "Share" are usually 24mm.
UPDATE: Owners of Neo Geo AES Joysticks will need 24mm pushbuttons instead of 30mm (Thanks SRK's DEZALB)
Below is a visual representation of a common Fightstick control panel. Throughout this article, we will mark 24mm in green, and 30mm in Orange.
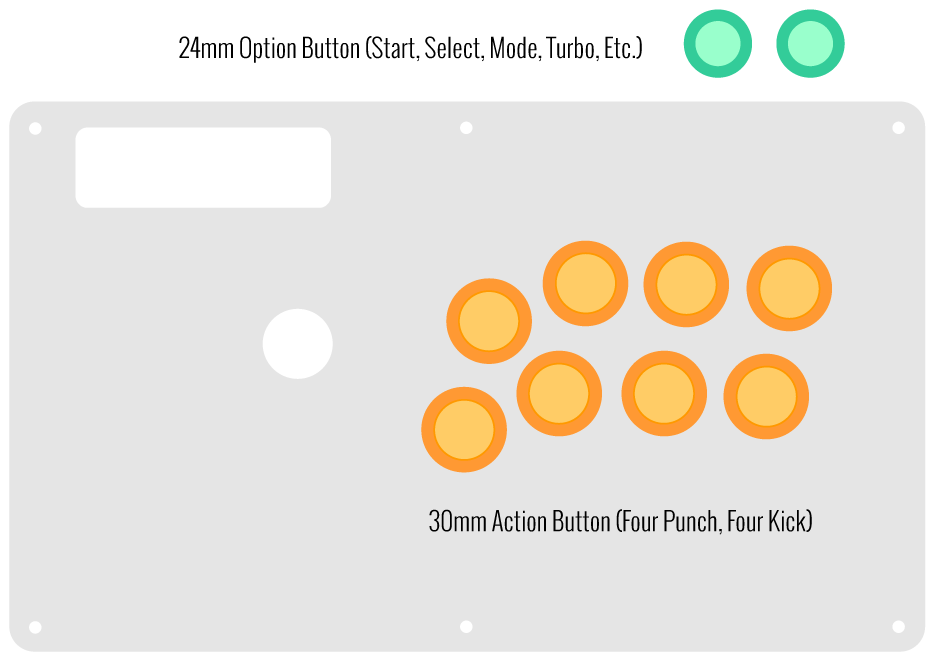
Checking the Proper Size
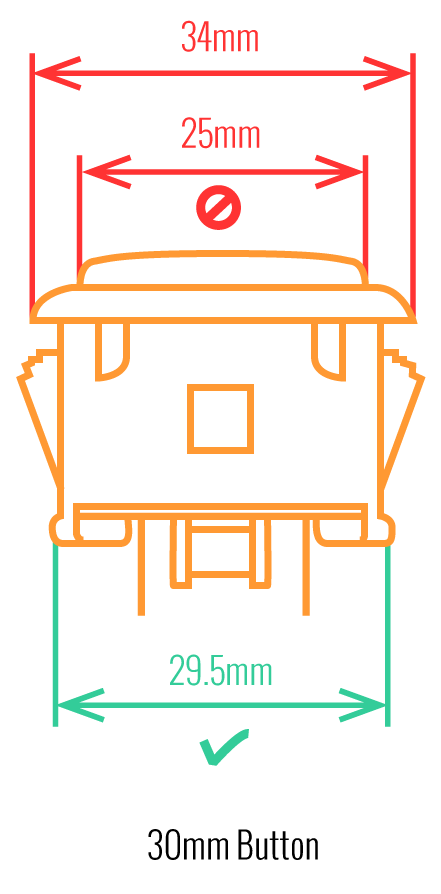 Another way that players can misinterpret the pushbutton size is by measuring the pushbutton plunger. Have a look at the diagram at right.
The plunger - the part that you press down to represent an input - is 25mm or a bit smaller in most 30mm pushbuttons. Often this leads to the conclusion that one needs a 24mm button and not 30mm.
Similarly measuring the button rim can lead to confusion, as it is intentionally larger than the button hole it is placed in. You don't want to use these measurements. Instead, review the button housing diameter, or the hole the button will be placed in. You can do this with a caliper - a digital caliper is often quite helpful for this and other arcade-related projects.
Control Panel Configuration
Most Fightsticks from MadCatz, Hori, Qanba, and similar will use these two sizes. How the buttons are used will depend on the model joystick that you own. Over time, we'll provide example configurations for specific popular Fightstick models and arcade cabinets using the color key for 24mm (green) and 30mm (orange). We'll also expand the key for future models if another size is introduced, and we offer for sale.
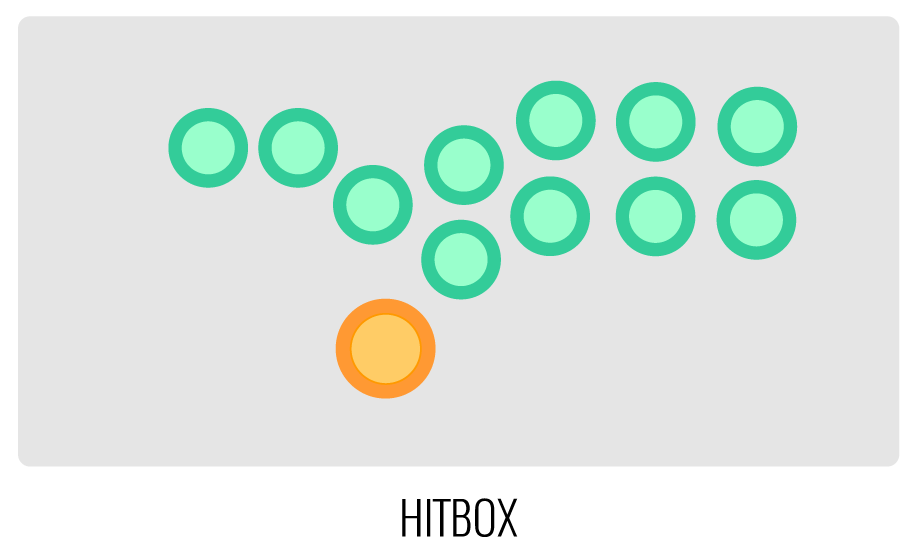
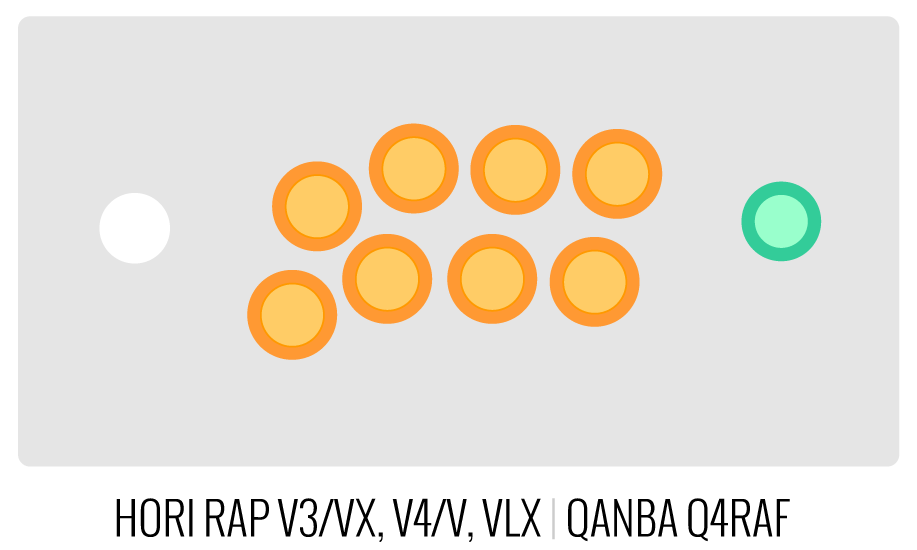
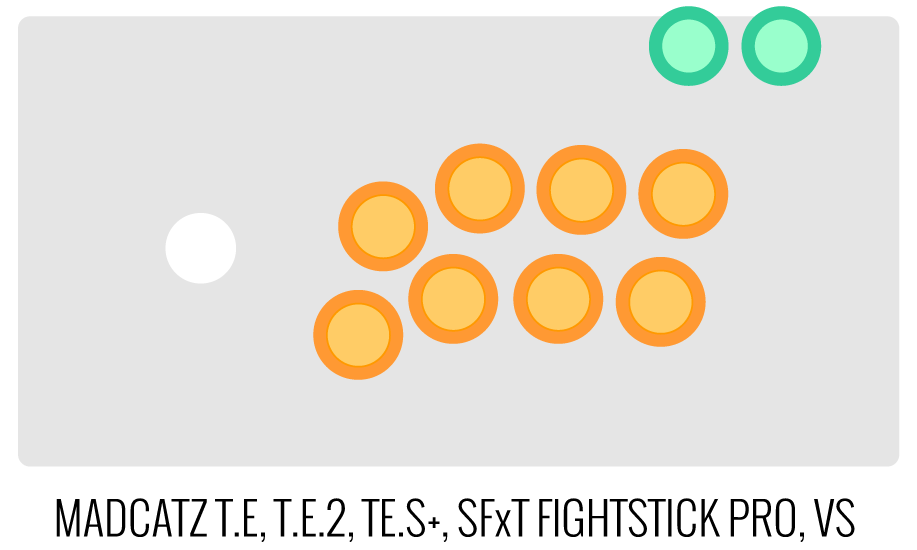
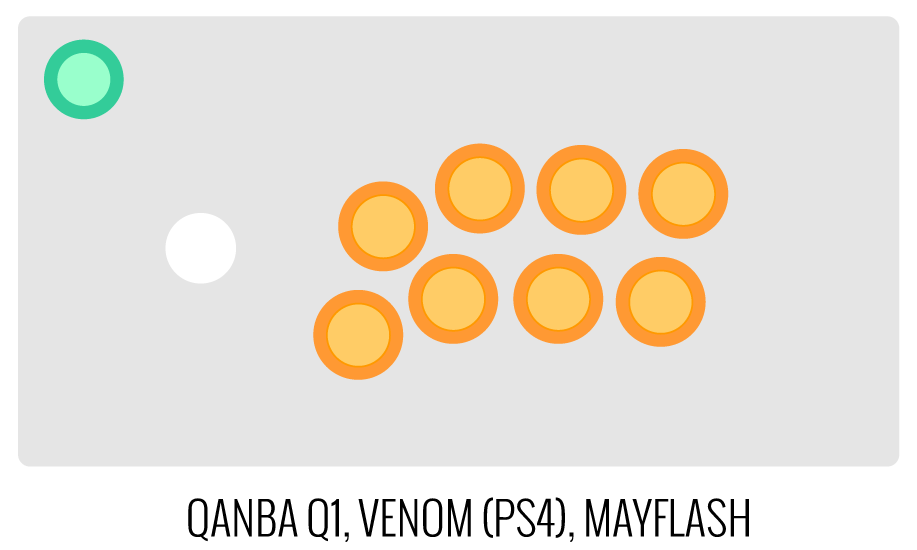
Console Button Labels
Depending on the plexi material you choose, you can have your preferred console button designation etched onto it. This is helpful if you swap art often, and do not want to place the labeling onto the artwork.
Below are the most common console labels. Other button labels may apply specifically to the Fightstick model, such as Dreamcast console for the Agetec HKT-7300
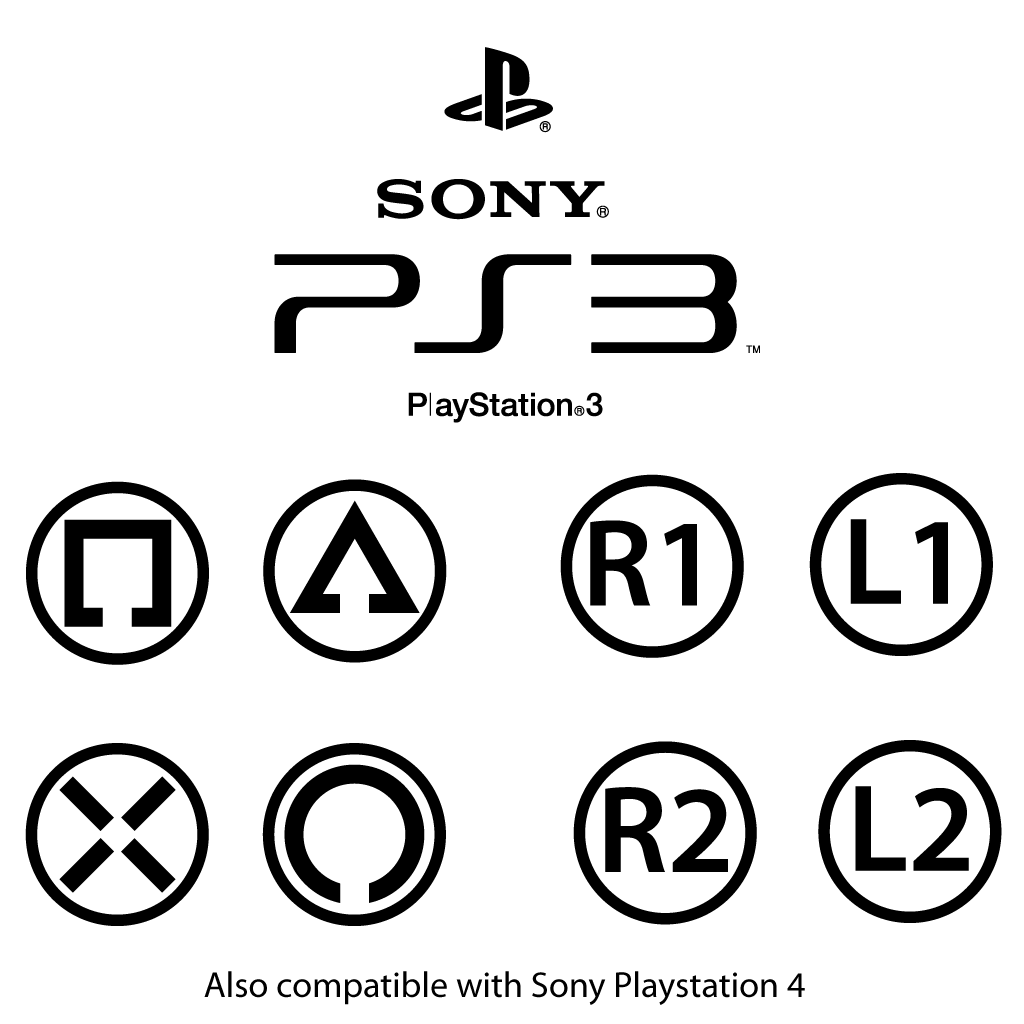
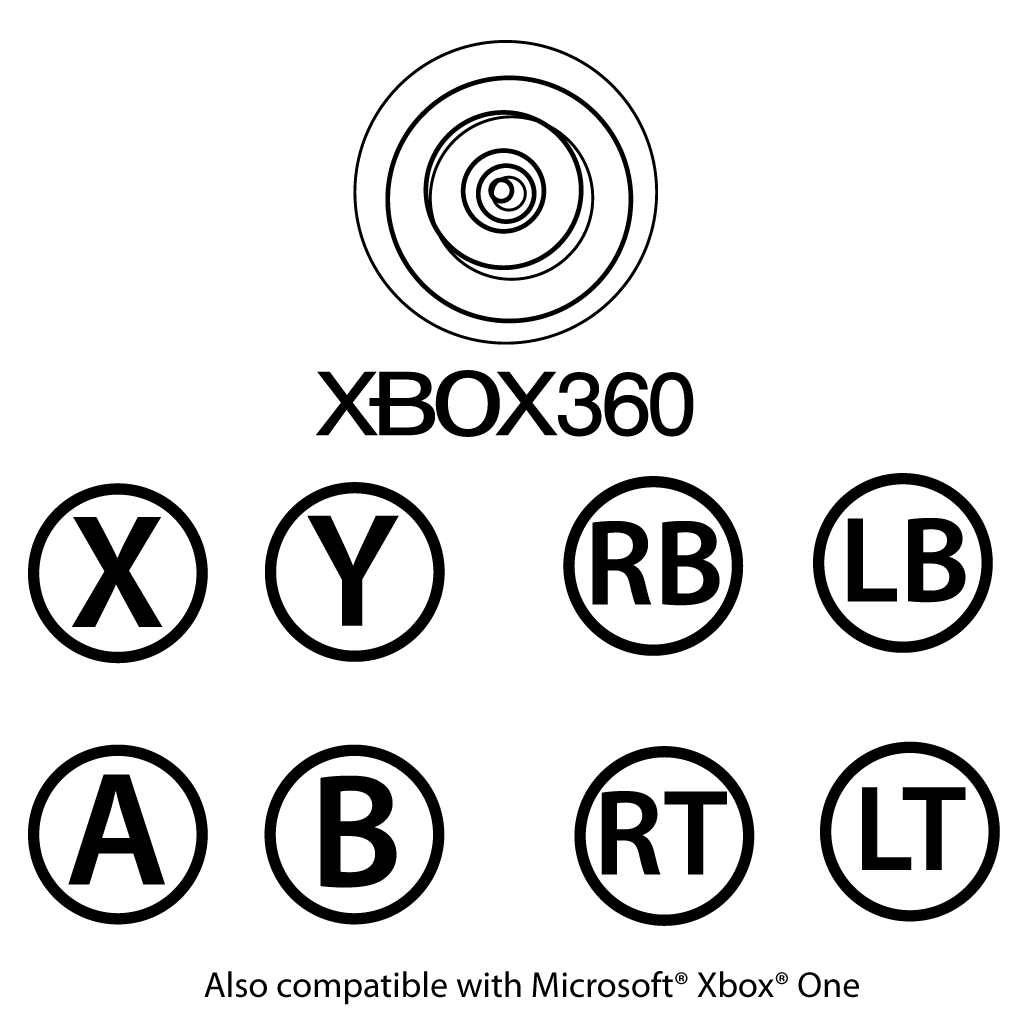
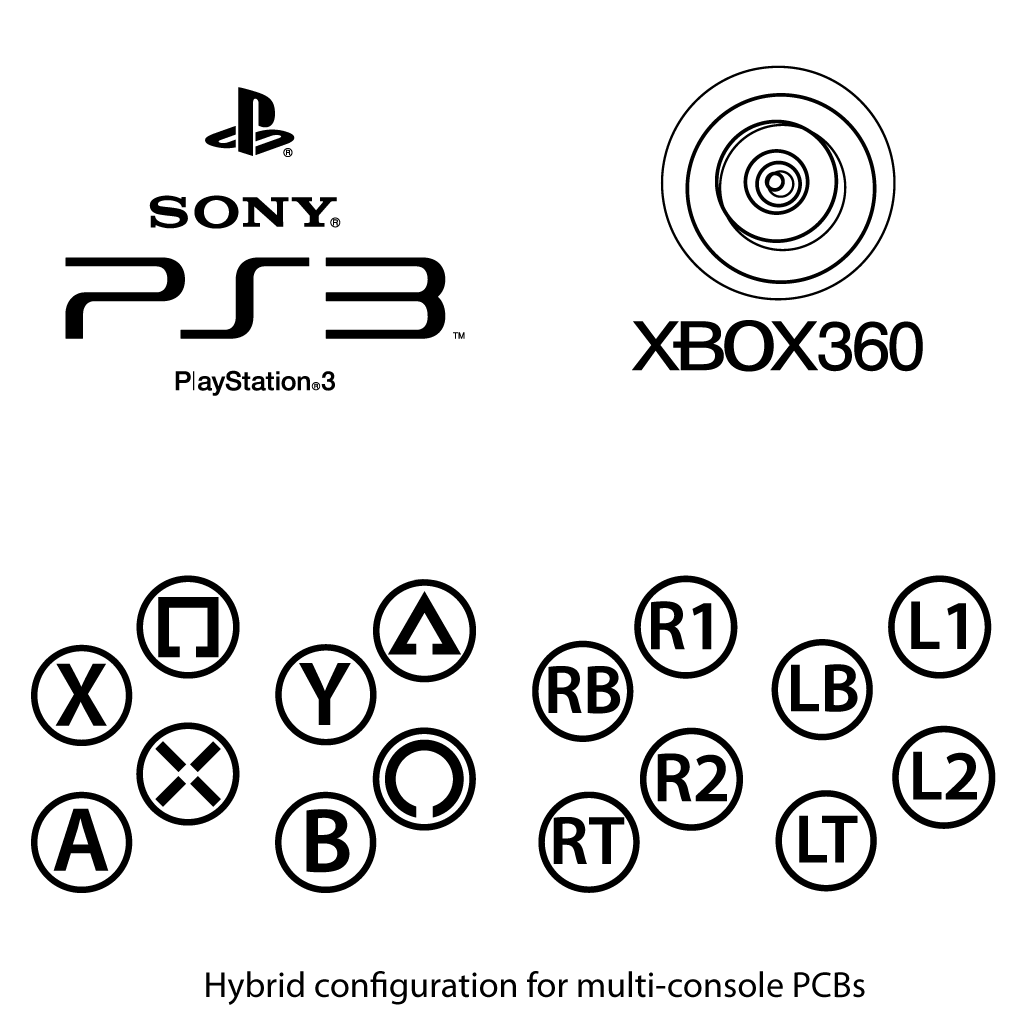 Sony PS3/PS4Xbox 360/Xbox OneHybrid (PS3/PS4, Xbox 360/Xbox One)
Etched Text
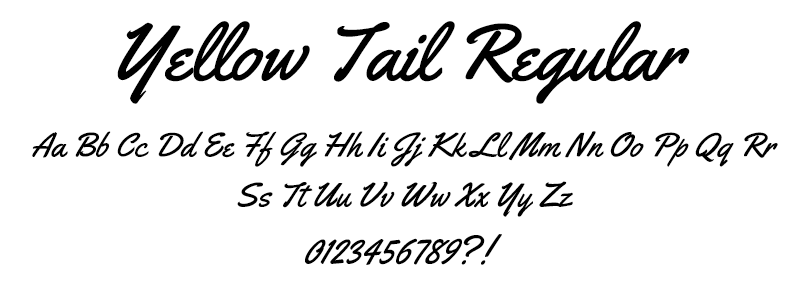
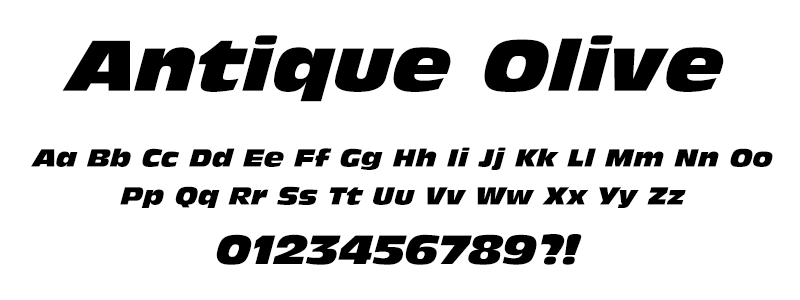
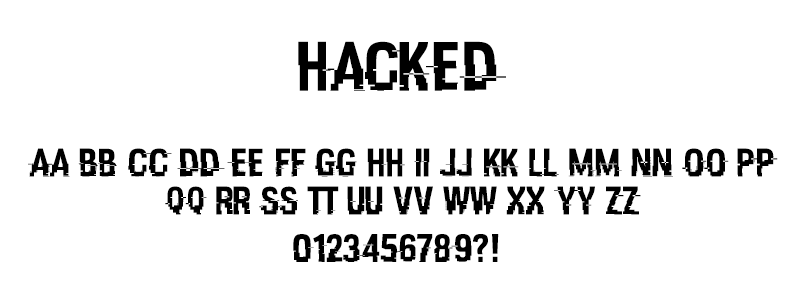
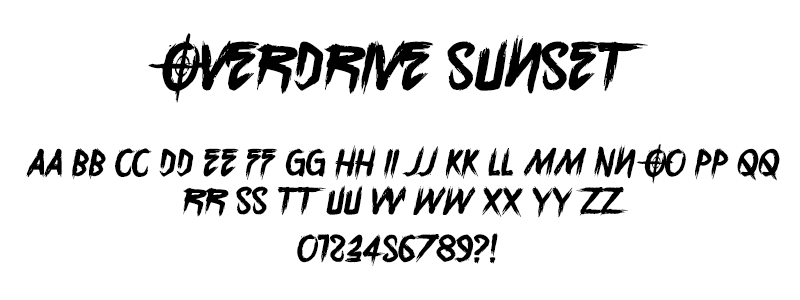
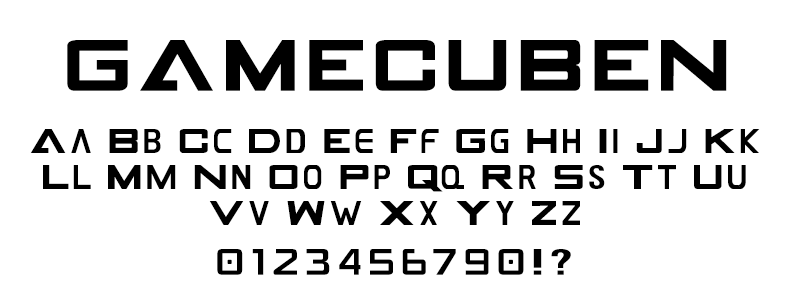
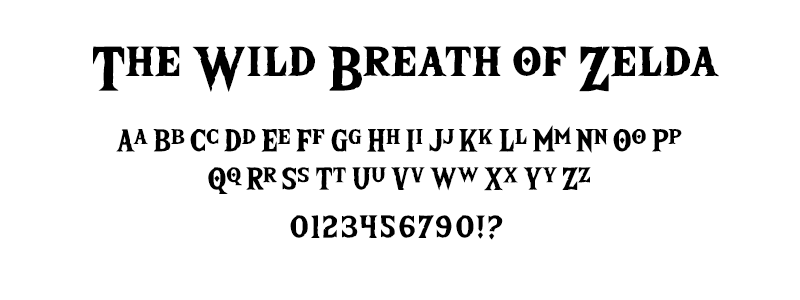
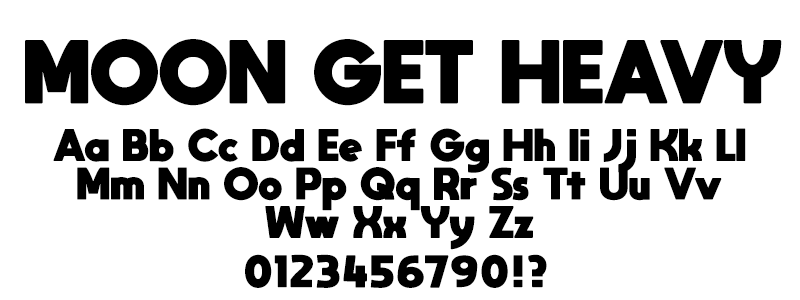
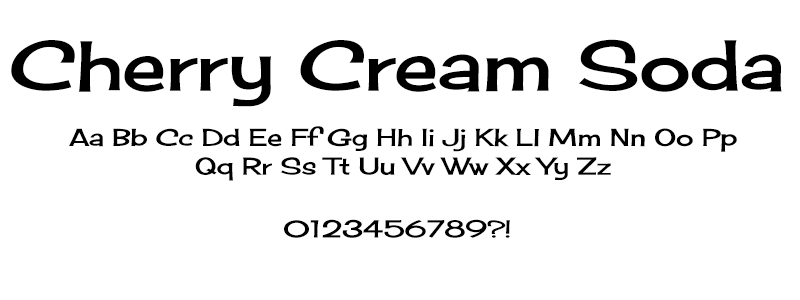
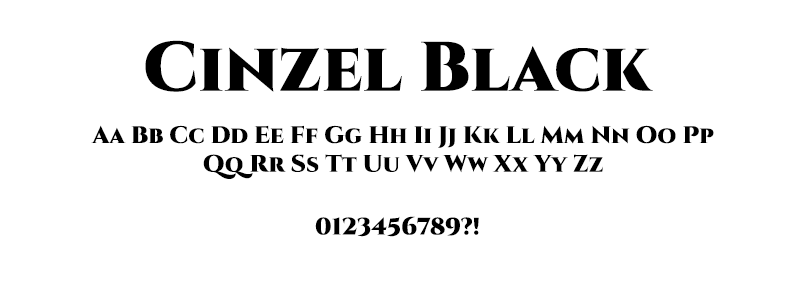
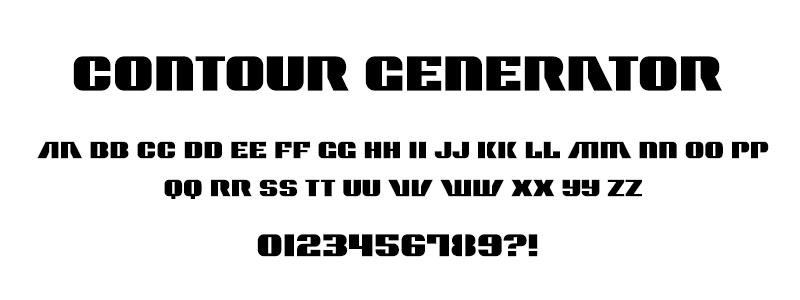
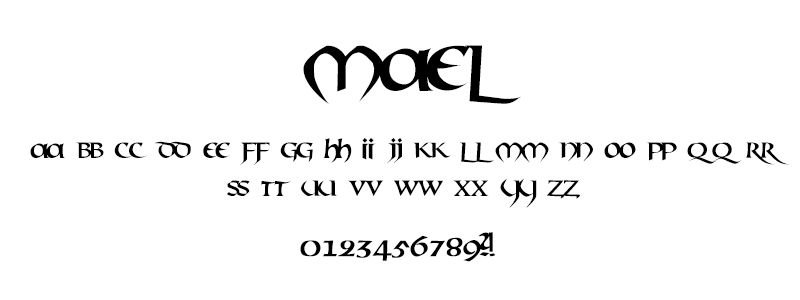
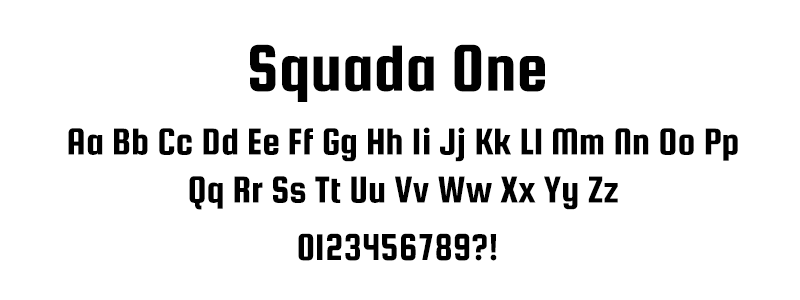
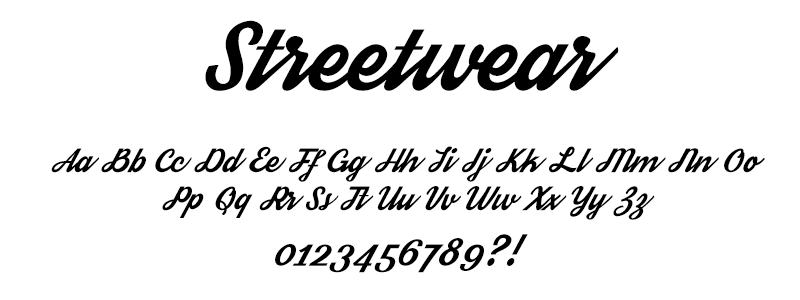
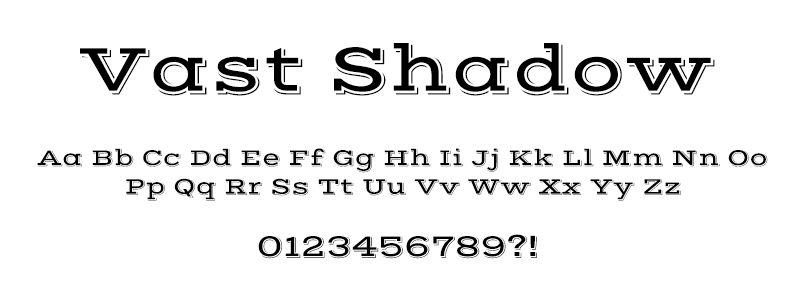
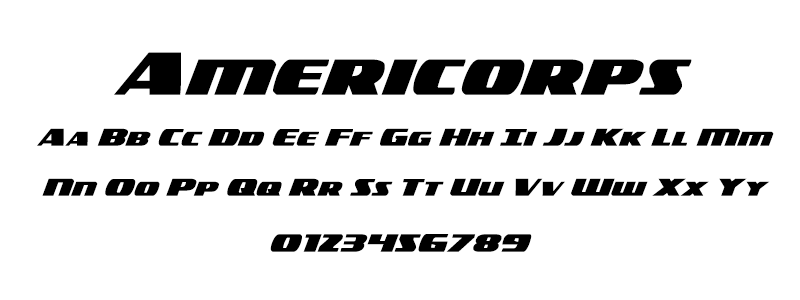
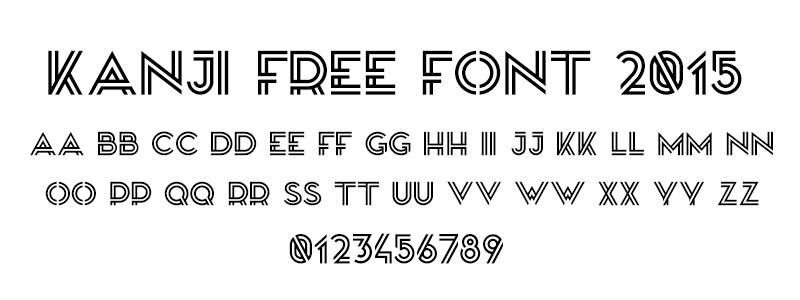
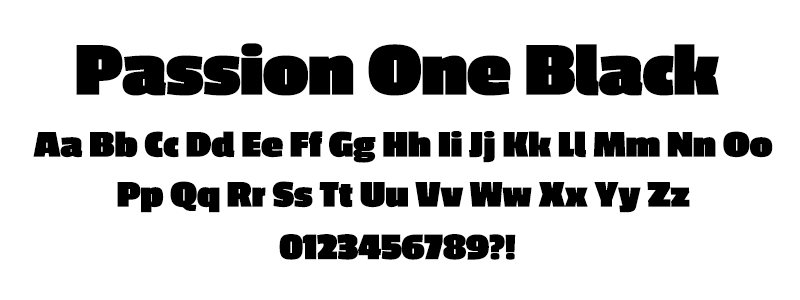
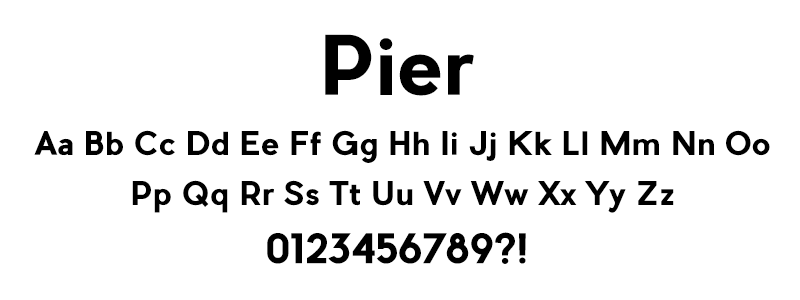
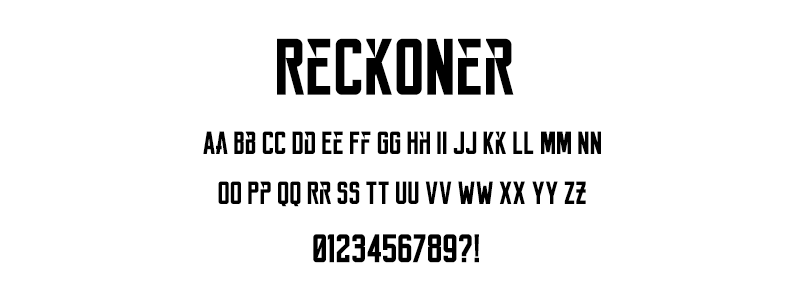
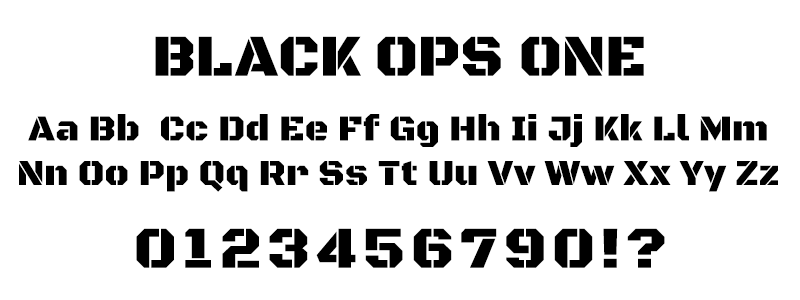
For those looking to personalize their plexiglass control panel with their name or handle, but not as familiar with graphic design applications like Photoshop, you can add text etchings. Choose from a variety of fonts, and your position on the control panel.
Text Position
You can place text in one of up to four positions on your control panel. How many positions are available will vary depending on the model of control panel you choose. Of the positions are the following:
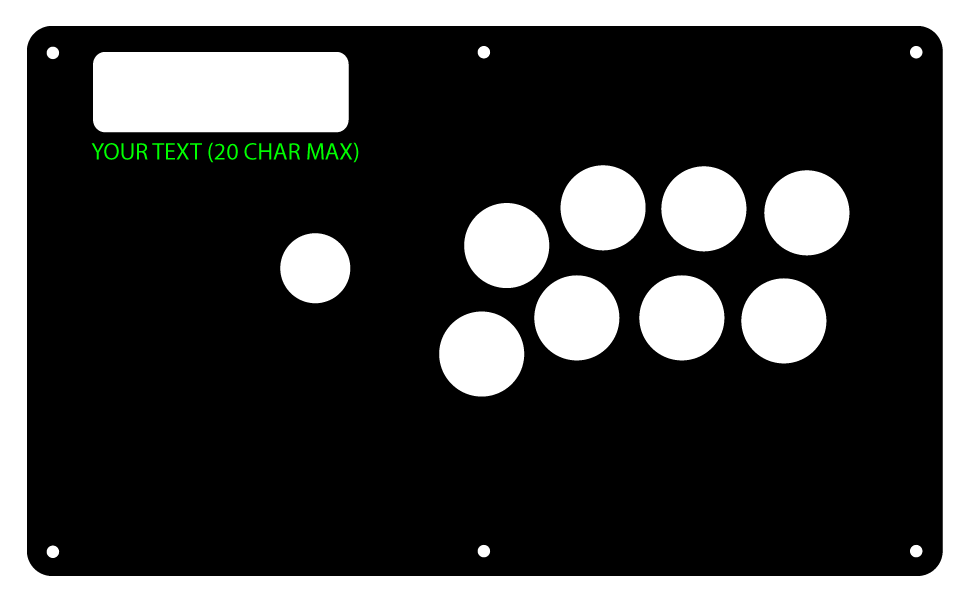
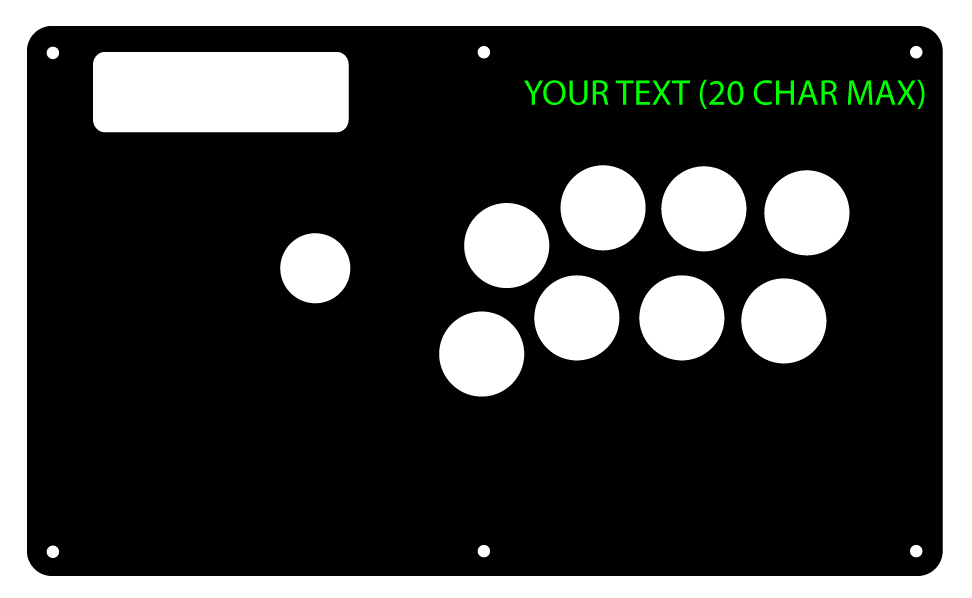 Under Turbo/CP (24pt)Upper Right Corner (36pt)
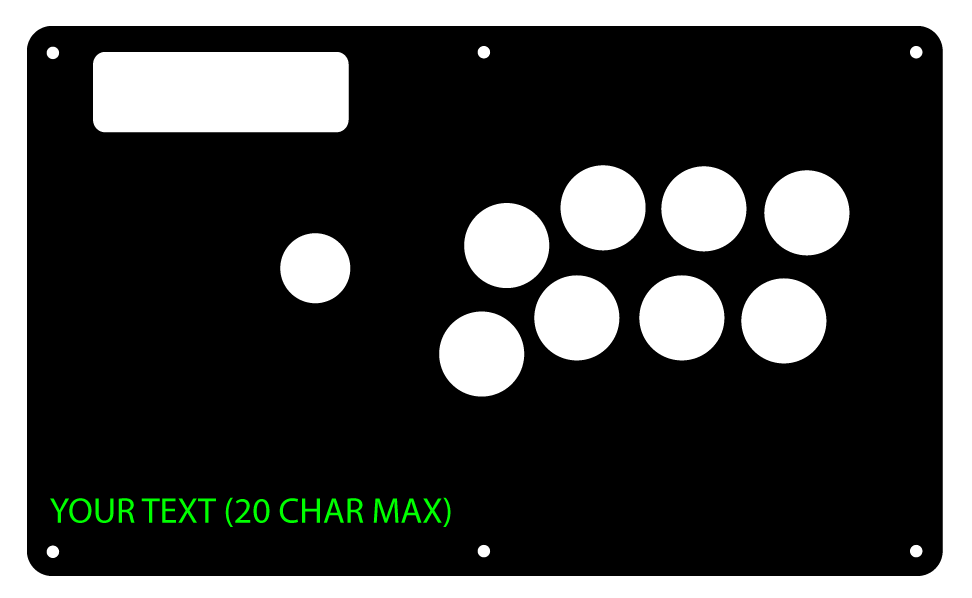
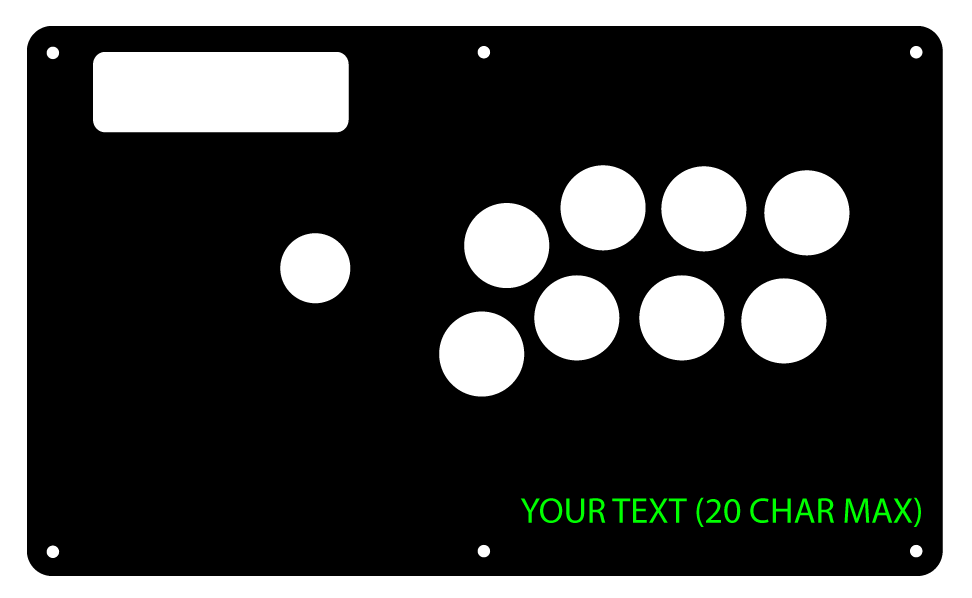 Lower Left Corner (36pt)Lower Right Corner (36pt)
Etch Text Fonts
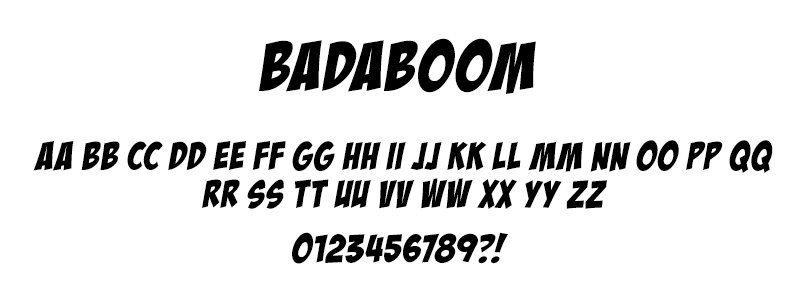
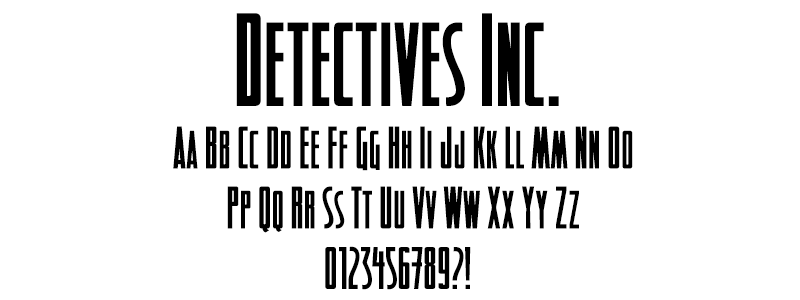
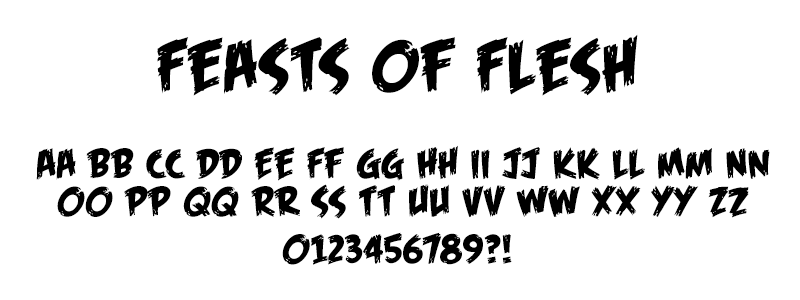
You can choose from a variety of fonts across seven distinct themes:
COMIC | GRUNGE | HANDWRITTEN | POP CULTURE | CLASSIC/RETRO | SANS | SERIF
Comic
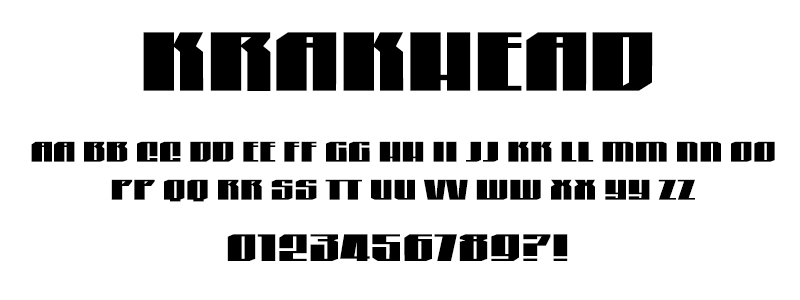
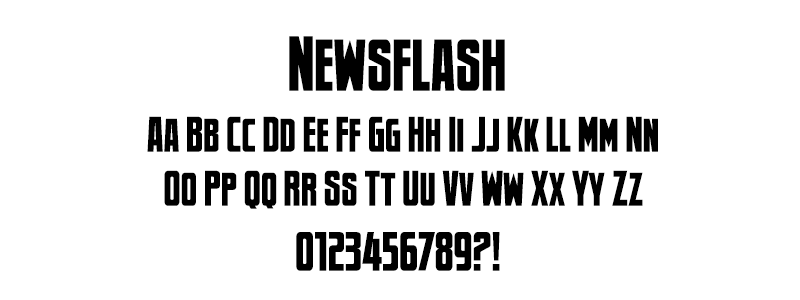
Back to fonts | Back to topic topGrunge
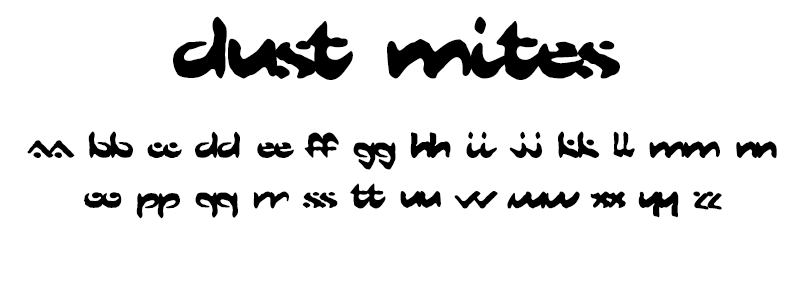
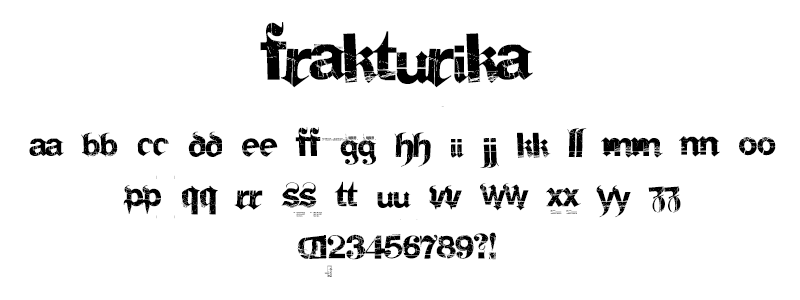
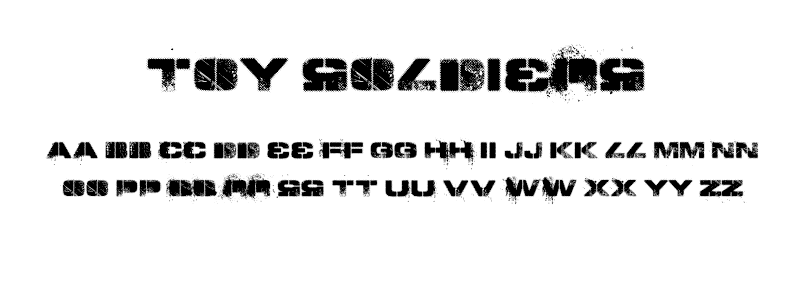
Back to fonts | Back to topic topHANDWRITTEN
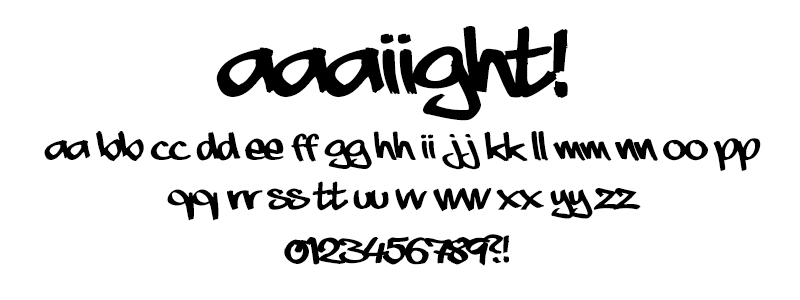
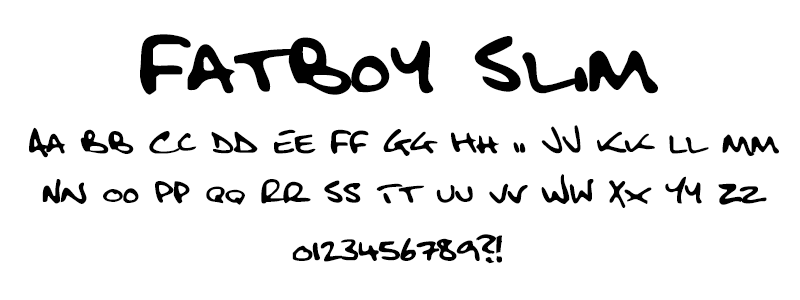
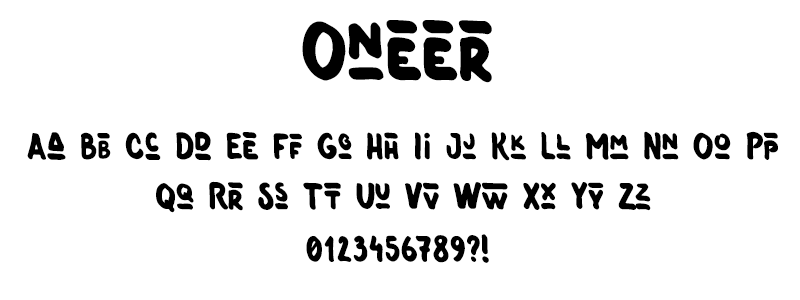
Back to fonts | Back to topic topPop Culture
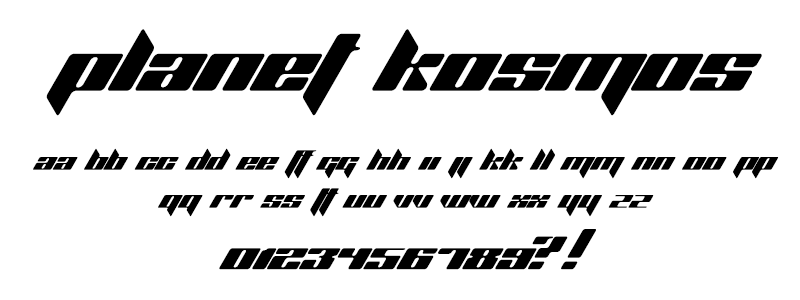
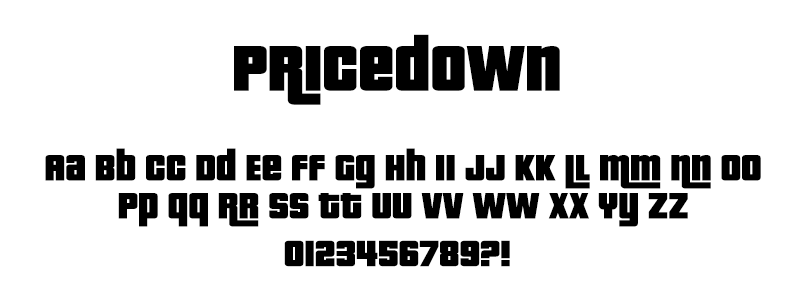
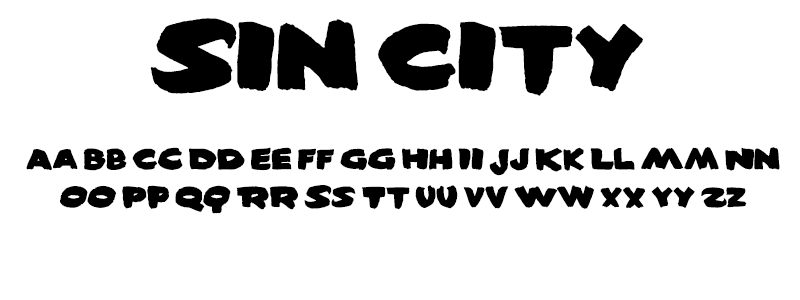
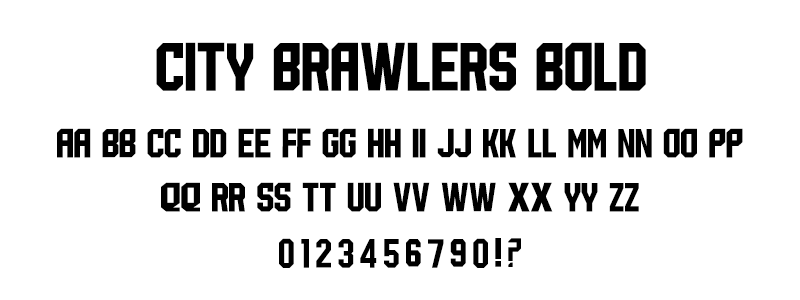
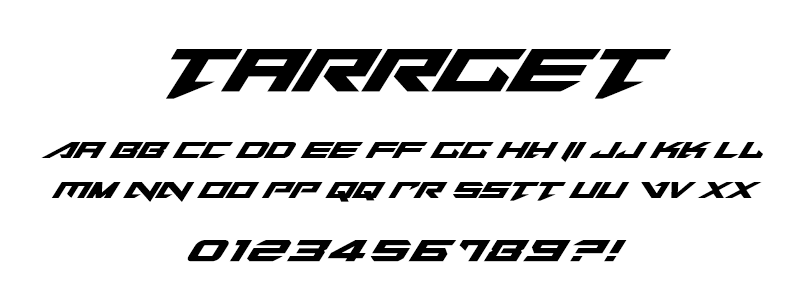
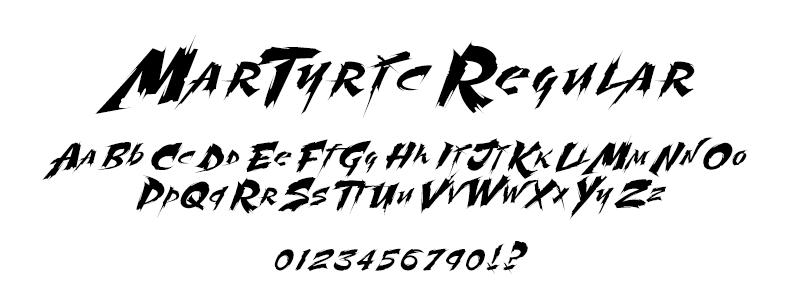
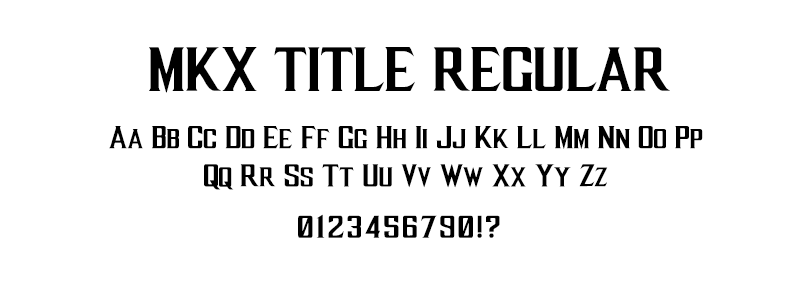
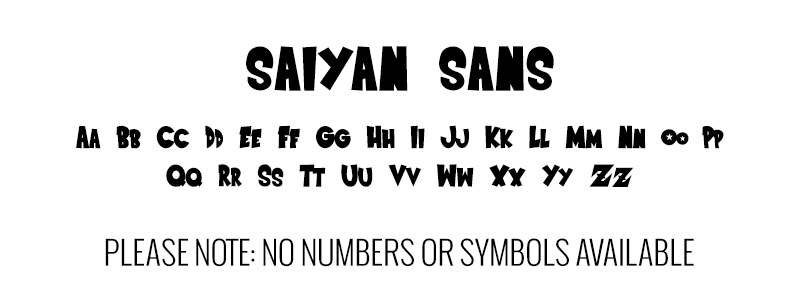
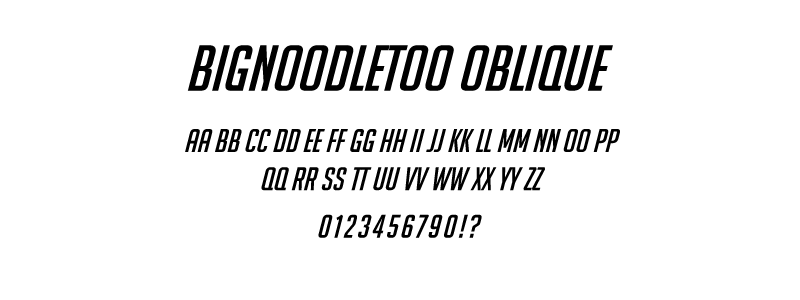
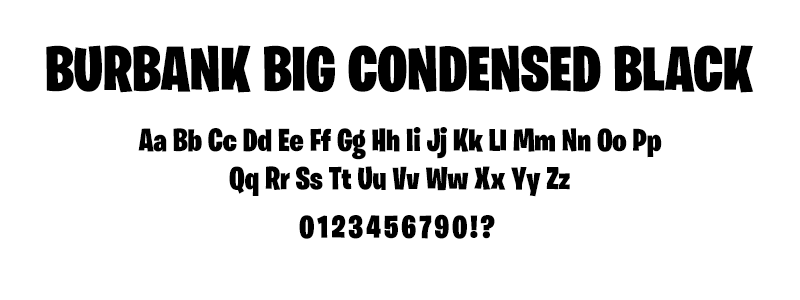
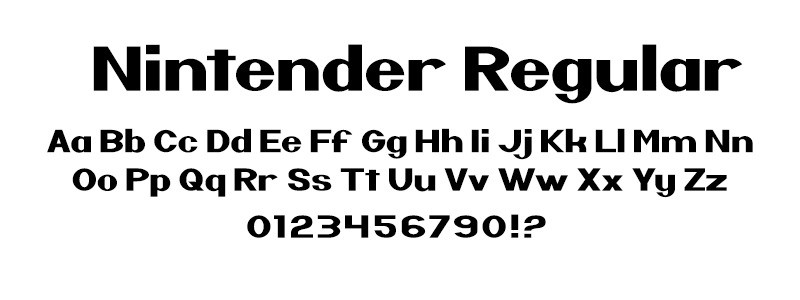
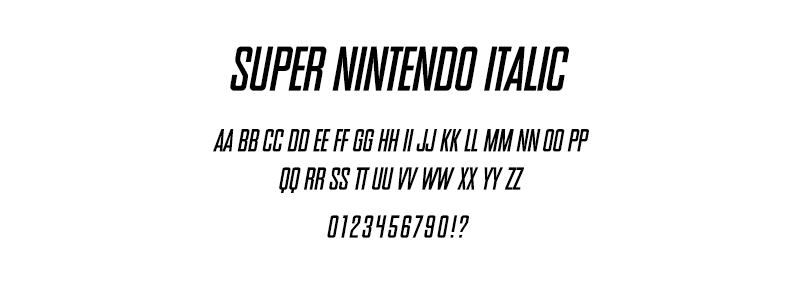
Back to fonts | Back to topic topClassic/Retro
Back to fonts | Back to topic topSans
Back to fonts | Back to topic topSerif
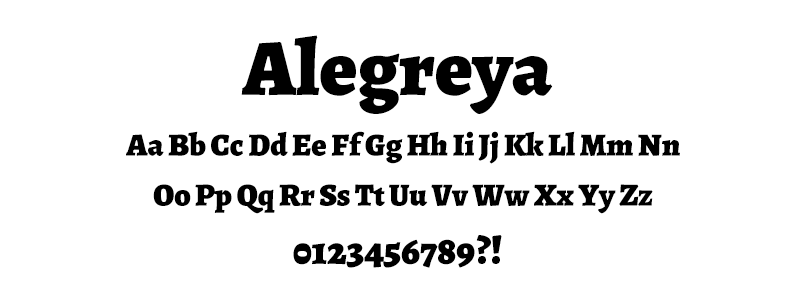
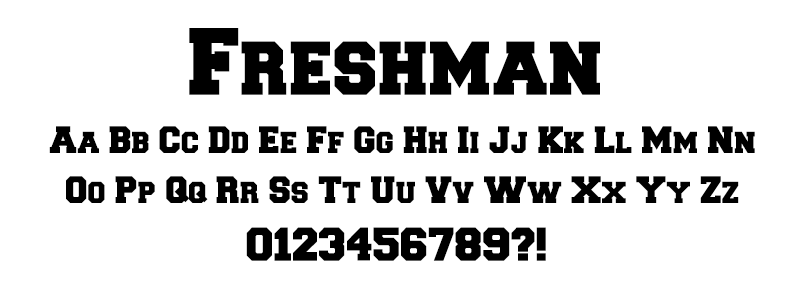
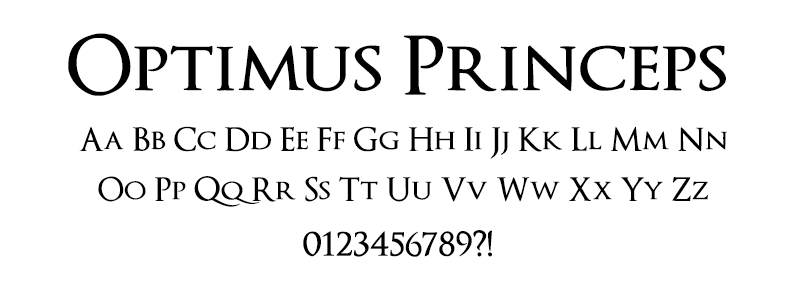
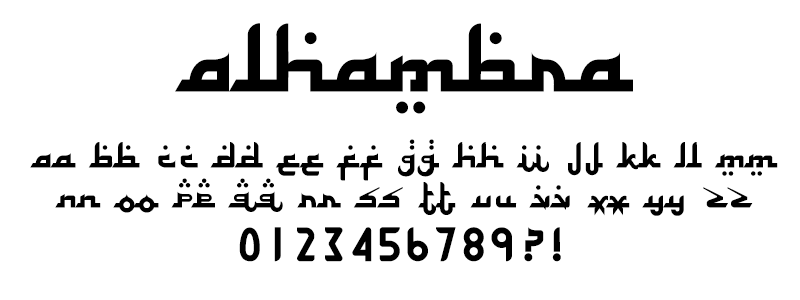
Back to fonts | Back to topic topPartial and Full Etch
Etching on plexi provides you an extra layer for personalizing your control panel. Artwork is etched onto the bottom of clear plexi, or on top of opaque or translucent color plexi. You have two options to choose.
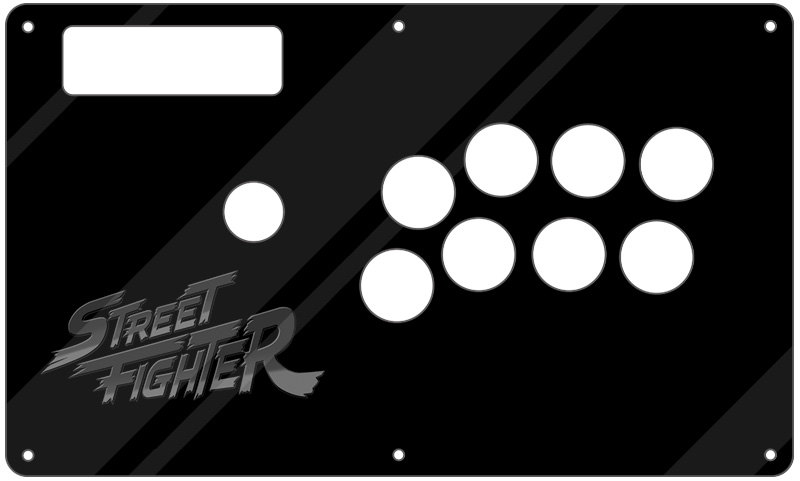
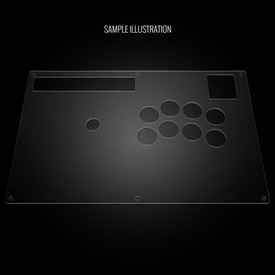
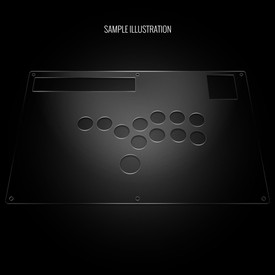
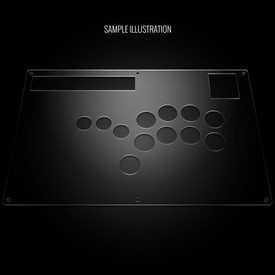
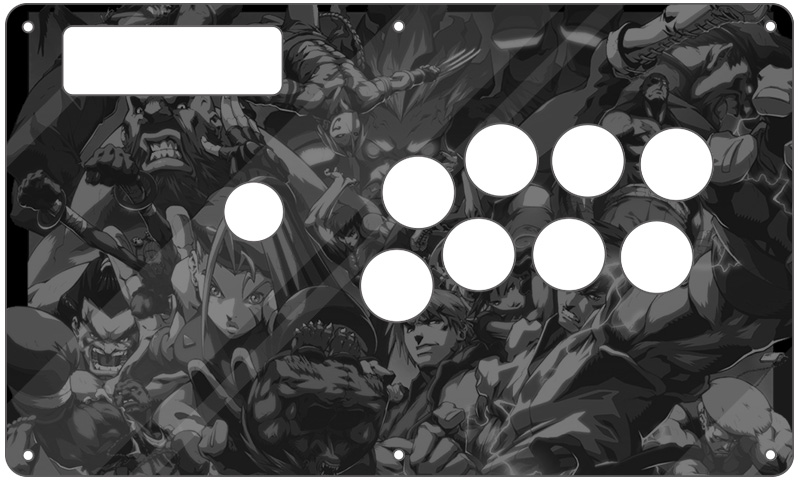 Partial Etch (Sample Illustration)Full Etch (Sample Illustration)
Partial Etch
A partial etch is a graphic up to 5 inches square, placed nearly anywhere on the control panel face. You can etch a logo, name/handle, or illustration. Please note that this is not the same as etched text; you will submit the graphic to us for etching.
To place an order for a partial etch, select the "Partial (5"x5")" option next to the "Full or Partial Etching" label. We must know where to place your etch graphic on the panel, so be sure to provide placement instructions within the "Additional Instructions" text form, or submit the graphic using our Photoshop template. If we don't have this, we will put the task on hold, and send a message asking for clarification on where you want the graphic to appear on the panel.
Full Etch
A full etch can occupy the entire area of the control panel. It can consist of a single illustration, or multiple illustrations placed strategically on the control panel. To submit your graphic, please use our Photoshop template and click "Choose file" next to "Submit Etch Artwork".
Please note: On some models, a full etch graphic is not available, as the plexi used for that model is thinner than .060" and thus can warp under the heat that is generated from a laser etching machine.
Etch Graphic Resolution
It is recommended that the graphic submitted is high-resolution - between 300dpi or 600dpi (dots per inch). Anything less may etch with less fidelity. Click for more information about submitting etch artwork.
Additional Instructions
If you would like to clarify something regarding your personalization that wasn't covered in the options, you can complete the "Additional Instructions" form. Please do not make requests for customization outside of the requirements of the plexi, such as fixing your graphic, or creating a logo, as any orders placed in "HOLD" status is pushed to the bottom of the queue until it is changed back to "IN PROGRESS".
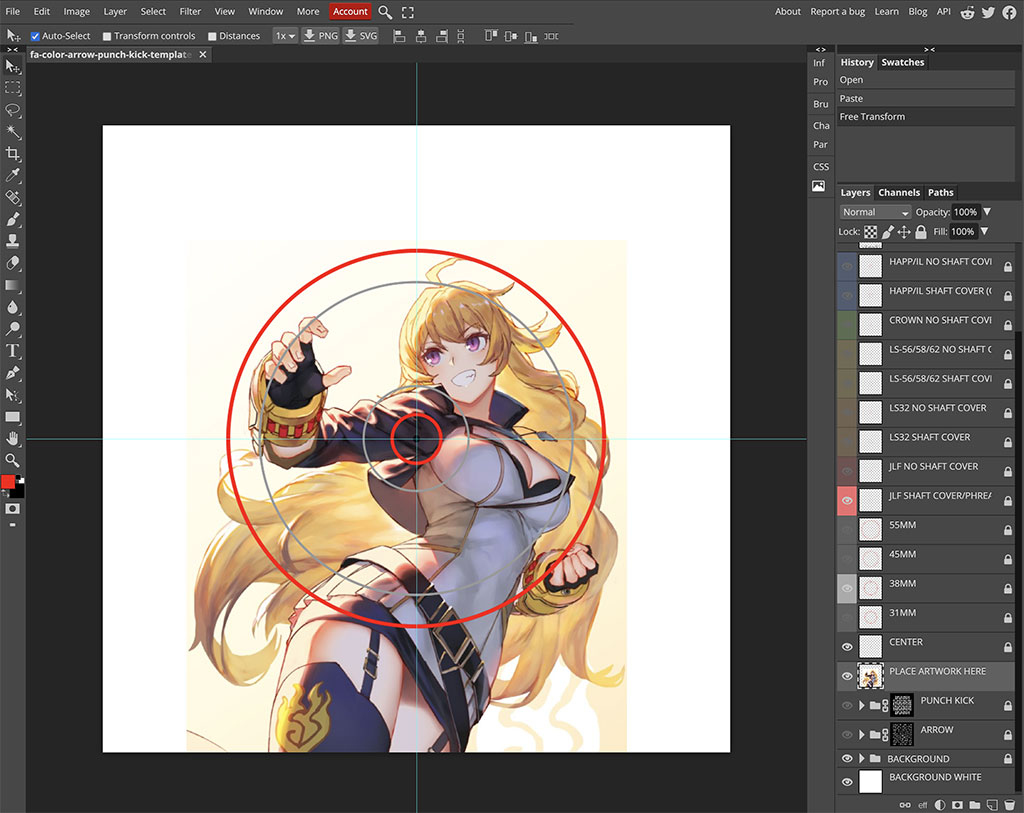
Image Edit If you would like to use a free, online Photoshop-like app to check out whether your artwork will work with a layout we offer, I highly recommend Photopea
 This amazing app works with our PSD templates and is a great way to preview your artwork or create new art files. It also exports to PSD, which is the format we recommend for submitting artwork.
Support New to FA Plexworks?
Click the "Options" tab for a detailed explanation of each customization option available to you. Using a mobile device? Click here to scroll to the descriptions.
Artwork templates
We offer a photoshop template for each custom artwork or custom plexi etch. Click the "Description" tab (or scroll up if on mobile device) to display the template and download. You can also click here to access our repository and download artwork and etch templates (in Photoshop PSD format) for your desired model and others.
Important: Using templates outside of the ones we provide may produce unwanted output. We are not responsible for output generated from unsupported templates. More information here.
Warranty and Support for FA Plexworks Custom Order
Custom orders cannot be returned for refund, or exchanged for another custom order. Orders damaged upon arrival are subject to special terms within our return policy. Please see our FA Plexworks FAQ for more information about our Plexworks return policy and related Q&A.
If you have not used our Plexworks custom services before, we recommend that you visit our support section for updated information, helpful tips, and resources to get the best output.
Some useful sections to review before making your purchase (will open in new browser window or tab):
- Learn about our Custom Job Tracker to keep tabs on your custom order while staff processes it from start to finish.
- Save time getting answers by visiting our FAQ.
- Learn more about the personalization options available to you.
- Hire a skilled artist from the Fightstick Artists Network to visualize your idea.
- Handling the artwork yourself? Review our requirements and get tips to optimize your laser etch or artwork submission.
- Learn about additional products and services we offer under FA Plexworks.
-
Product Reviews
-
Making a solid stick into a better stickless!
A great way to get all the pieces you need to convert your RAP N to a hitbox style rig! Especially good if you already enjoy the size and heft of the RAP N.
The kit's very easy to build, especially if you follow the video posted on the product page. No soldering required but pulling out some of the directional connectors from the board can be a bit tricky due to the space and not wanting to damage anything. I ended up switching the Up/Down direction to make it play more like a Mixbox than a Hitbox due to my keyboard muscle memory.
Just be careful if you want to remove the buttons after putting it all together, the plexi can be very fragile and crack! Which mine unfortunately did but buying a replacement's not too expensive from FA. Tawa on Jun 23rd 2021 -
Great Product that's a Bang for Your Buck. Though, Minor Imperfections.
This product bundle is a crazy bang for your buck at 60 USD.
It's been a little over a week since installation, and I love all of the items included. However, I did notice some minor imperfections with both the custom art print and the plexiglass etched panel. The way the art was cut is a smidge upward of my intended area, and the plexiglass has a very VERY tiny chip on one of the corners. Nothing to throw a tantrum over, though still a minor nitpick I have (perhaps because I had ordered it after Christmas there was a rush in production due to the temporary pause in orders?). Joseph Leon on Jan 16th 2021 -
Great product, great price, a few minor downsides.
Update from FA:
The HRAP N was not designed to accomodate a plexi/paper solution. .030" plexi is the thinnest material to accomodate the height of the print and fightstick area. A more rigid plexi must be thicker. Take care not to tighten the screws too much which can create protrusions in areas from where the screw is present.
---
This pack offers a great product for its price.
Focus Attack offers several options for shipping. It took over a month, but I received the product here in Japan for a very cheap shipping fee.
The shiokenstar panel is pretty good. Awesome product by AllFightSticks.
The art printing has high quality.
The Buttercade Snap Out is great! Removing snap-in buttons with this is way easier than removing screw buttons.
I found the plexi to be too soft. I would not mind paying more money for a more rigid plexi. It has a "belly" on the sides, in the places where there are no bolts.
The video guide is very easy to understand. Thank you Focus Attack!
A minor issue: there are some green LED in the SOCD board and their light appears through the clear buttons that I used in my custom. Guilherme on Dec 14th 2020
-
-
Product Videos
-
 How To: Installing the AFS RAP N Stickless PanelDesigned by AllFightSticks, the all-new metal replacement pane...
How To: Installing the AFS RAP N Stickless Panel
Designed by AllFightSticks, the all-new metal replacement panel allows you to play HitBox style on your Hori RAP N Fightstick! Tech Corner's Joe Howell shows you how to install the panel, artwork, plexi and wiring. Joe also installs the FA SO.CD - a miniature device made specifically to clean simultaneous opposite cardinal directions (pressing up or down, left or right at the same time) that the RAP N was not designed to accomodate. Save $50 on a Fightstick Conversion bundle! https://bit.ly/fa-custom-bundle Included ($110 Value) - Hori RAP N Custom Replacement Panel ($34.95 Value) - Custom Etched Acrylic Panel with optional Button Label, Text and Partial Graphic ($23.95 Value) - Buttercade SnapOut Button Tools: 30mm and 24mm ($15.95 Value) - FA SO.CD Cleaner PCB ($12.95 Value) - Custom Printed Artwork ($11.95 Value) - Choice of Color Anodized Hex Screws + 2.5mm Long Arm Hex Key) ($4.25 Value) - HitBox harness for FA SO.CD ($2.95 Value) - Hori Power Passthrough Harness for FA SO.CD ($2.95 Value) - Brillianize Instant Detailer Pack For Plexiglass ($1.95 Value) - 3mm Hole Low Profile Adhesive PCB Feet - Set of 4 ($.95 Value) Bundles are available while supplies last. -
-
Find Similar Products by Category


