- Category
- What's New?
- FightSticks/Pads
- Joysticks
- Pushbuttons
- Spare Parts & Tools
- Hardware & PCB
- Electrical
- Customize
- Merchandise
- Sales & Clearance
- Brand
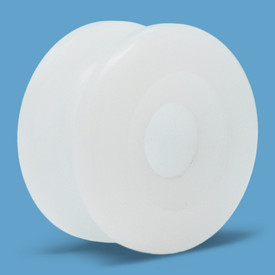
Crown 309-CWL Bobbin for Tension Grommet
Rating
Price:
$3.75 (USD)
Brand
SKU
CROWN-BOBBIN-CWL
Weight
0.05 Ounces
Availability
Ships within 1-2 business days
Shipping
Calculated at checkout
-
Product Description
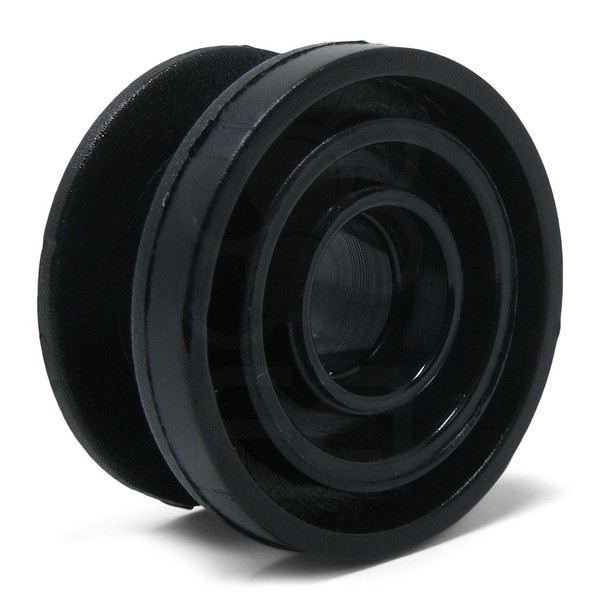
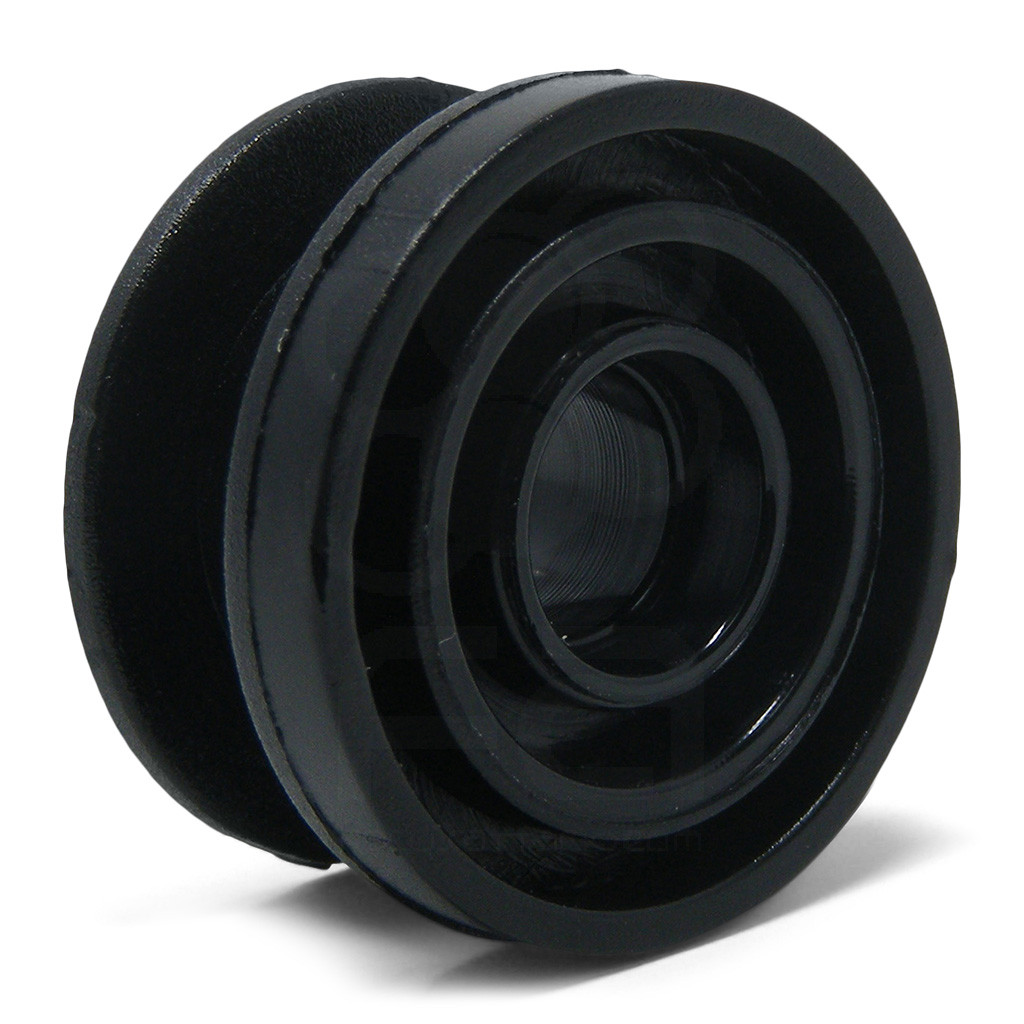
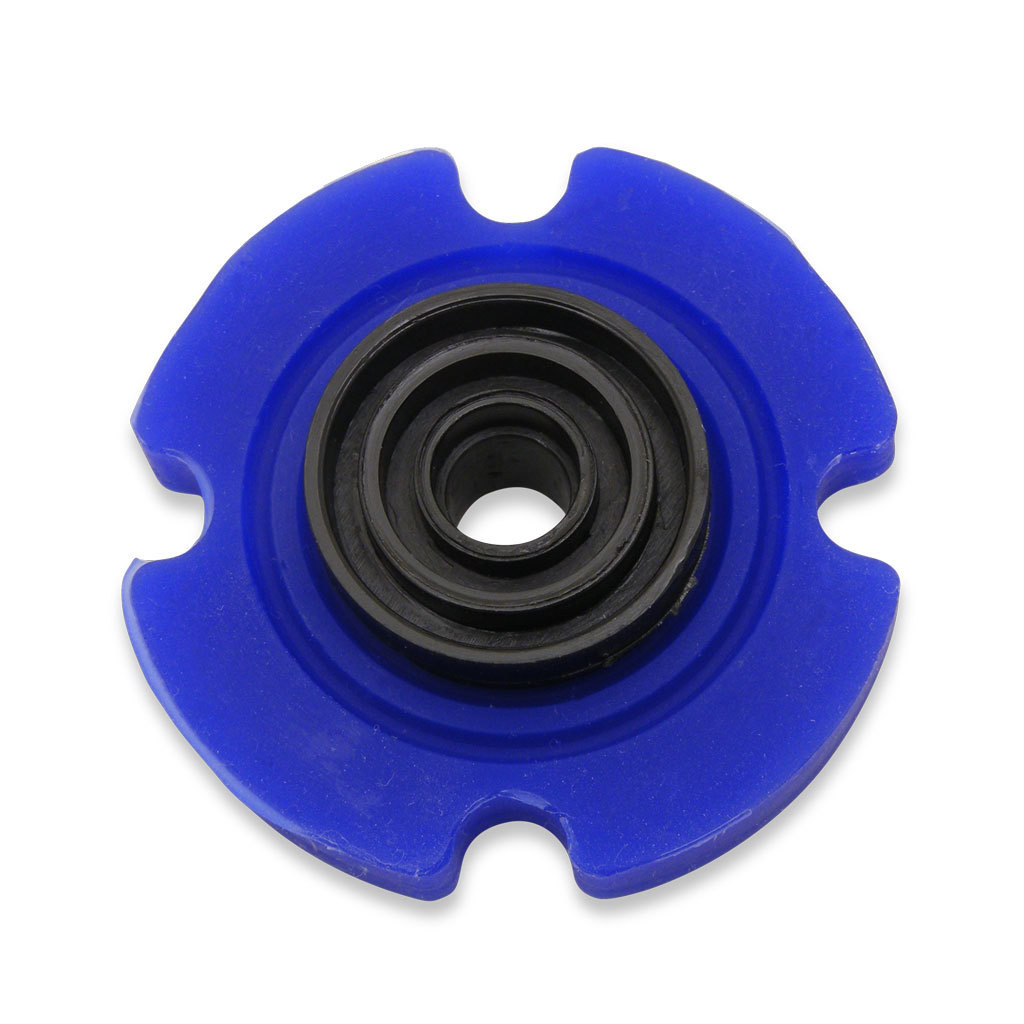
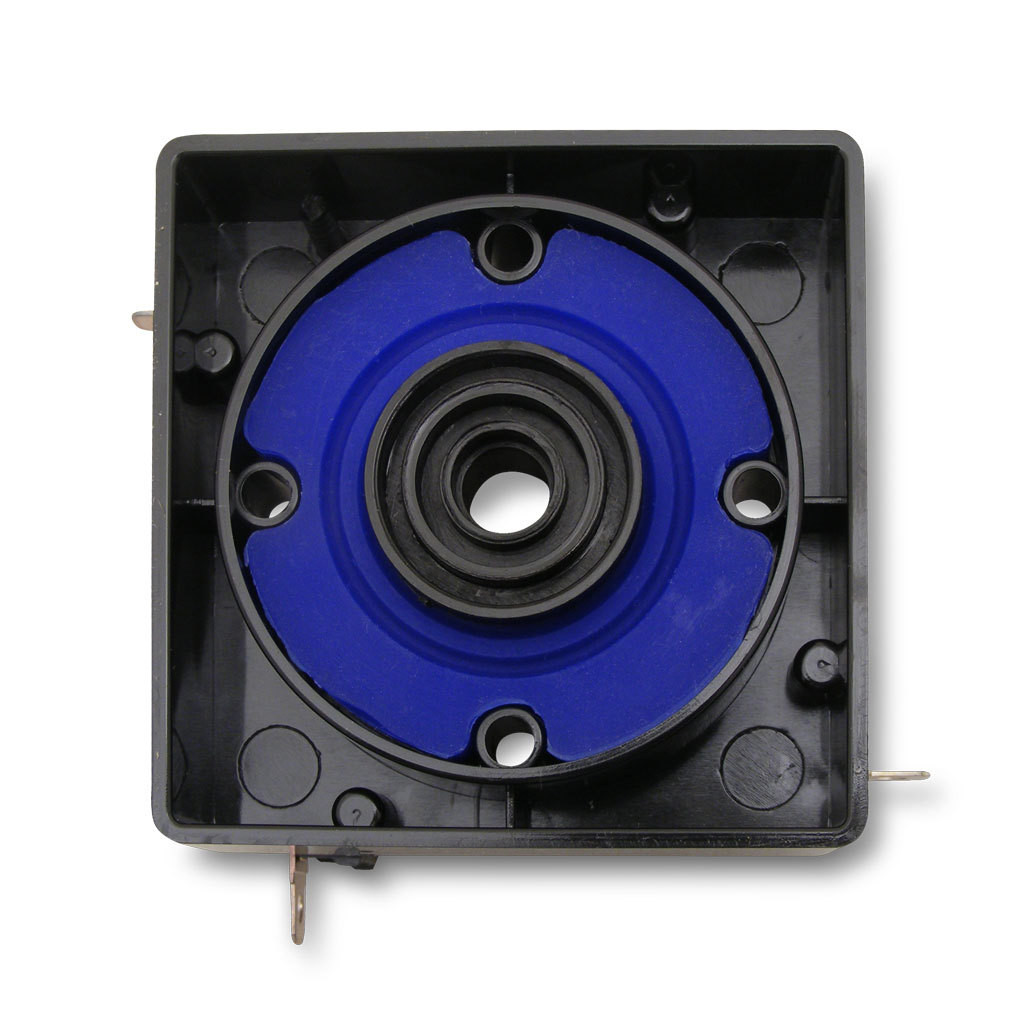
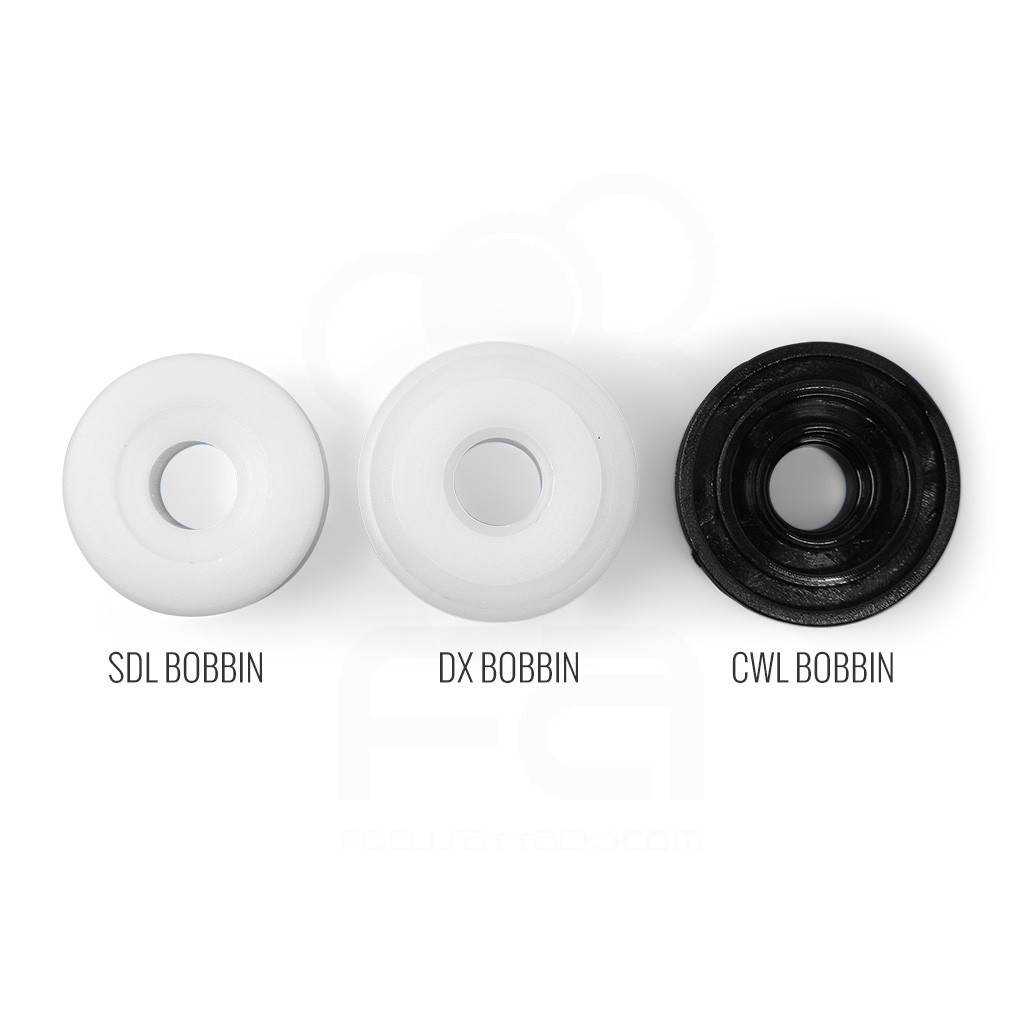
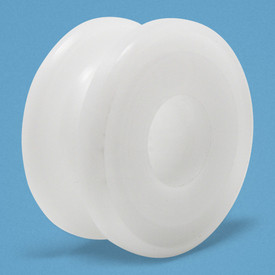
The Crown 309-CWL Bobbin attaches to the inside of the Crown/Samducksa silicone tension grommet. This bobbin holds the joystick lever shaft as the shaft and tension grommet shifts around the lever's housing during directional and diagonal movement.
Model and Part Guide
The following reference list provides information of the battop, Silicone rubber, and bobbin style installed into each recent Crown model by the manufacturer. This is helpful if you are looking to purchase the correct grommet or bobbin for your chosen model.
BATTOP SILICONE RUBBER BOBBIN Crown Shinsun 2D/3D Game Joystick Lever Grey Balltop Silicone Rubber ST15 CWL DX Bobbin CWL-309MJ-KMS-ST25 CWL-BAT Silicone Rubber ST25 CWL Bobbin CWL-309 HelpmeK-KMS-ST35 CWL-BAT Silicone Rubber ST35 CWL Bobbin CWL-309FJ-KMS-ST35 CWL-BAT Silicone Rubber ST35 CWL Bobbin CWL-309MJ-BENYLIS-ST35 CWL-BAT Silicone Rubber ST35 CWL DX Bobbin CWL-309MJ-ST30 New Helpme CWL-BAT Silicone Rubber ST30 New Helpme Bobbin CWL-303MJ-DX-ST35 Crazy Dongpal CWL-DX-BAT Silicone Rubber ST35 CWL DX Bobbin CWL-309MJ-DX-QR-ST35 Samducksa Clear BATTOP Silicone Rubber ST35 CWL DX Bobbin Short SDL-301-DX SDL-BAT Silicone Rubber ST35 SDL Bobbin SDL-301-DX-QR-ST35 Samducksa Clear BATTOP Silicone Rubber ST35 SDL Bobbin Bobbin and Grommet Install
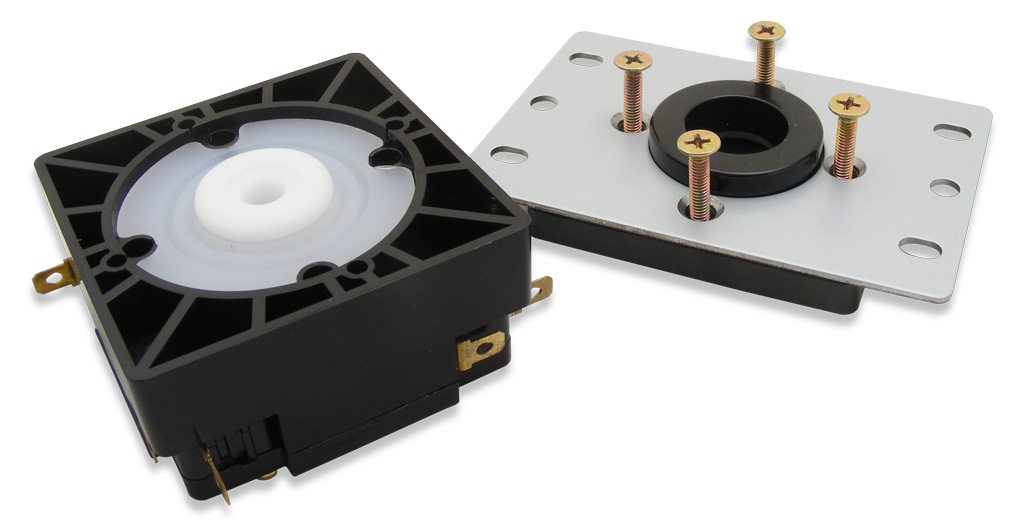
If you intend to replace an existing grommet:
- First lift the battop and shaft from the joystick body. To do this, you must remove the e-clip at bottom of the lever. A mini screwdriver wedged into the e-clip often works, pulling the clip away from the shaft. Be careful not to lose the e-clip, as it can fly off the shaft from the pressure. Lift the shaft upwards and put aside. The actuator may also loosen from the microswitches which is normal - you can put it back on when reinstalling the e-clip.
- Second, remove the 4 long screws that hold the mounting plate and upper body in place. Remove the original grommet from its housing by pulling on the plastic ring with your thumb and fingers.
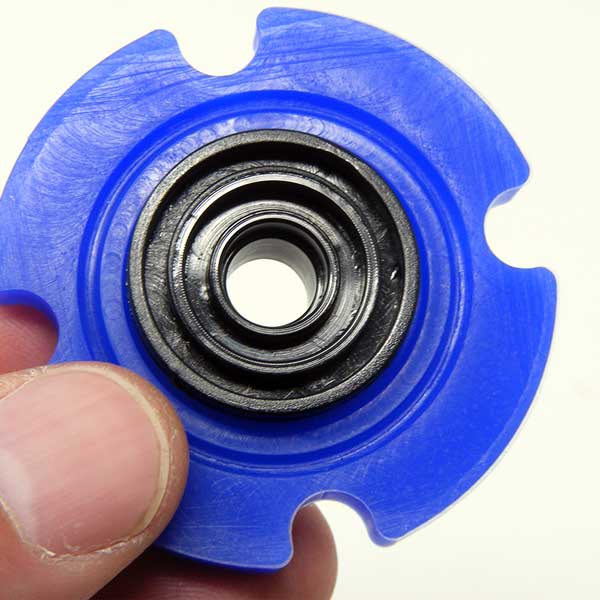
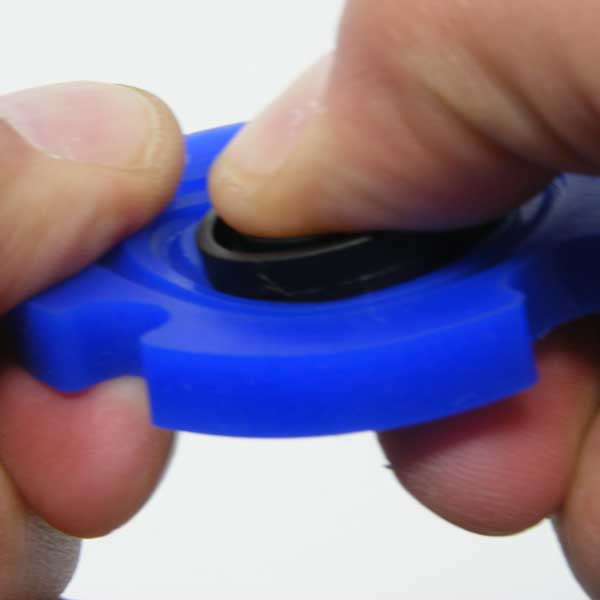
The top of the grommet will have round creases in the silicone. The bobbin top will have similar creases, or when viewed from the side, may have a slightly larger area than the opposite side. This is available in the CWL and DX bobbin. The SDL bobbin appears to have both sides the same, meaning it should allow you to install the without regard to its top or bottom. While holding the grommet with your left thumb and fingers, use your right thumb to push down into the grommet center. You are attempting to dislodge the grommet's bobbin for replacement. The silicone grommet is durable; removing the bobbin should not tear it. Push until the bobbin is free from the grommet. 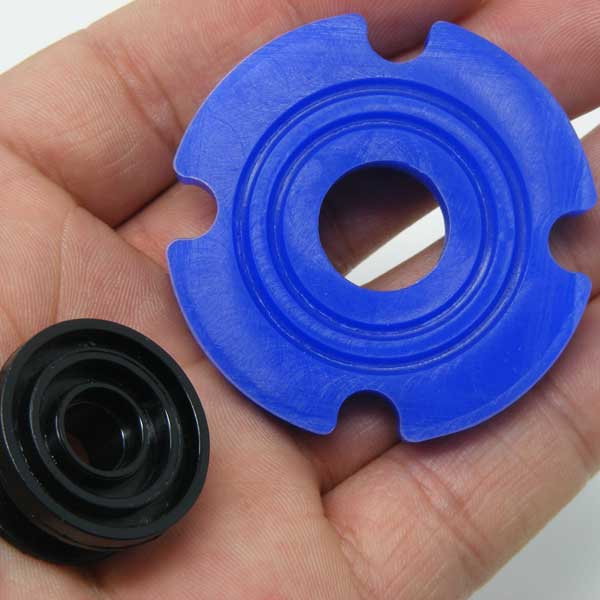
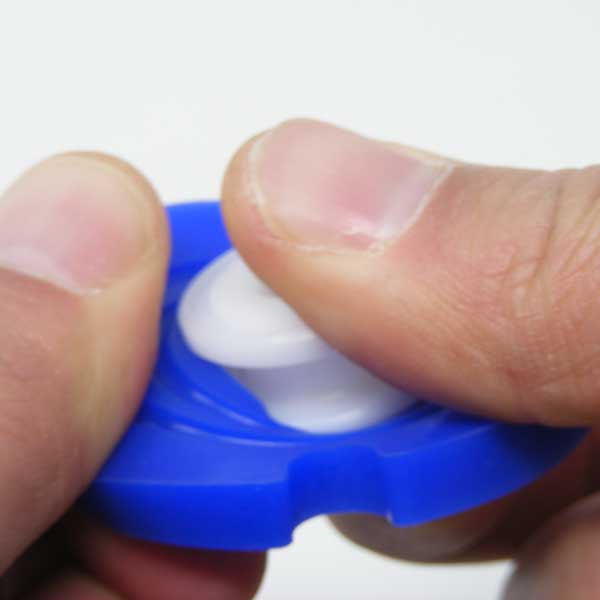
With the grommet's bobbin removed, you can move to the next step. If you purchased a Crown grommet from FA, the previous steps are already performed for you. You will proceed to install your replacement bobbin. Holding the grommet with your left thumb and fingers, push the new bobbin downward so that it catches between the grommet center. You can stretch the grommet's edges away from the bobbin to give it enough room to move downward, then back to surround the bobbin. 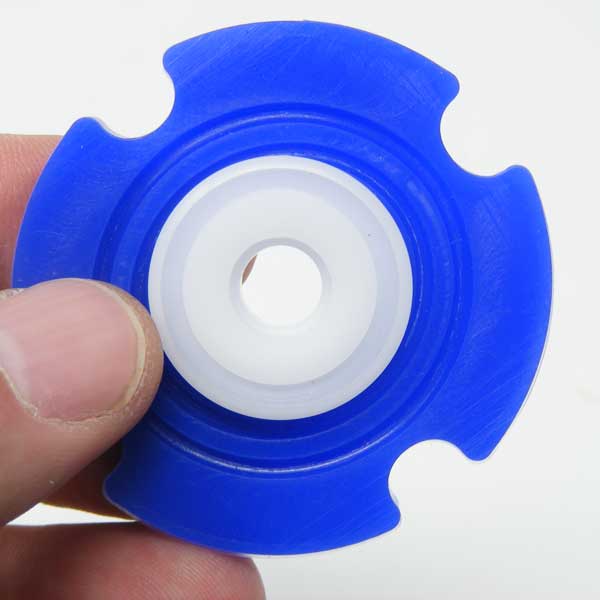
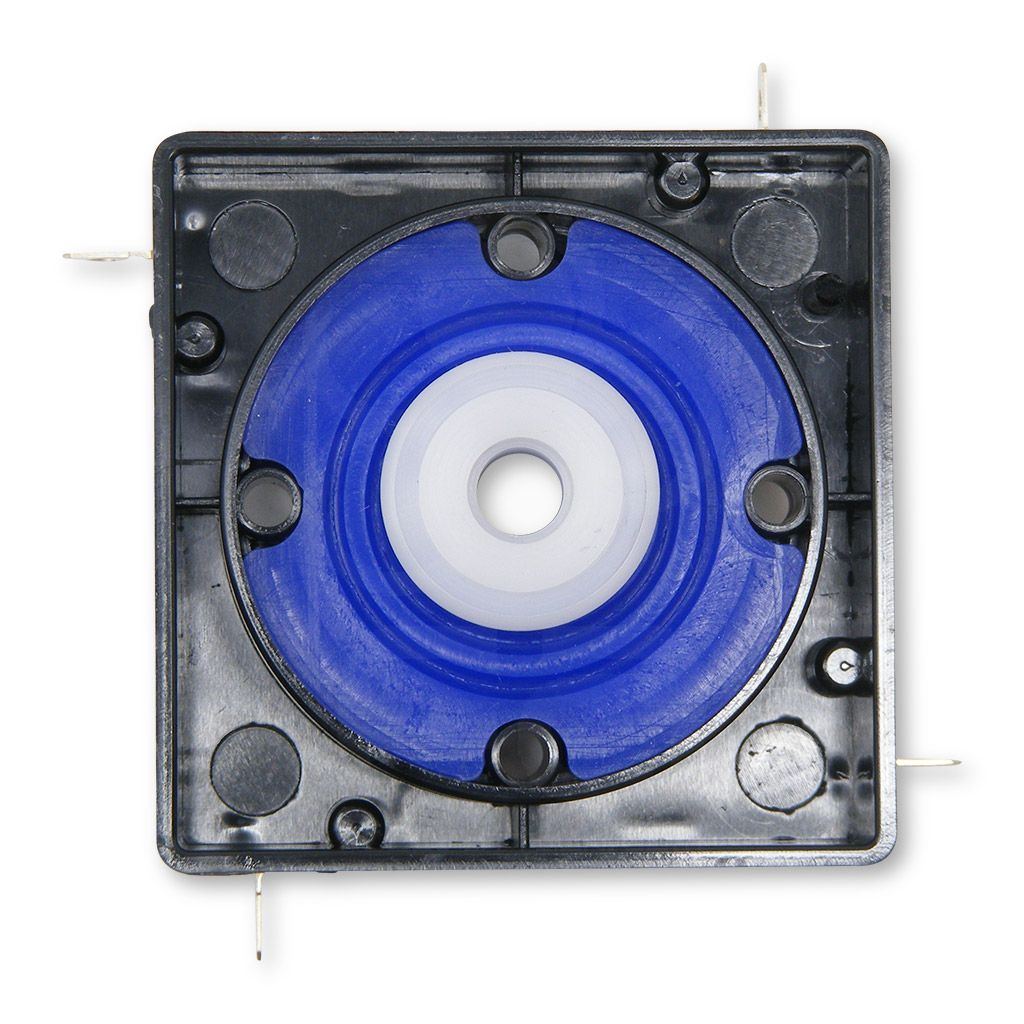
Make some small adjustments to the grommet to ensure it seats correctly with the bobbin. Now, install the new grommet by placing it in the joystick lever housing. Line up the grommet in the same orientation as the original grommet. You should see the circular rings impressions on the grommet. If you don't, you need to flip the grommet over. Once installed, place the upper housing onto the bottom housing, and replace the long screws into the metal plate. -
Product Reviews
-
Find Similar Products by Category


