- Category
- What's New?
- FightSticks/Pads
- Joysticks
- Pushbuttons
- Spare Parts & Tools
- Hardware & PCB
- Electrical
- Customize
- Merchandise
- Sales & Clearance
- Brand
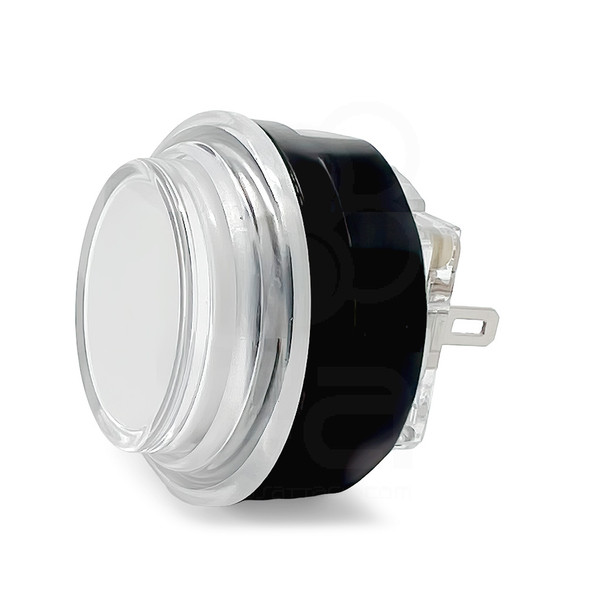
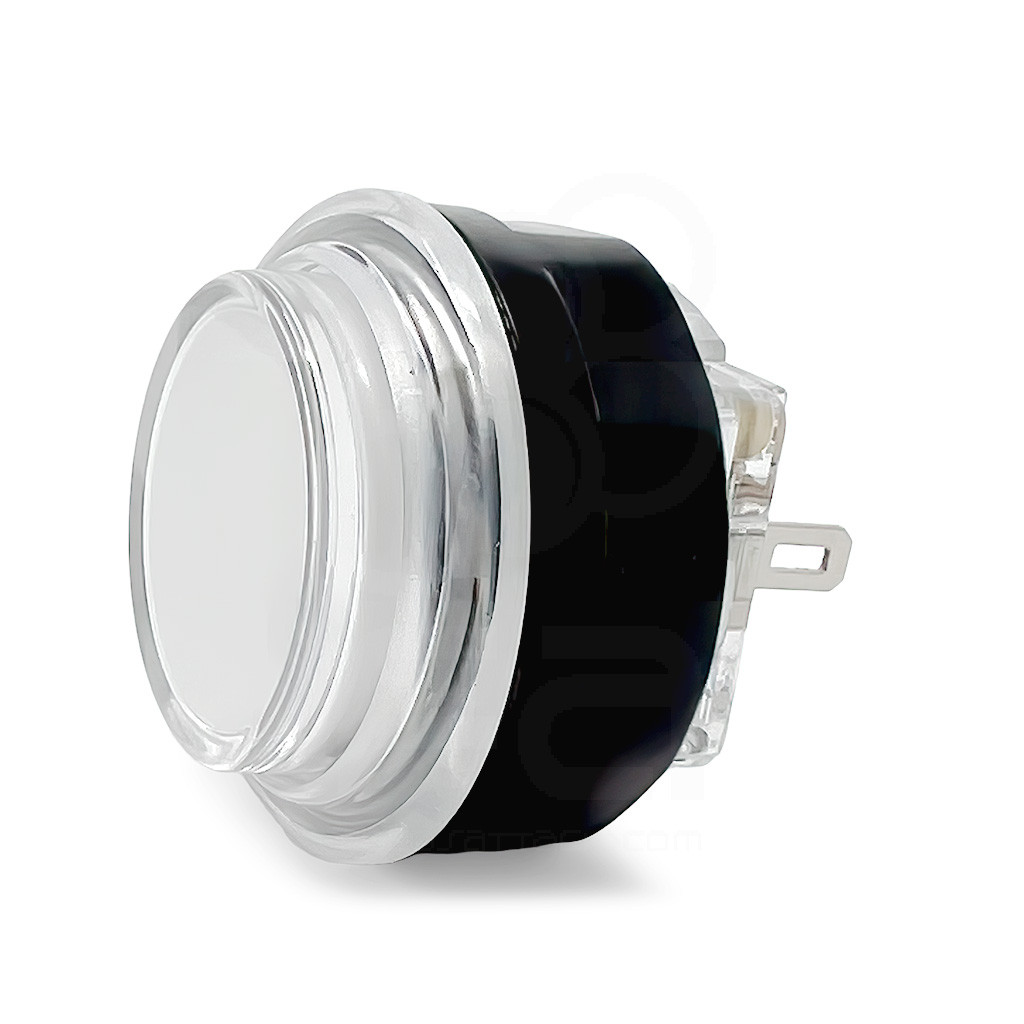
Seimitsu Alutimo MX 24mm Translucent Screwbutton Clear
-
Product Description
Japanese arcade parts maker Seimitsu has brought innovation into the enthusiast market with a number of new levers and pushbuttons. We're happy to introduce their latest - the Alutimo MX SSPS Screwbutton.
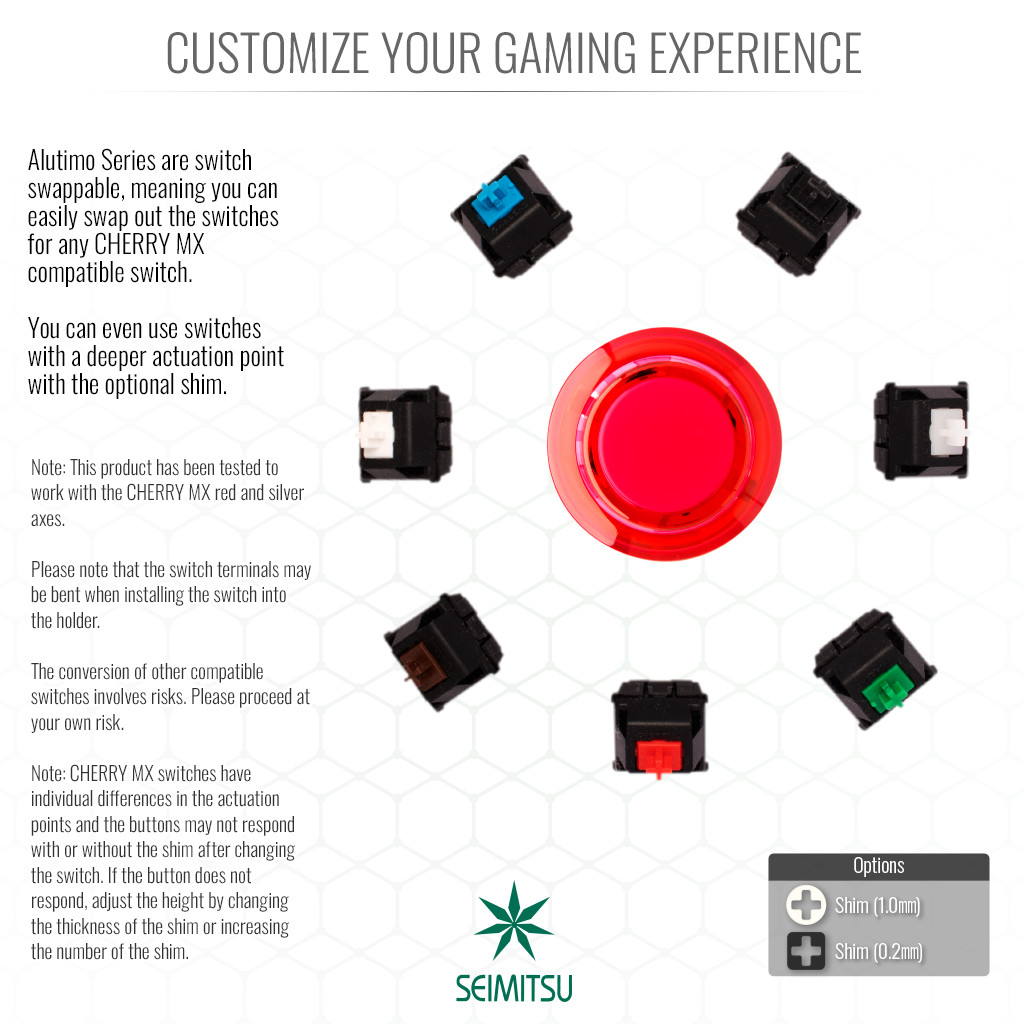
Customize Your Gaming Experience
The Alutimo is constructed to allow for quick and relatively straightforward swapping new switches, with tools to facilitate opening the button, and options to tweak each button's performance.
Quick Swap Cherry MX Switch to Your Preference
Note: Alutimo Series are tested compatible with Cherry MX Red and Silver switches. Please be careful not to bend the switch pins when inserting switches into the sockets. Use of other MX switches, like Kalih or Gateron is at your own risk.
Much like GamerFinger HBFS, Samducksa 202 MX, and Qanba Gravity, the Alutimo series uses German-made CHERRY MX Silver switches. MX Silver is designed for very fast response time and short actuation distance.
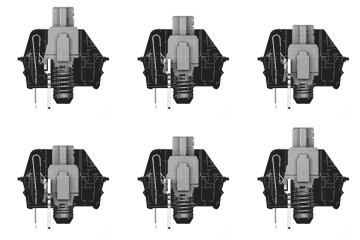 Cherry MX™
Speed SilverCherry MX™ Silver "linear feel" is an input speed evolution from the red MX. Both silent and linear, the travel distance to actuation is greatly reduced from 2mm to 1.2mm with total travel of just 3.4mm. There is no audible click feedback.
What does linear feel or tactile feel mean? Linear feel means that the feel is consistent from the moment you press down on the button. Tactile feel provides a bit of feedback upon actuation. Operating Force means how hard you have to push the button and how hard it will push back when depressed.The g in 45g, for example, represents a metric unit of force.
Thanks to The Keyboard Company and PC World for helpful descriptions on key switch characteristics. Animated illustrations by cherrymx.de.
Cherry MX Switch Characteristics
Below is a list of Cherry switch models, categorized by their colors, switch type, operating force, and actuation point. It is also helpful to know the total travel distance - the point from initial press to "bottoming out" the switch.
Switch Type Operating Force Actuation Point Total Travel 
MX Blue Clicky/Tactile 60g 2.2mm 4.0mm 
MX Brown Tactile 55g 2.0mm 4.0mm 
MX Red Linear 45g 2.0mm 4.0mm 
MX Black Linear 60g 2.0mm 4.0mm 
MX Speed Silver Linear 45g 1.2mm 3.4mm 
MX Silent Red Linear 45g 1.9mm 3.7mm 
MX Silent Black Linear 60g 1.9mm 3.7mm 
MX Low Profile Red Linear 45g 1.2mm 3.2mm 
MX Low Profile Speed Linear 45g 1.0mm 3.2mm 
MX Green Clicky/Tactile 80g 2.2mm 4.0mm 
MX Clear Tactile 65g 2.0mm 4.0mm 
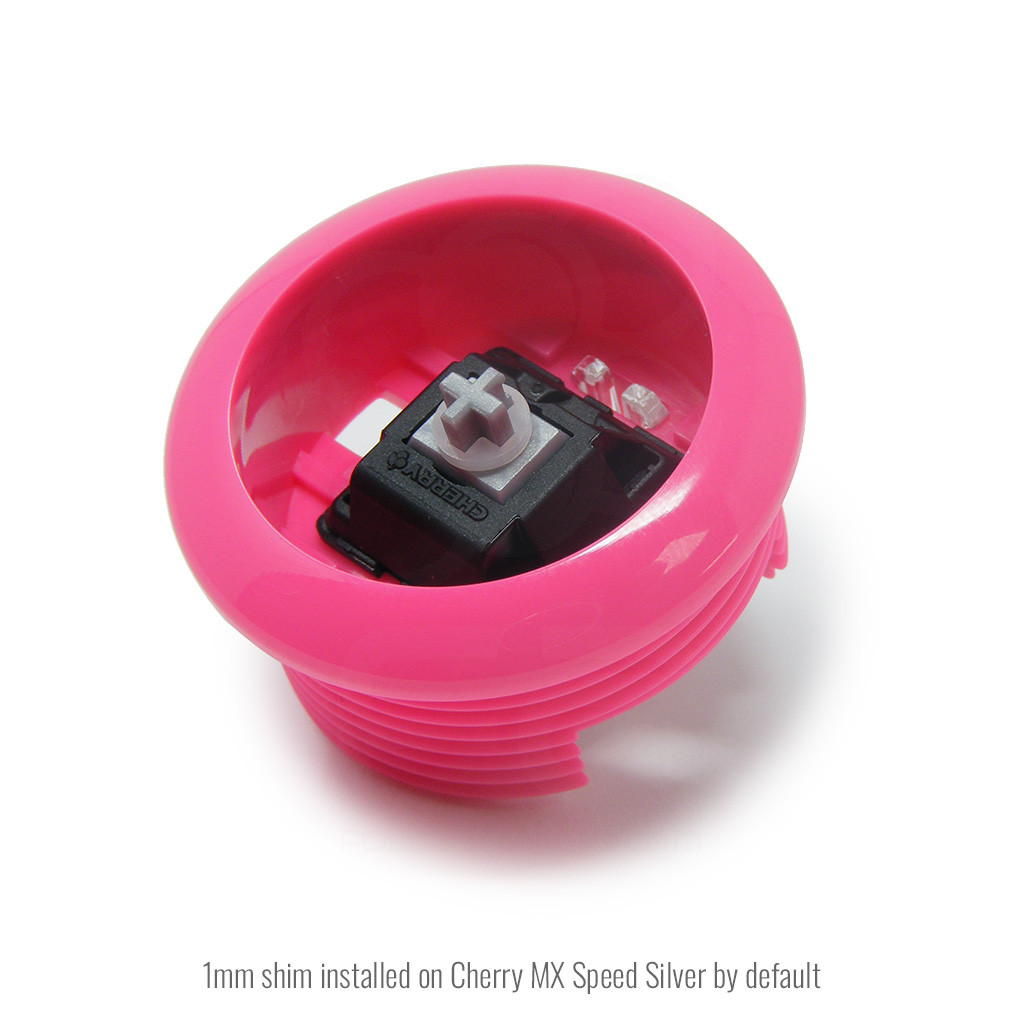
MX Grey Tactile 80g 2.0mm 4.0mm 1mm Shim Pre-installed. Stack more 1mm Shims or .2mm Shims to Tweak Button Actuation Point Tolerance
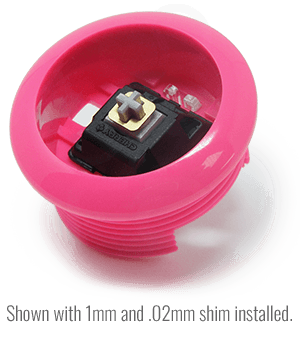 One of the more unique characteristics of the Seimitsu Alutimo button is its use of tiny plastic or metal shims. Shims, which are stacked onto the switch, are used for extra travel length.
The Alutimo default switch is MX Speed Silver. 1mm Shim is installed as a default for it. Enthusiasts can adjust the actuation point with the shims. For example:
- They can make short stroke buttons with no shims.
- Or they can make super sensitive buttons like the MX Red/Blue switch with 2x 1mm shims.
Why is a 1mm shim installed by default?
The tolerance of the actuation point of the MX Speed Silver is -0.6mm and +0.6mm. This creates a 1.2mm total tolerance. 1mm shim covers this tolerance.
All Cherry MX switches can have a varying tolerance. For example, if one of the MX switches has -0.6mm but the other one has +0.6mm. This provides an opportunity to tweak the MX switch's performance to your preferences. Let's look at the following scenarios:
- If the particular individual Speed Silver has a tolerance of close to -0.6mm: The player can remove the 1mm shim and he can use Alutimo as a short stroke button.
- If the particular individual Speed Silver has a tolerance of close to +0.6mm: There is a risk of a missed input without 1mm shim.
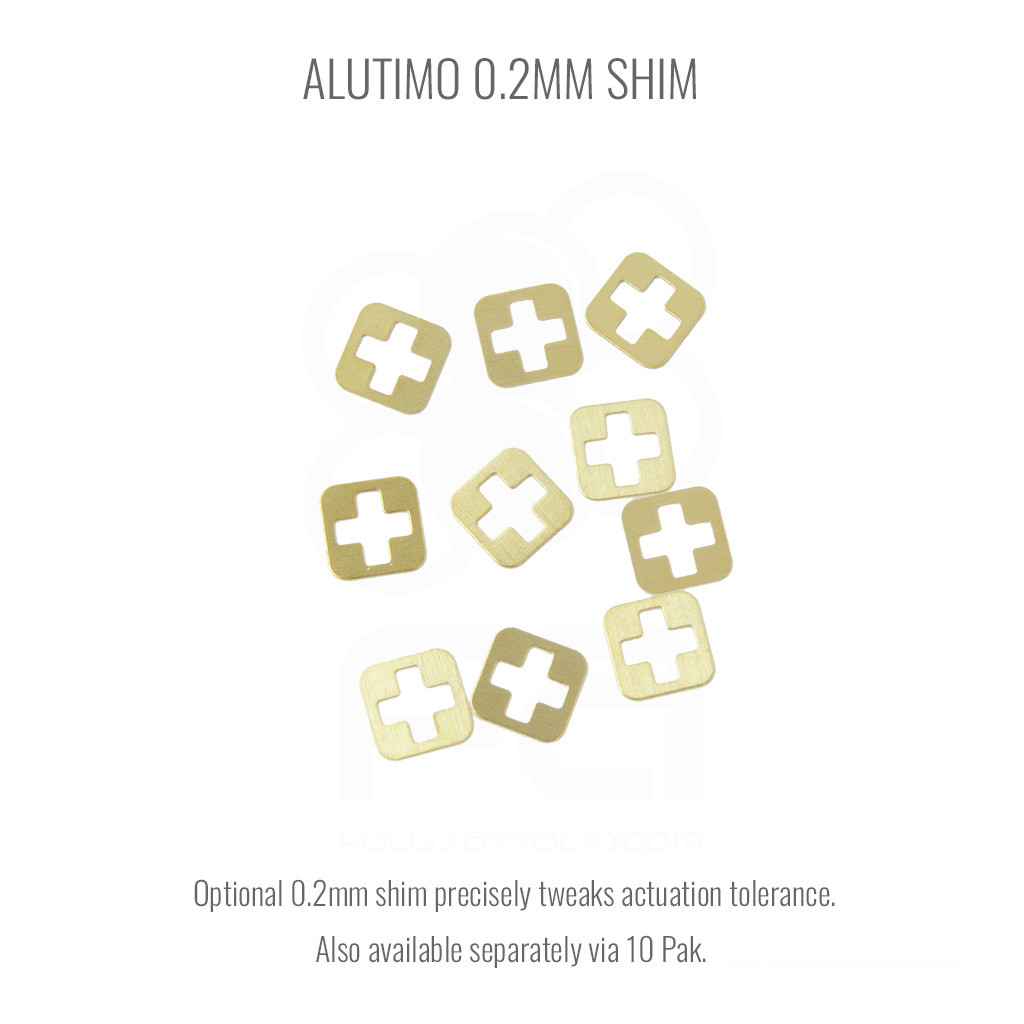
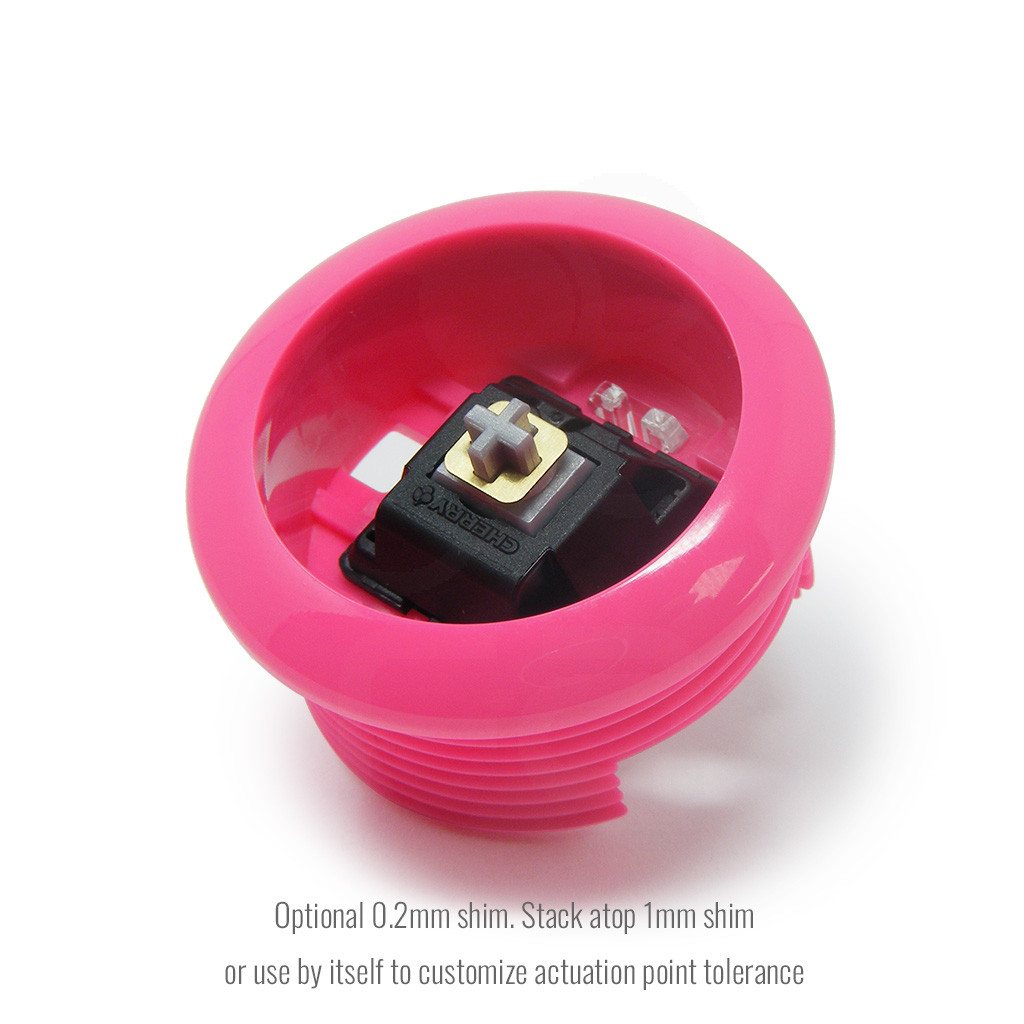
0.2mm Shim for pinpoint adjustments
Enthusiasts can adjust an individual difference of the MX switch with 0.2mm shim. With these slight adjustments, they can make the ultimate stroke MX button.
Replacement packs of 10 units for 1mm shim and .2mm shim are available.
Button Assembly, Tools and Replacement Parts
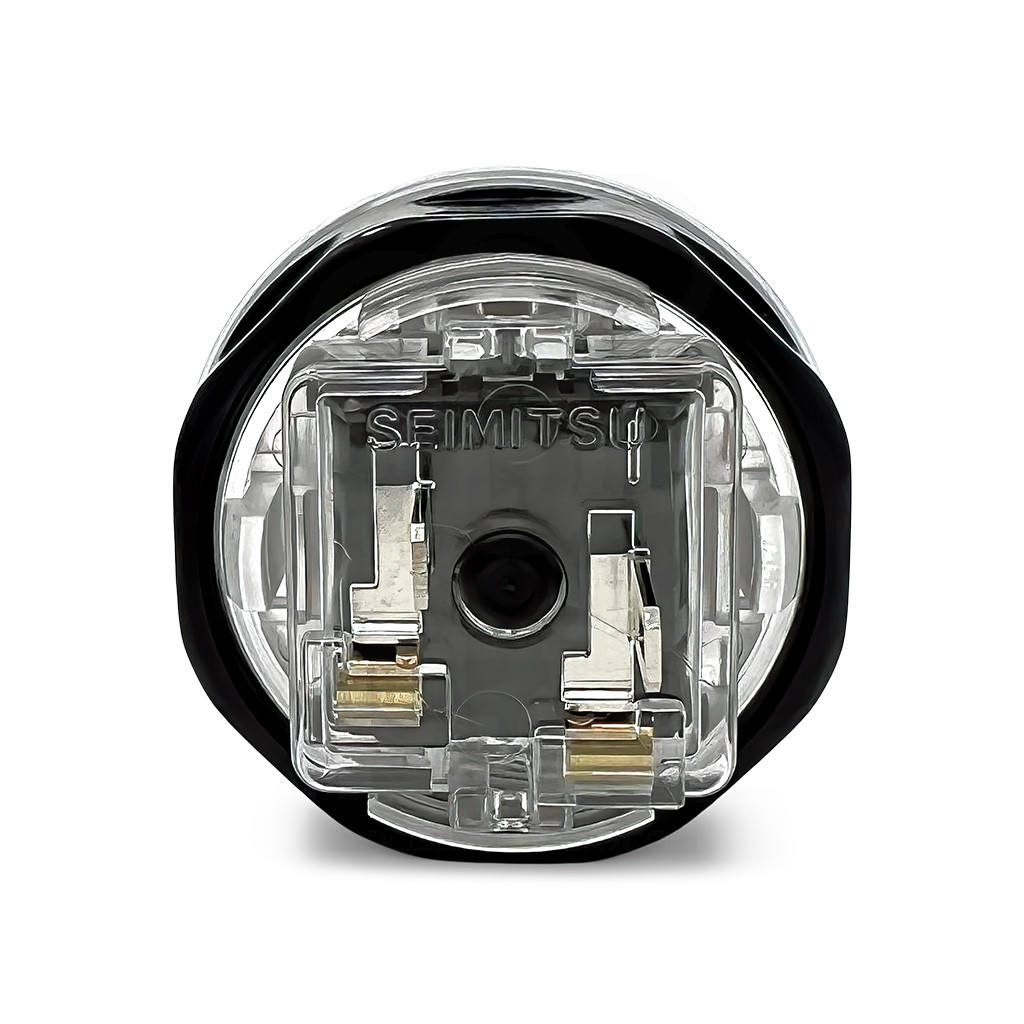
The Alutimo's switch holder is transparent, allowing to see the switch housing, along with some of the Alutimo's unique design choices for keeping the MX switch contacts in place.
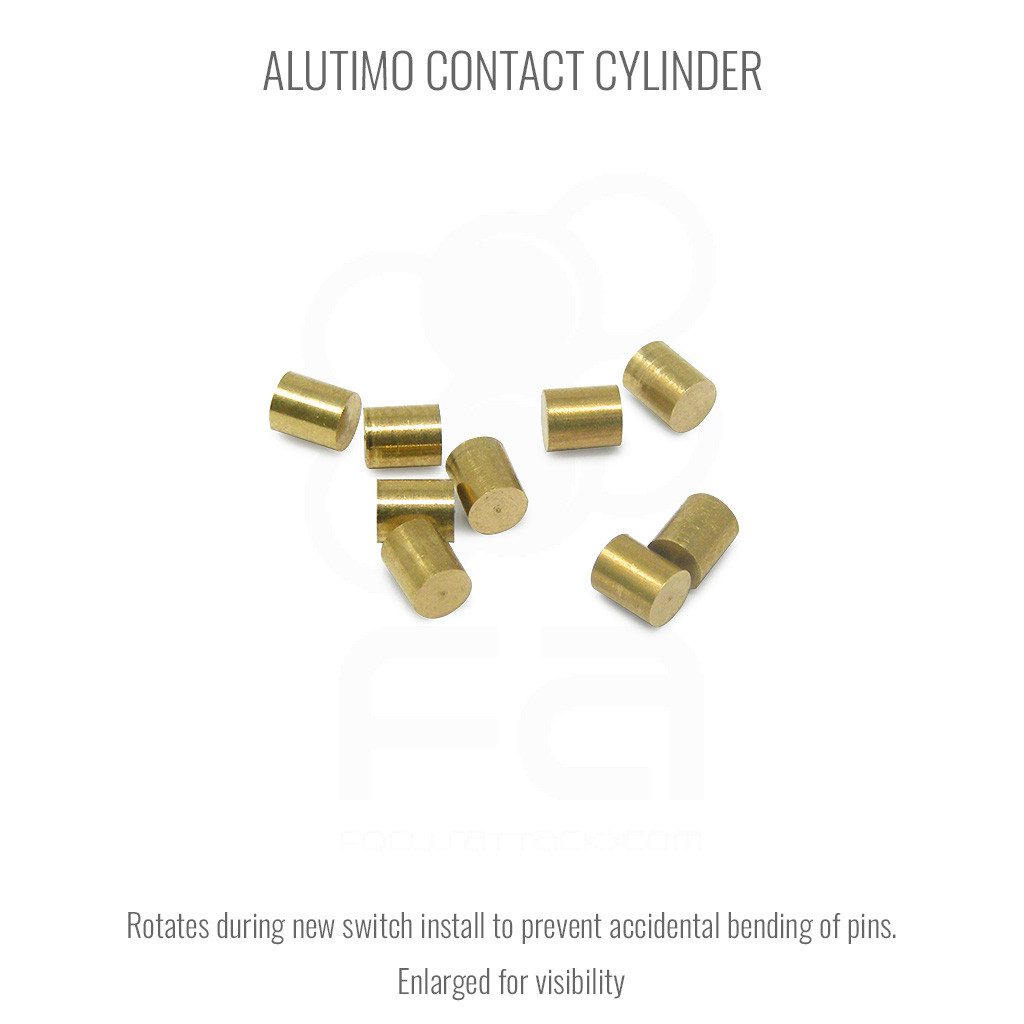
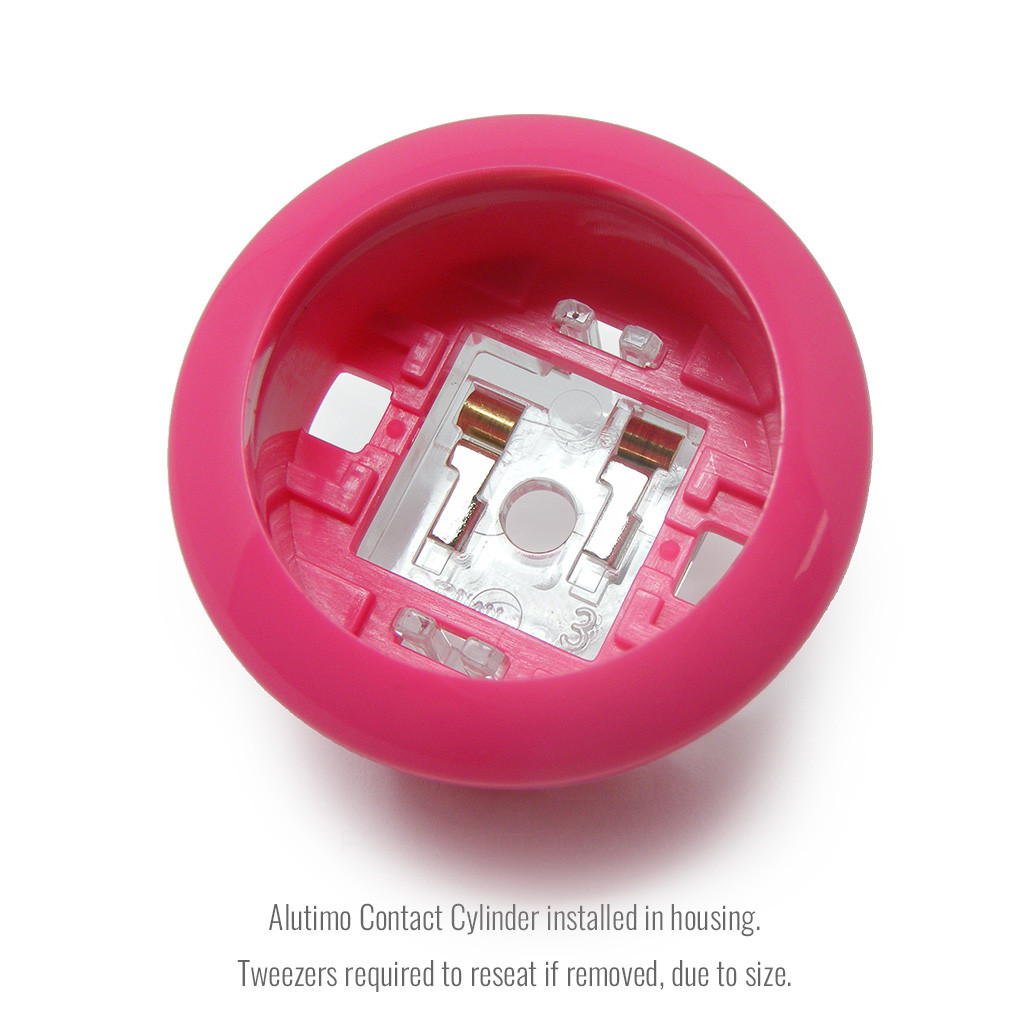
Alutimo Contact Cylinder
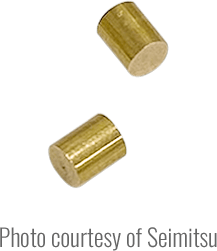 The contact cylinder is designed to rotate as the Cherry MX's fragile switch's contact pins are inserted into the housing. This prevents the pins from bending, and holds the contact pins tightly in place. Replacements cylinders are available in single packs of 10 units.
Due to their tiny size, extra care is needed to handle the contact cylinder. Should you accidentally pop out the cylinders, getting them back in will require a pair of curved pointed tip tweezers, and from our experience, will take some coordinated effort to position them correctly in the housing. They are also quite easy to lose.
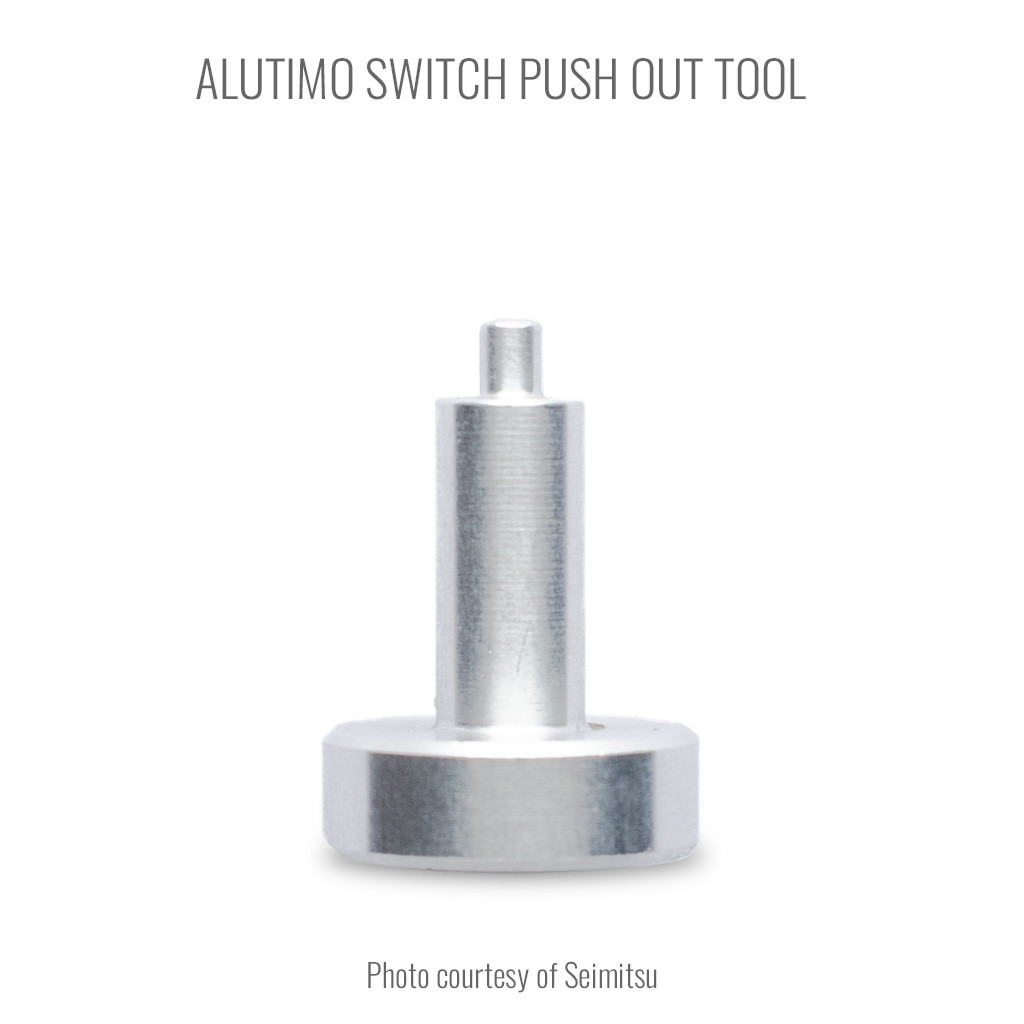
Alutimo Switch Push Out Tool: Available Separately (Recommended)
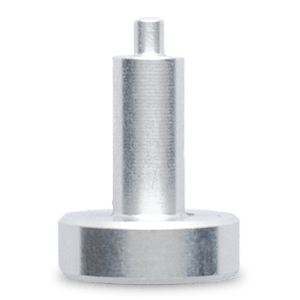 This small metal tool assists with pushing out the MX switch from the bottom, and a recommended tool when disassembling the Alutimo. In our experience, Alutimo is quite difficult to disassemble from the top, because the inner cap stays inside of the rim. Removing the inner cap from the inside of the rim will need a special tool similar to a keycap puller (the tweezer style model, not the rounded ring).
Instead, we suggest that you attempt to safely disassemble from the bottom via this push out tool.
Installation and Disassembly Tips
The Seimitsu Alutimo has quite the unique build, making hot-swapping MX switches a challenge.
- Read this review of Alutimo for tips on disassembly and methods to keep your contact cylinders in place during a swap. (Japanese, use Google Translate)

- Check out this method to help quiet the Alutimo using cloth tape. (Japanese, use Google Translate)

- Check this YouTube video showing how to assemble and disassemble the Alutimo (temporary video until Seimitsu releases an official one)

Disassembling Alutimo (Please proceed at your own risk.)
- Remove outer cap.
- Push the center point of the MX switch via push out tool. You can feel the inner lock has got off with a click sound. We highly suggest that you use the Alutimo Switch Push Out Tool for the purpose to avoid injury.
- Remove the inner cap and swap the switch or shims.
Assembling Alutimo
- Install the contact cylinders. You will need tweezers.
- Install the shims on the switch.
- Assemble the inner cap and switch before you install these to the rim. Because the clearance of the inner cap and the switch stem is tight, you will need to use a firm hand to insert them deeply. The button will work even if you did not insert them deeply, but it will not reach the correct actuation point.
- Install the assembled unit into the rim. You need to be careful not to bend the MX switch pins.
- Install the outer cap.
Specifications
Below are size specifications for the 24mm and 30mm Alutimo button (in millimeters)
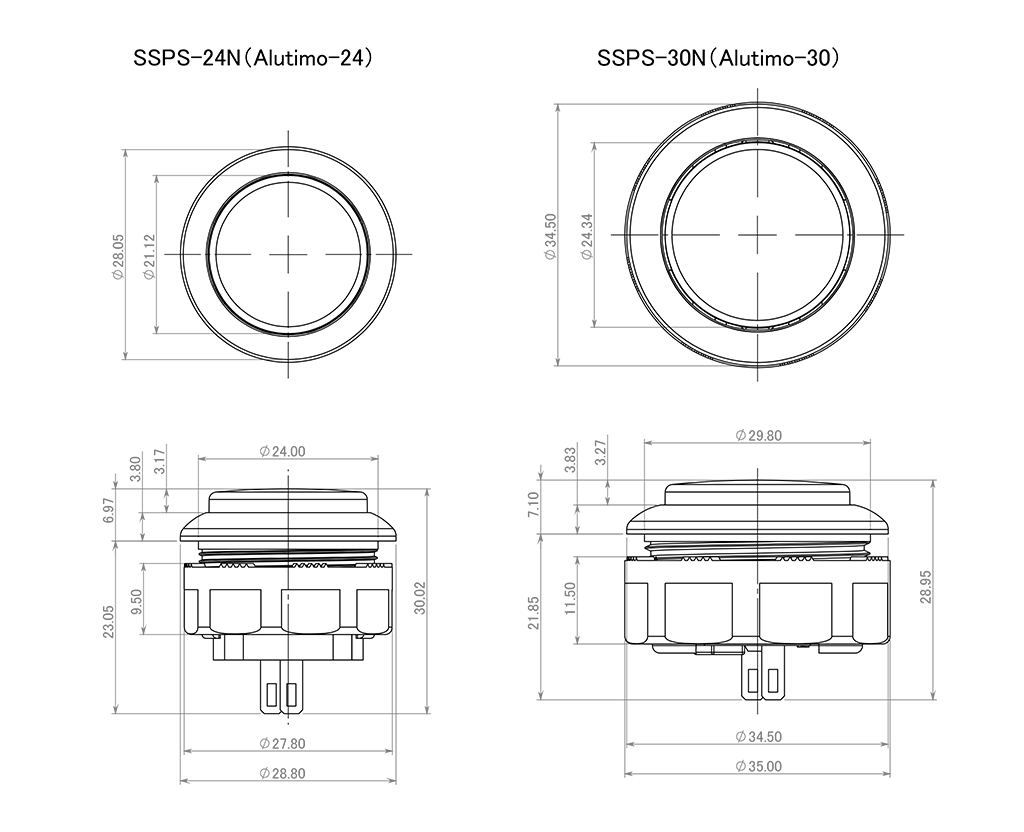
24 vs 30mm When processing orders, a frequent mistake we found among new players is choosing the wrong size for action buttons, such as punch and kick.
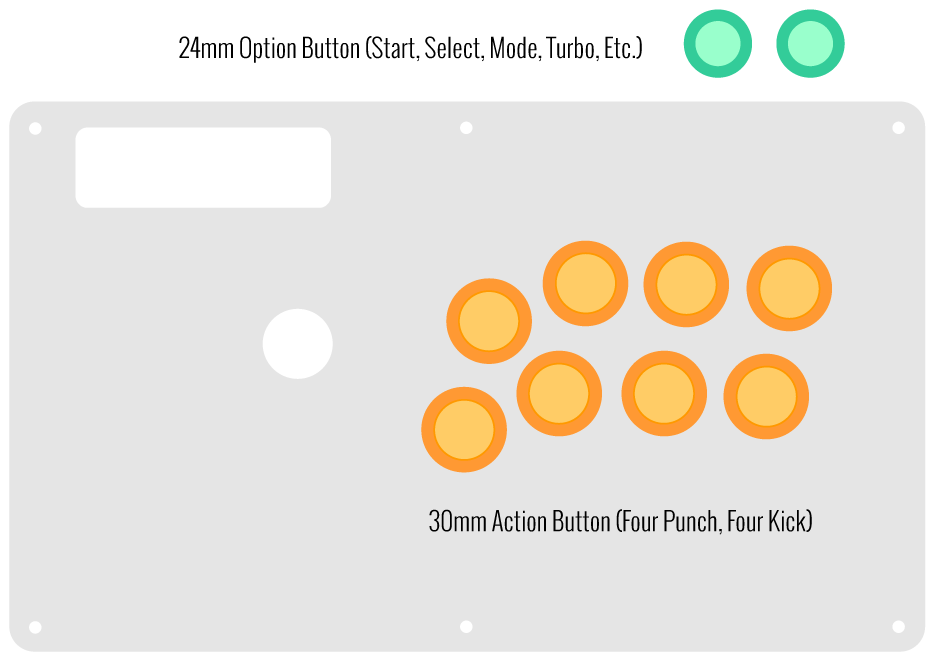
Within the fighting game genre, Japanese arcade buttons commonly consist of two diameter sizes: 24 millimeter and 30 milllimeter (mm). In most configurations, 30mm represents your action button. These are front facing, appearing most prominent on your Fightstick control panel. Option button, such as "Start", "Select", or more recently "Option", "Touch", or "Share" are usually 24mm.
UPDATE: Owners of Neo Geo AES Joysticks will need 24mm pushbuttons instead of 30mm (Thanks SRK's DEZALB)
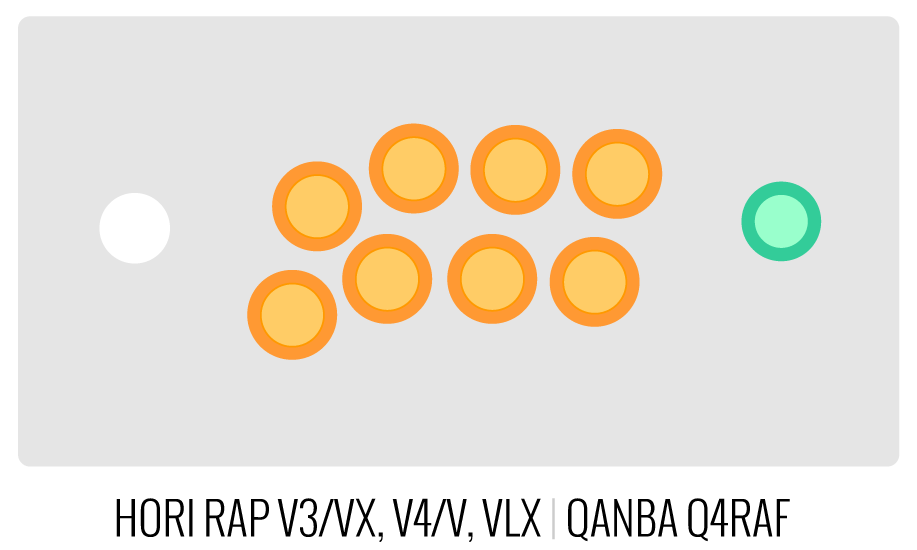
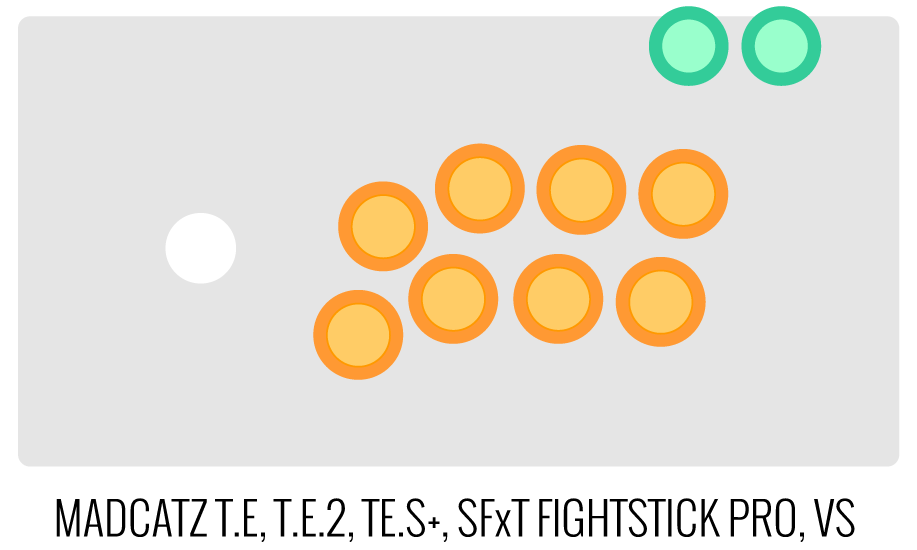
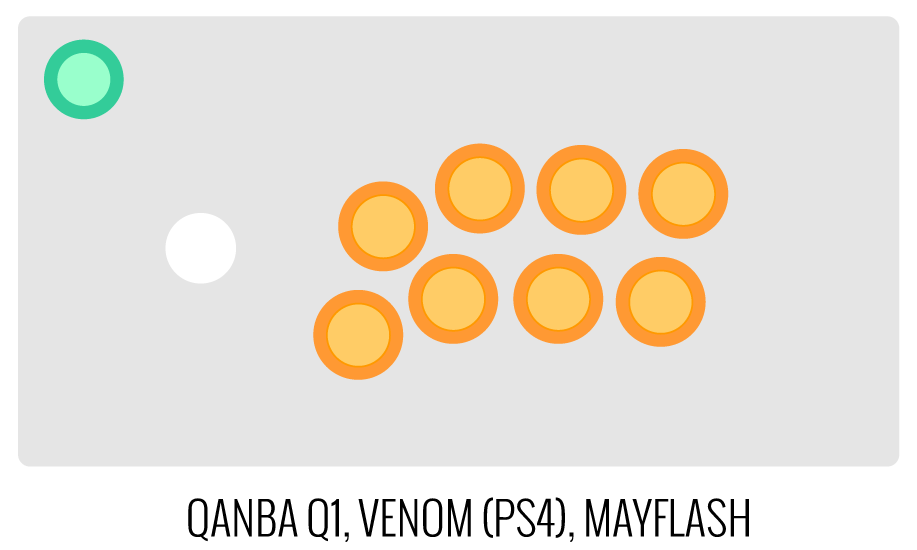
Below is a visual representation of a common Fightstick control panel. Throughout this article, we will mark 24mm in green, and 30mm in Orange.
Checking the Proper Size
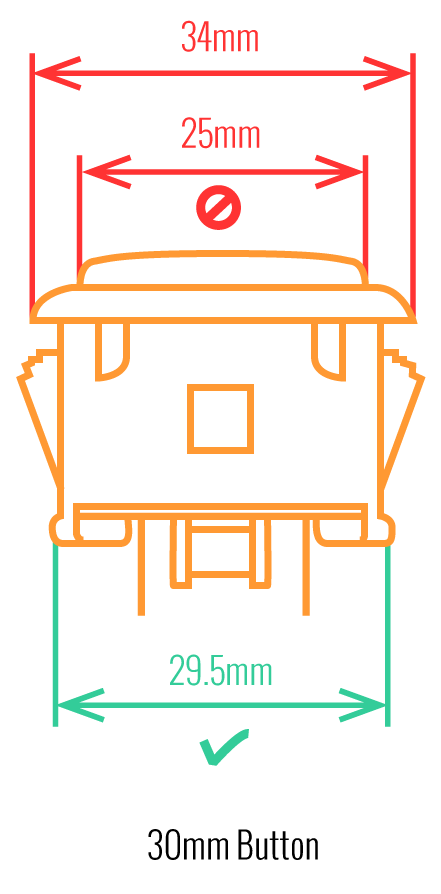 Another way that players can misinterpret the pushbutton size is by measuring the pushbutton plunger. Have a look at the diagram at right.
The plunger - the part that you press down to represent an input - is 25mm or a bit smaller in most 30mm pushbuttons. Often this leads to the conclusion that one needs a 24mm button and not 30mm.
Similarly measuring the button rim can lead to confusion, as it is intentionally larger than the button hole it is placed in. You don't want to use these measurements. Instead, review the button housing diameter, or the hole the button will be placed in. You can do this with a caliper - a digital caliper is often quite helpful for this and other arcade-related projects.
Control Panel Configuration
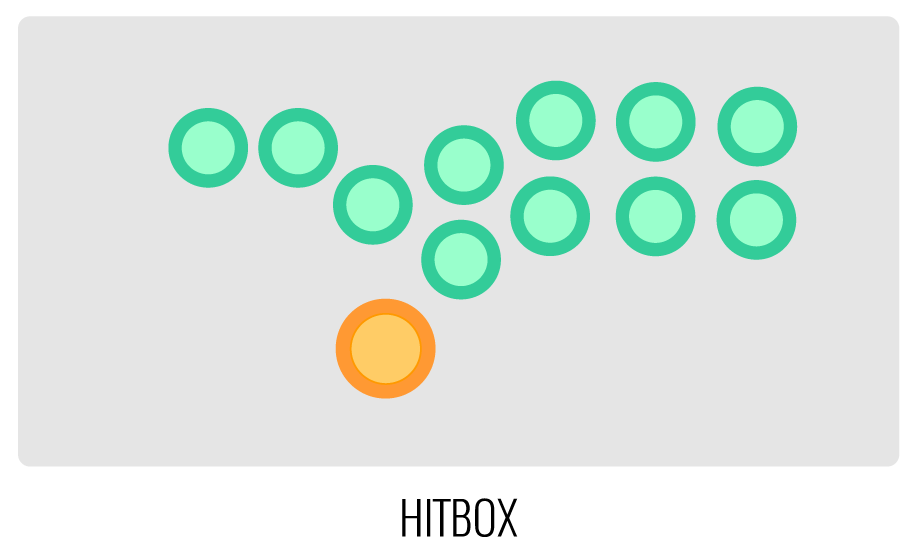
Most Fightsticks from MadCatz, Hori, Qanba, and similar will use these two sizes. How the buttons are used will depend on the model joystick that you own. Over time, we'll provide example configurations for specific popular Fightstick models and arcade cabinets using the color key for 24mm (green) and 30mm (orange). We'll also expand the key for future models if another size is introduced, and we offer for sale.
-
Product Reviews
-
Find Similar Products by Category


